This guide covers getting up and running with BotTalk.
After reading this guide, you will know:
- How to create scenarios of your future Alexa Skills and Google Actions.
- How to use predefined templates to kickstart development process of your own conversational logic.
- How to deploy (publish) the scenario you created on Amazon Alexa Development Portal / Google’s Dialogflow.
- How to test your scenario in Alexa Test Console / Dialogflow Simulator.
- How to test your scenario on physical devices - Amazon Echo and Google Home.
- How to send the test version of your Alexa Skill / Google Action to your first beta-testers.
Guide Assumptions
This guide is designed for beginners who want to get started with building their own voice user interfaces. It does not assume that you have any prior experience with creating Alexa Skills or Google Actions.
What is BotTalk?
BotTalk is an award-winning platform for creating voice user interfaces and shipping them both as Alexa Skills and Google Actions. It is designed to make writing voice user interfaces easier by providing a simple language that is readable by humans (and not only ninja developers).
Creating a New Scenario
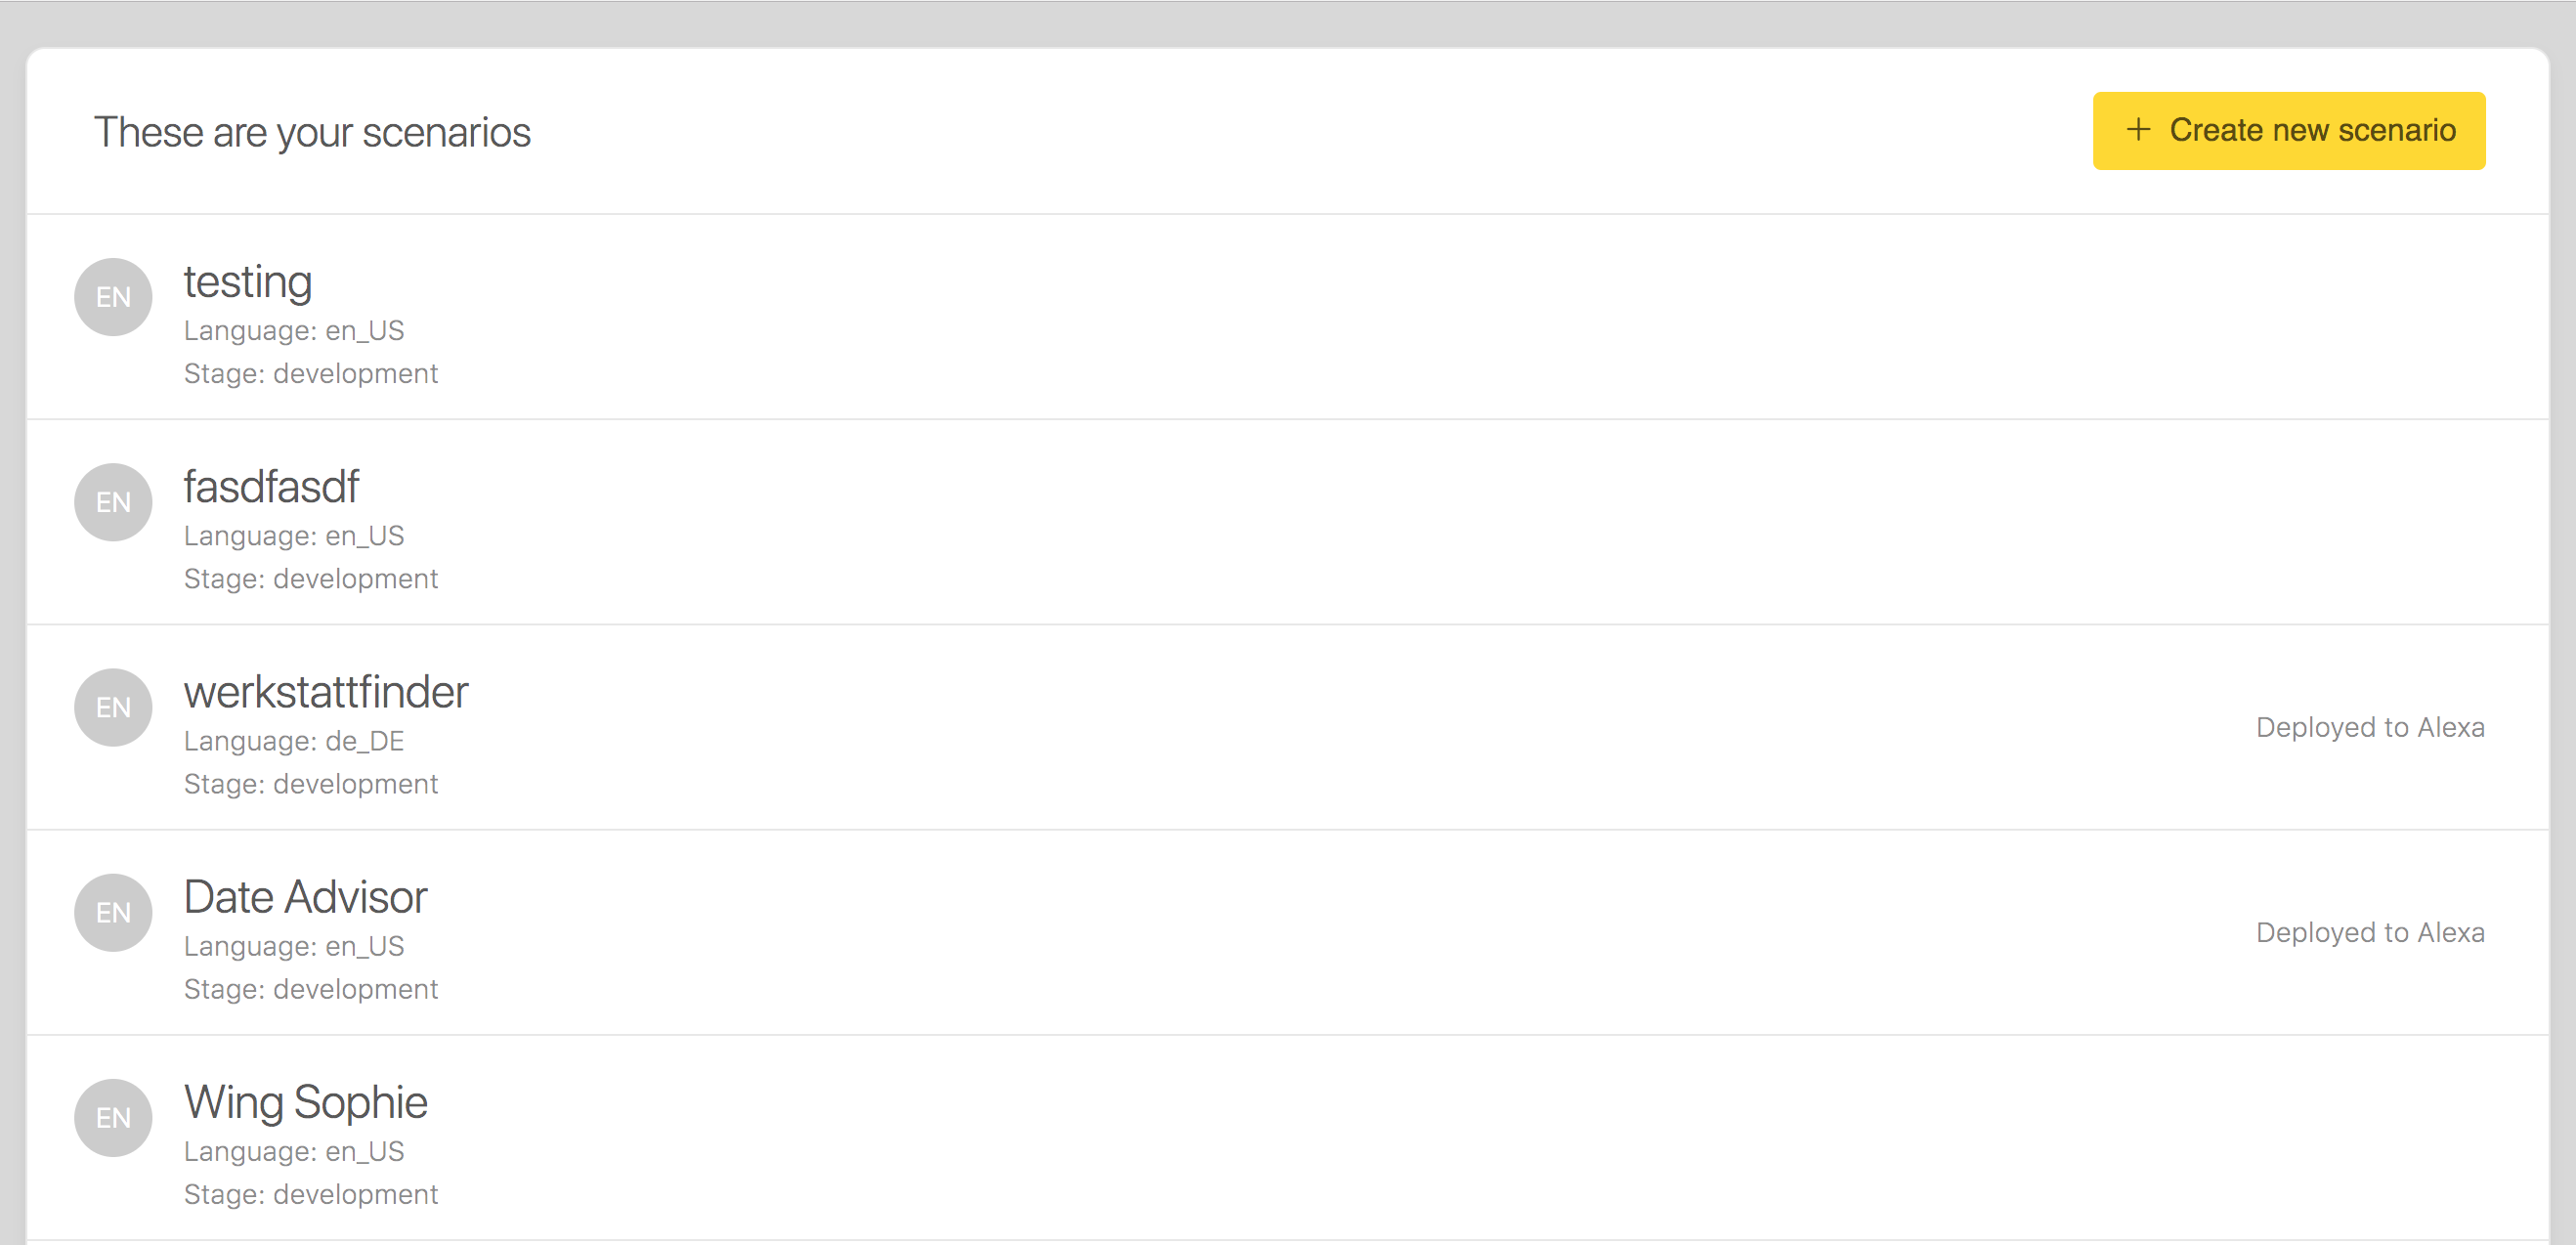
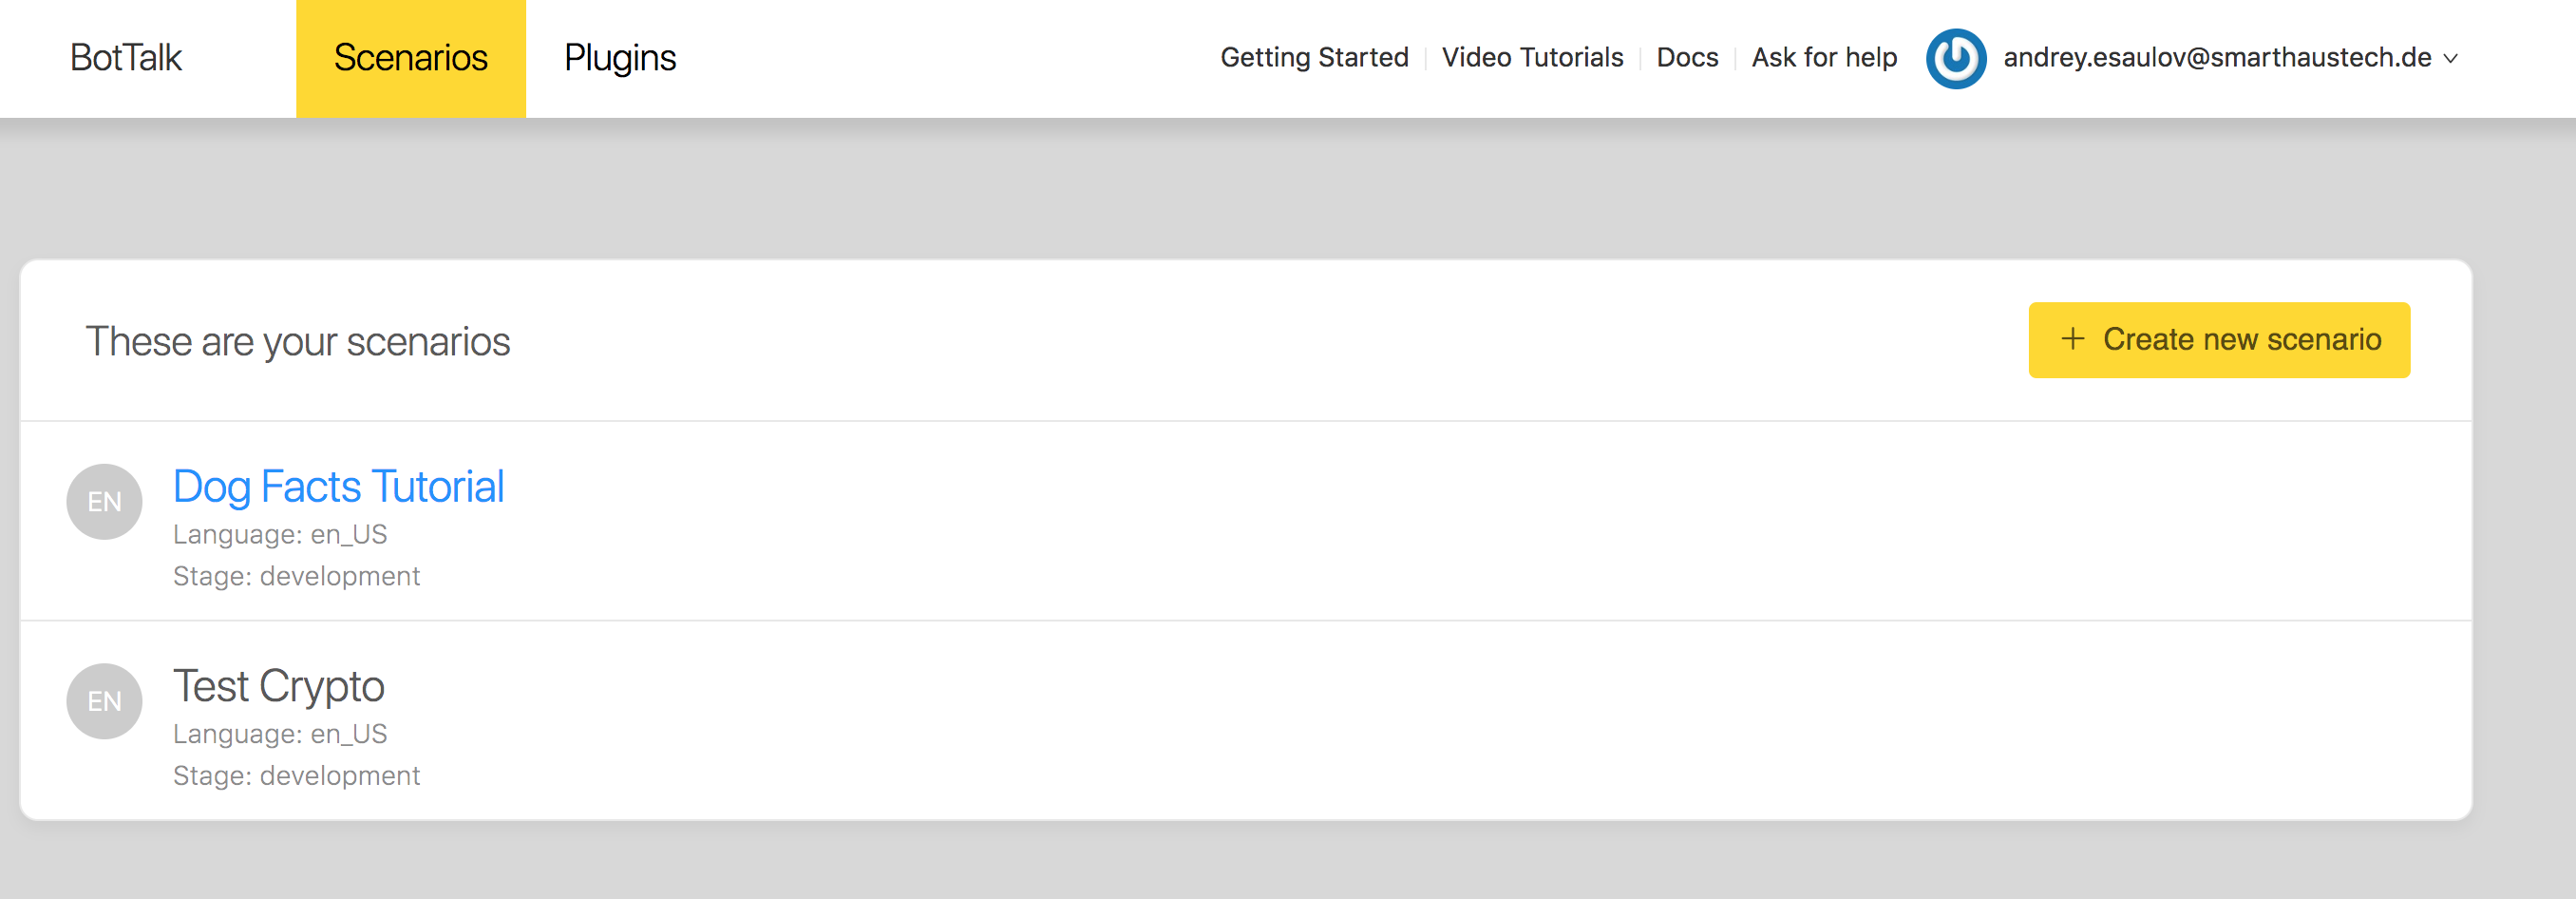
After you create your BotTalk account you’ll be redirected to the main screen. There you will find all your scenarios. If you’re using BotTalk for the first time this screen will be empty for you. But not for long. Go ahead and click on the Create new scenario button.
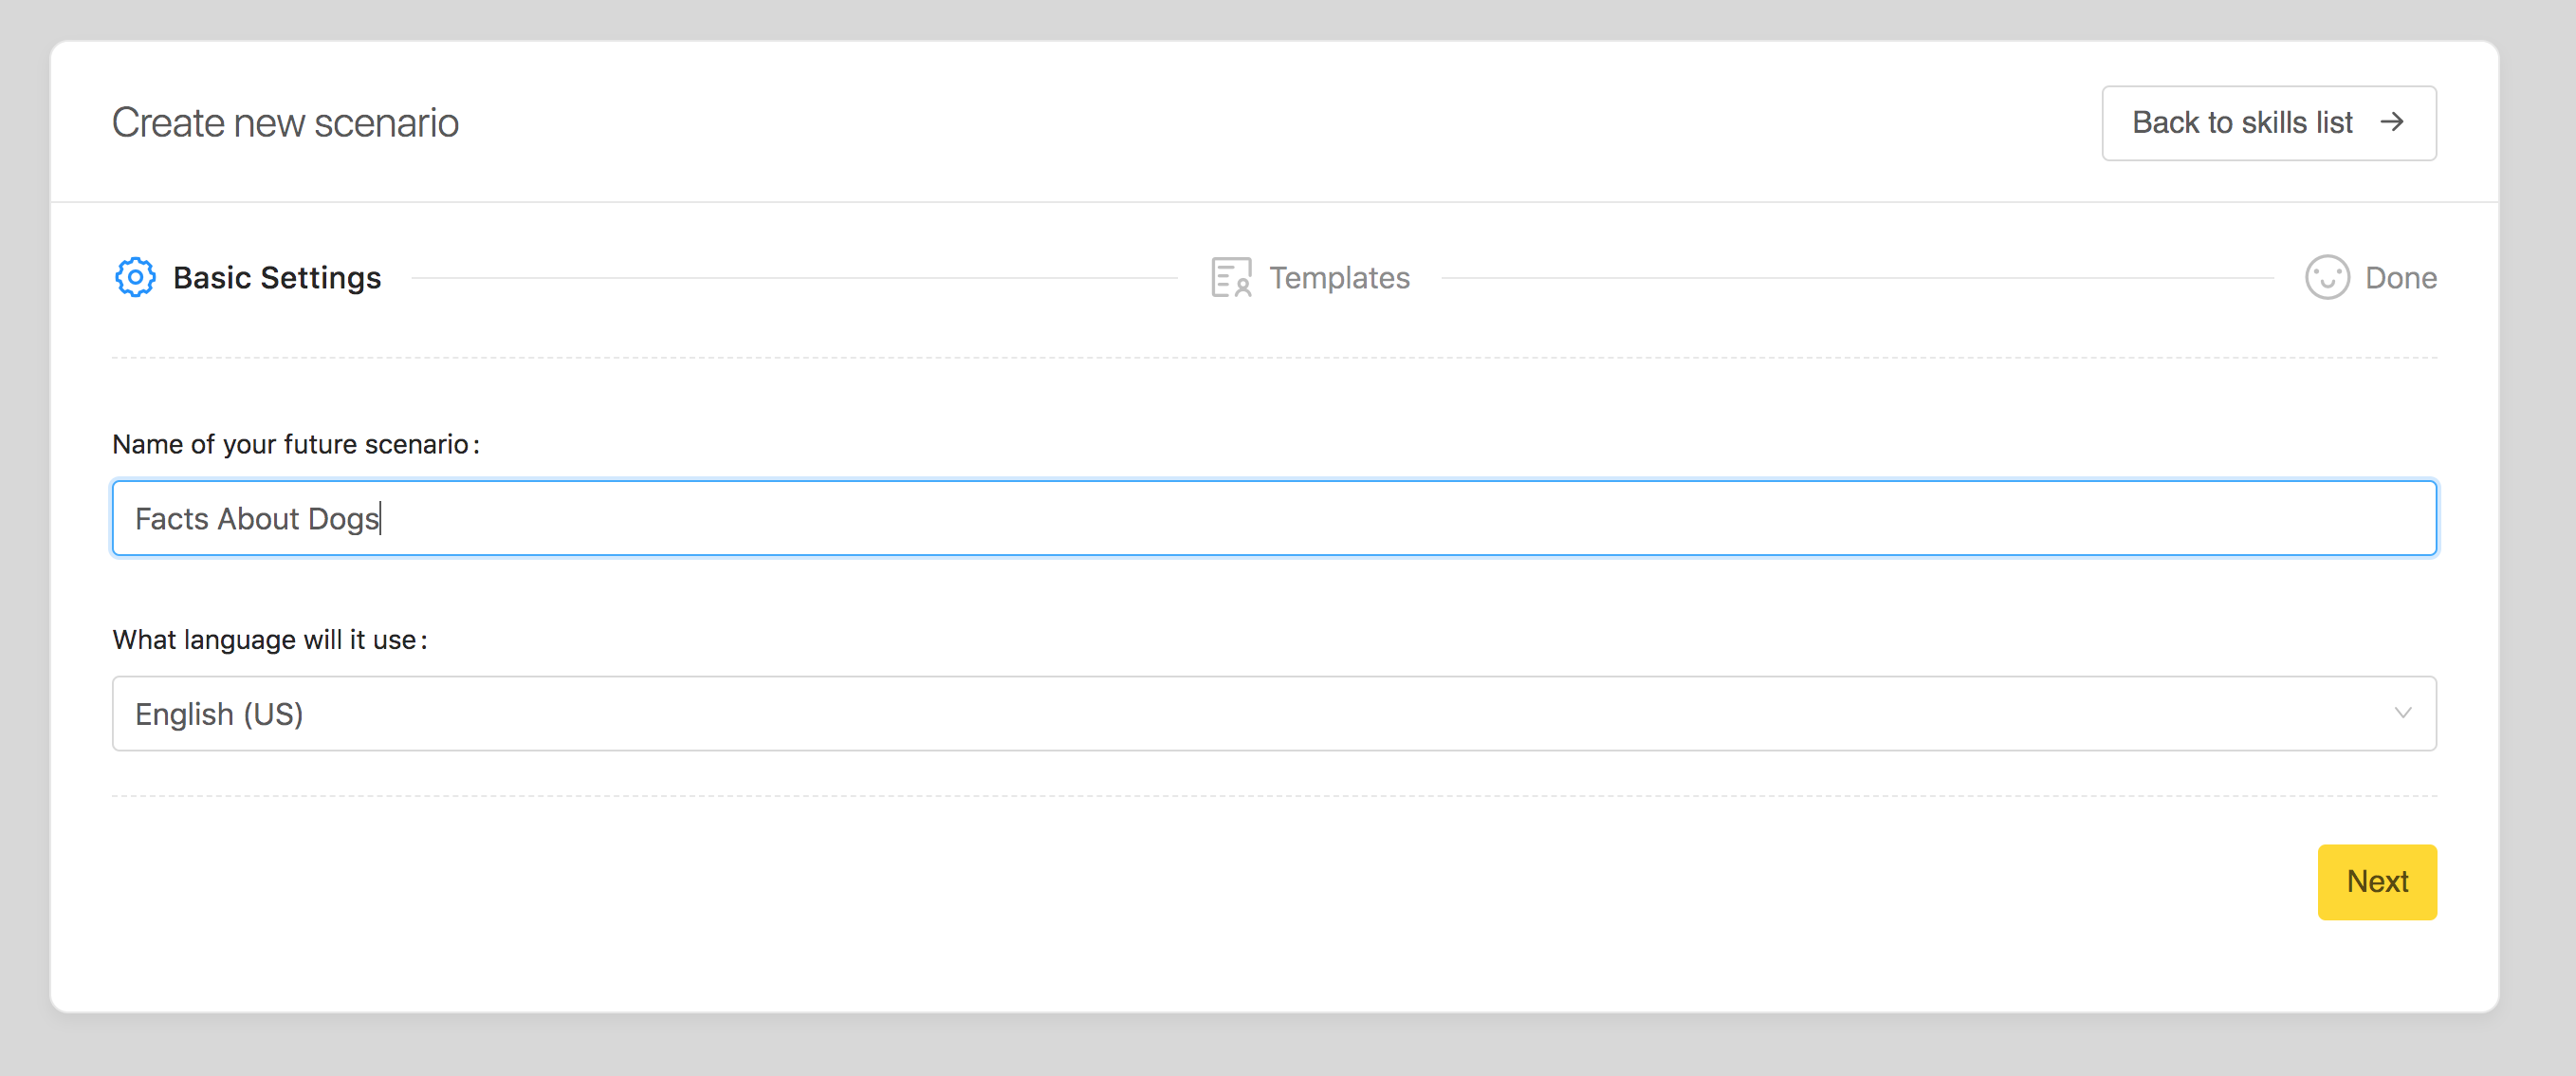
You’ll see the three-step wizard that will help you create your first scenario.
In the basic settings step you’ll be asked to give your skill a name. This name will automatically be an invocation name - or simply put - the command that is used to call your skill / google action after the user says: “Alexa” or “Hey Google”. Let’s call our scenario Dog Facts Tutorial.
In the same screen you need to choose a language for your Skill / Google Action. At the moment Alexa is supported in 5 countries: so you could choose English(US), English(UK ) or German, France or Spanish as your target language:
Choosing a Template
In the templates step you can choose a template for your skill. Those templates are based on the real skills we created with BotTalk and published on Amazon: Dog Facts Skill, Coin Cap Skill
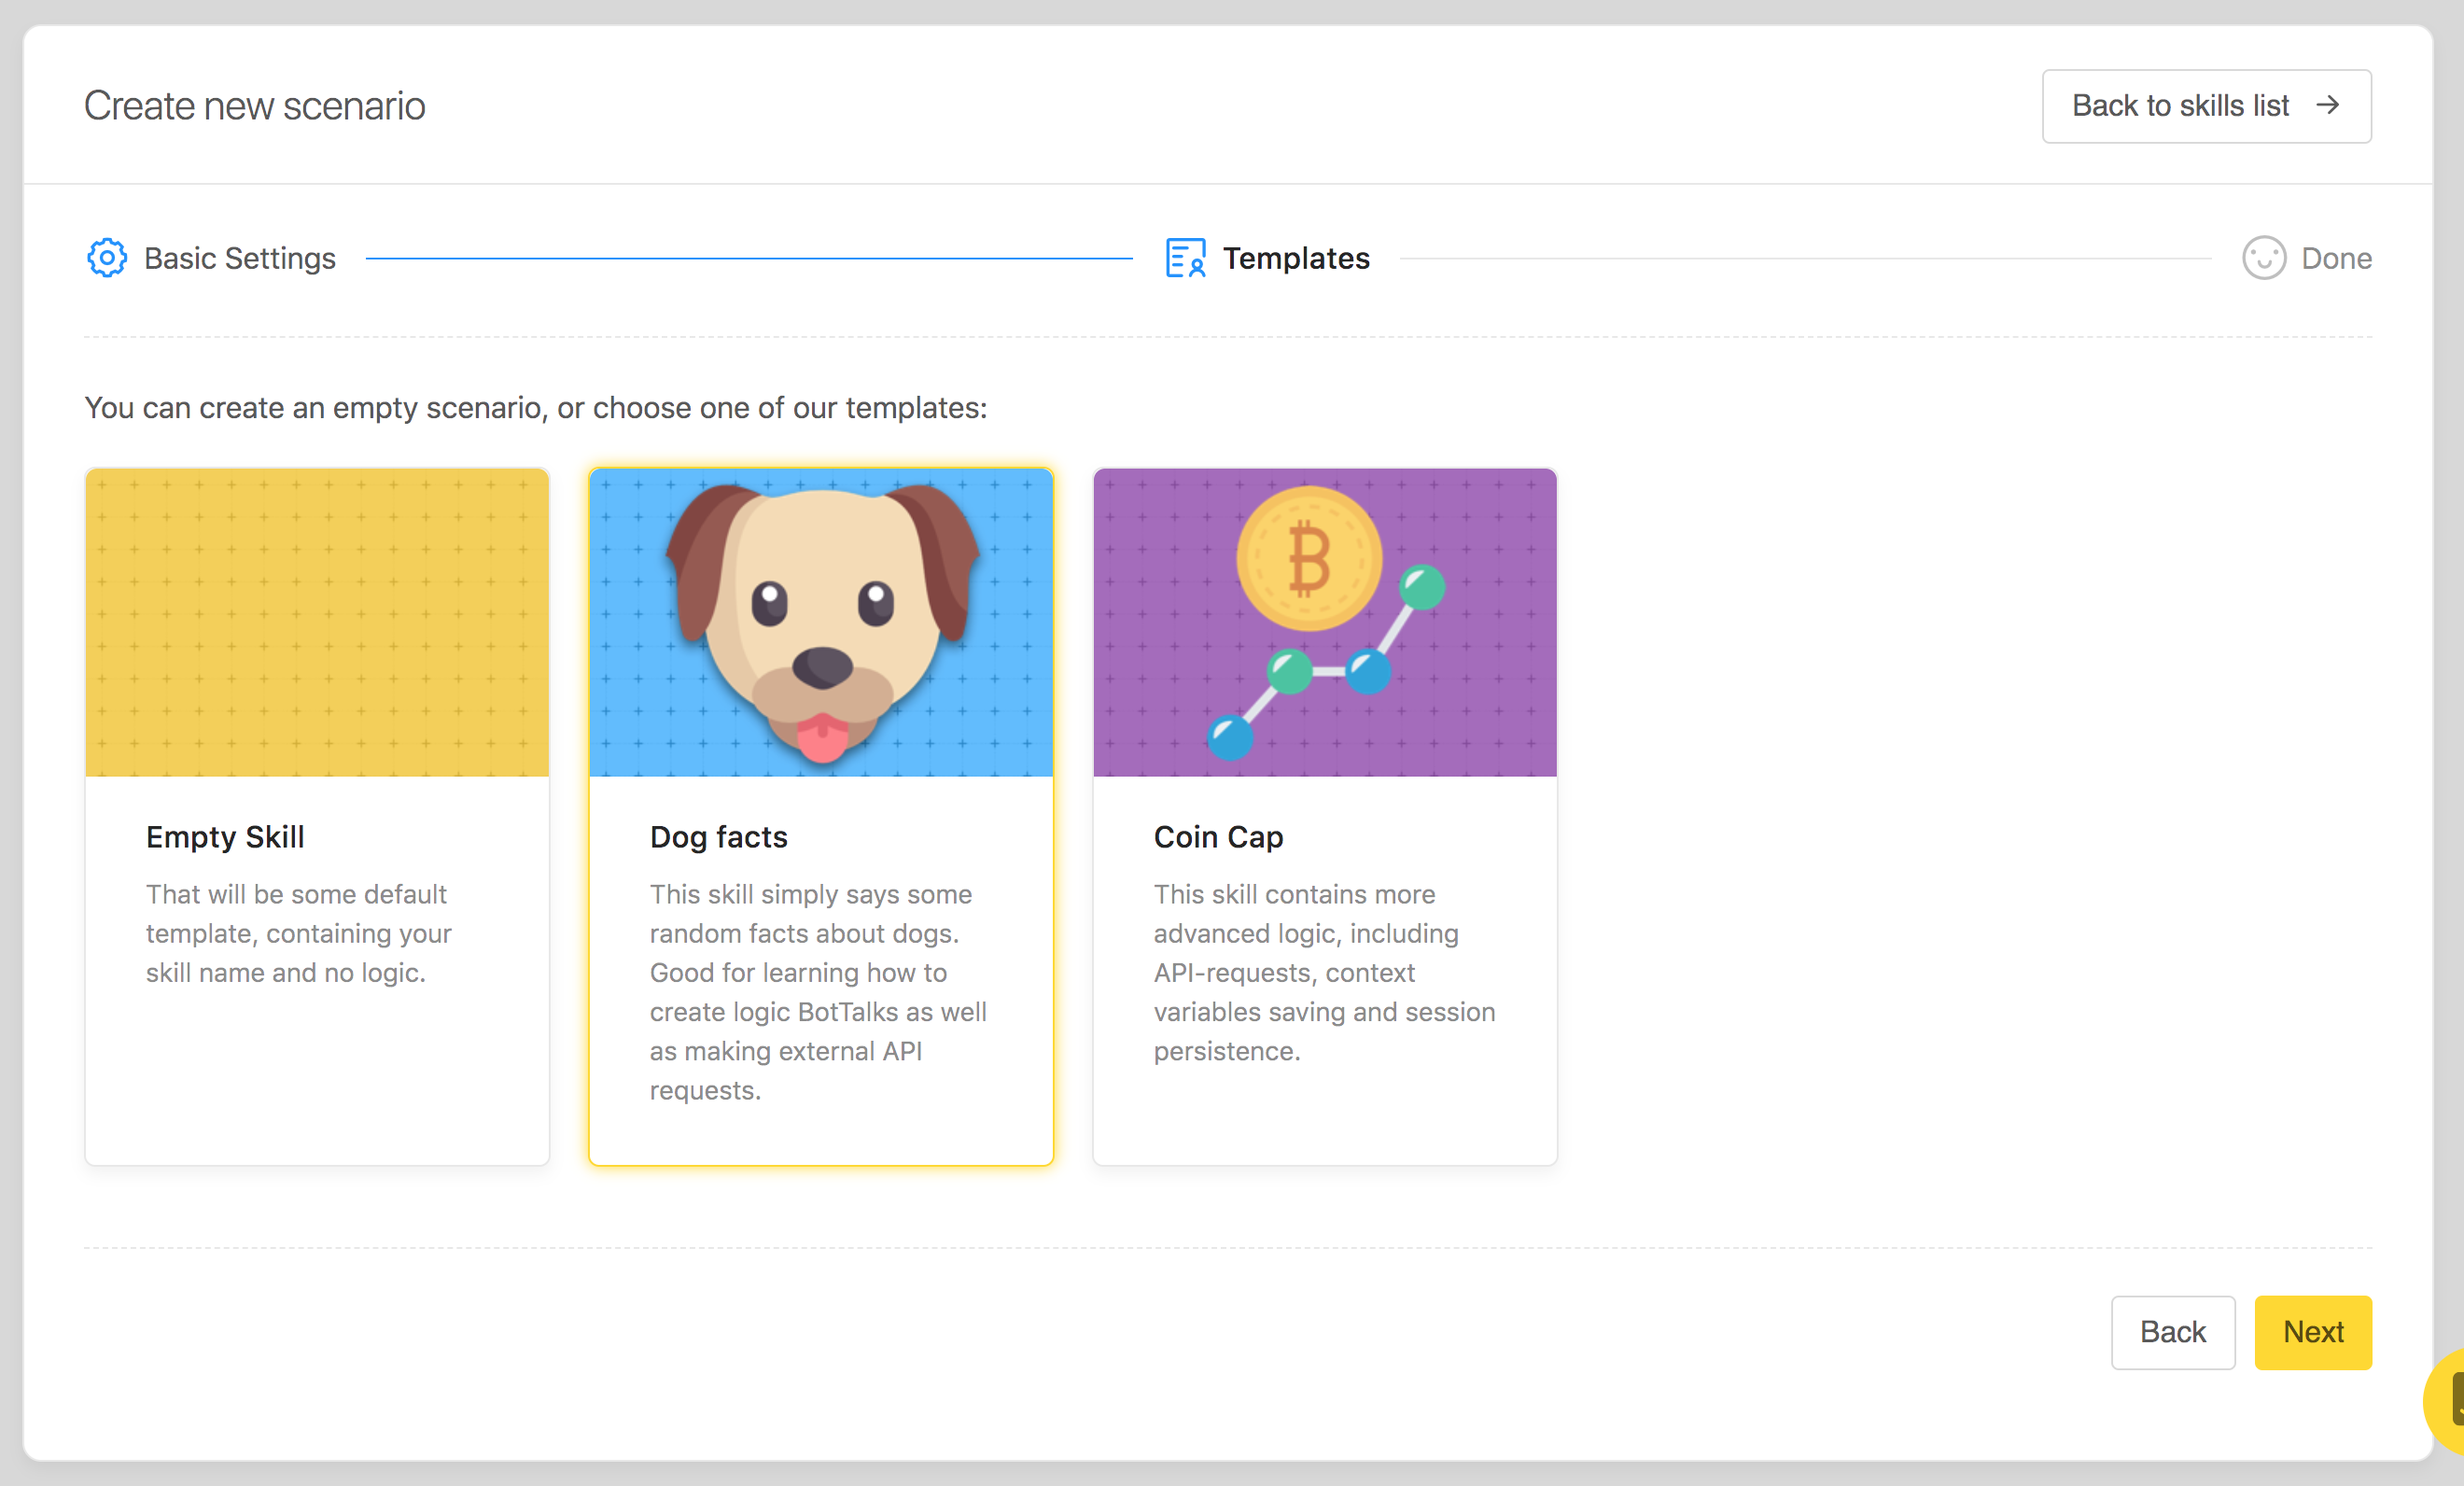
For the purpose of this tutorial we’ll choose a simple Dog Facts scenario. Our scenario will randomly read one fact about dogs at a time. Simple as that. Nevertheless it is a perfect candidate for the MVP: it is useful enough to play around and deploy to Amazon and Google as fast as possible.
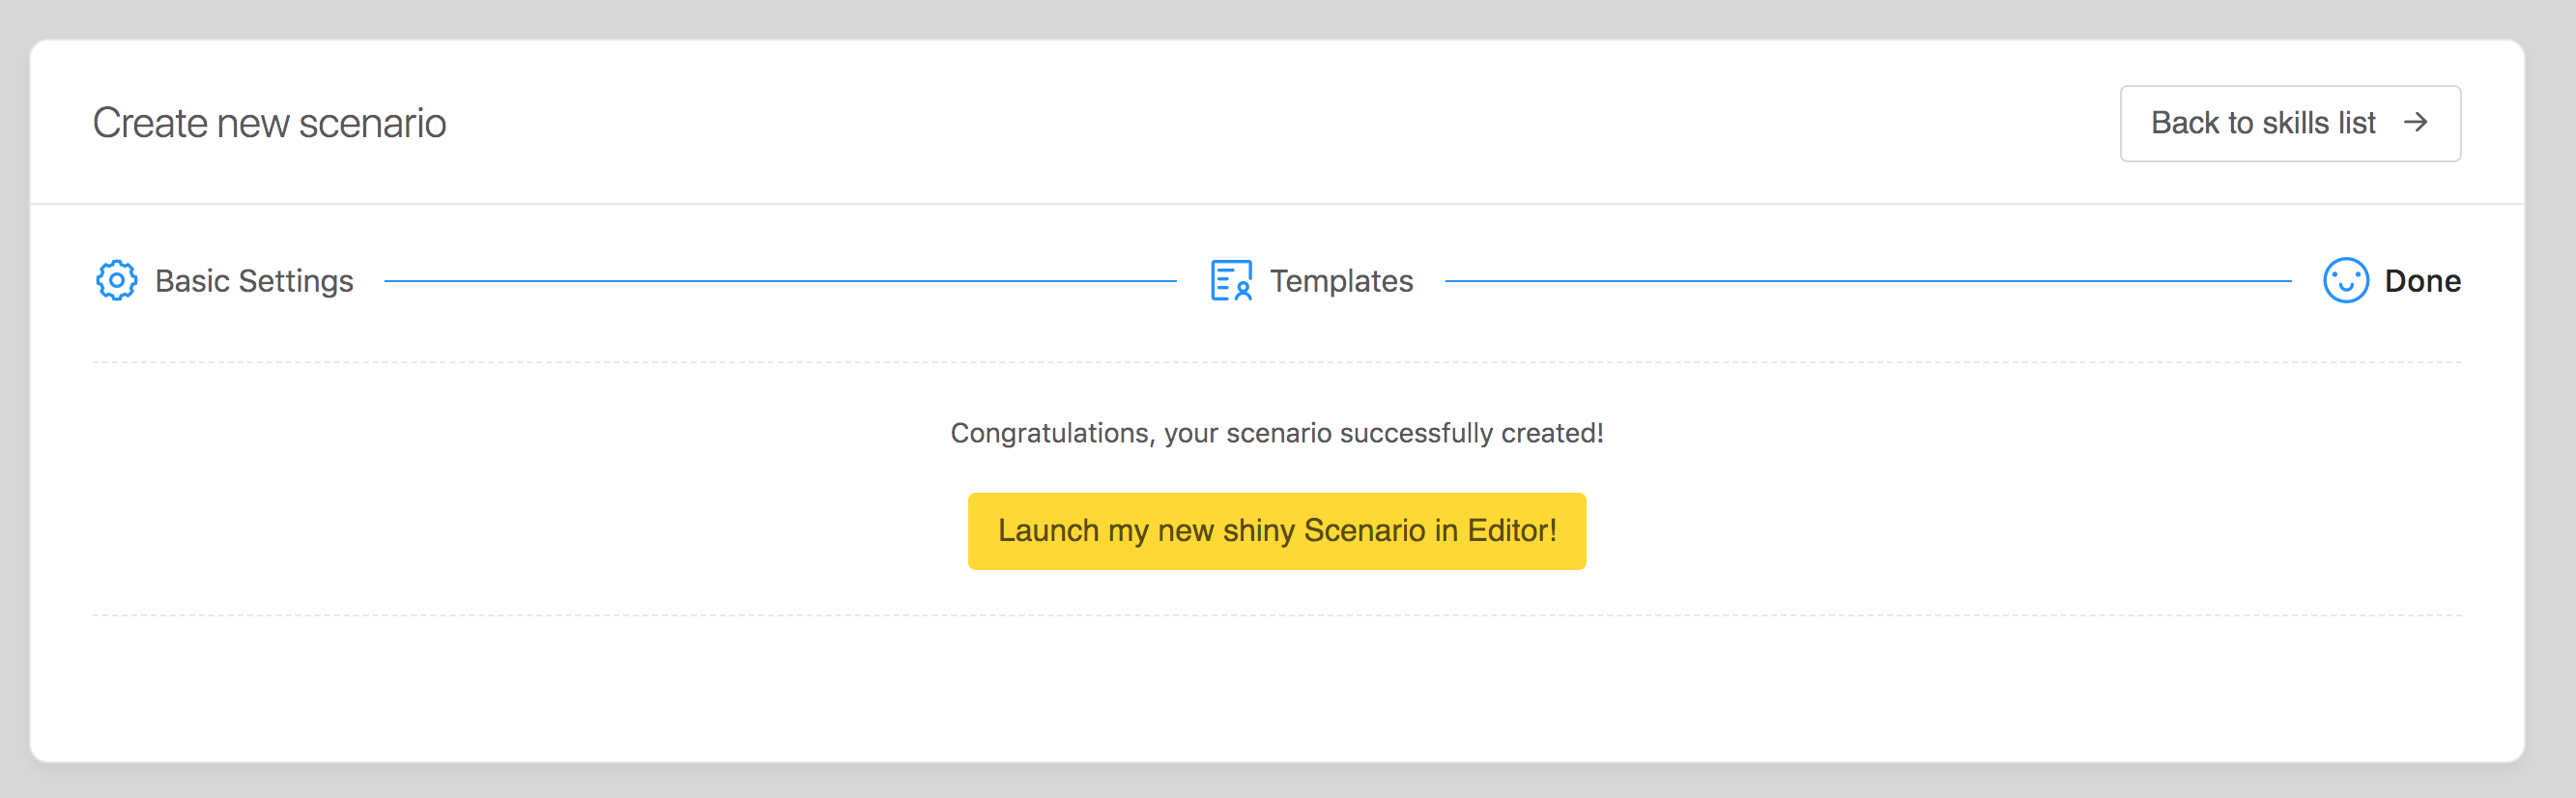
All that’s left to do now is to check the details of the scenario we’re about to create and click the Finish creation button:
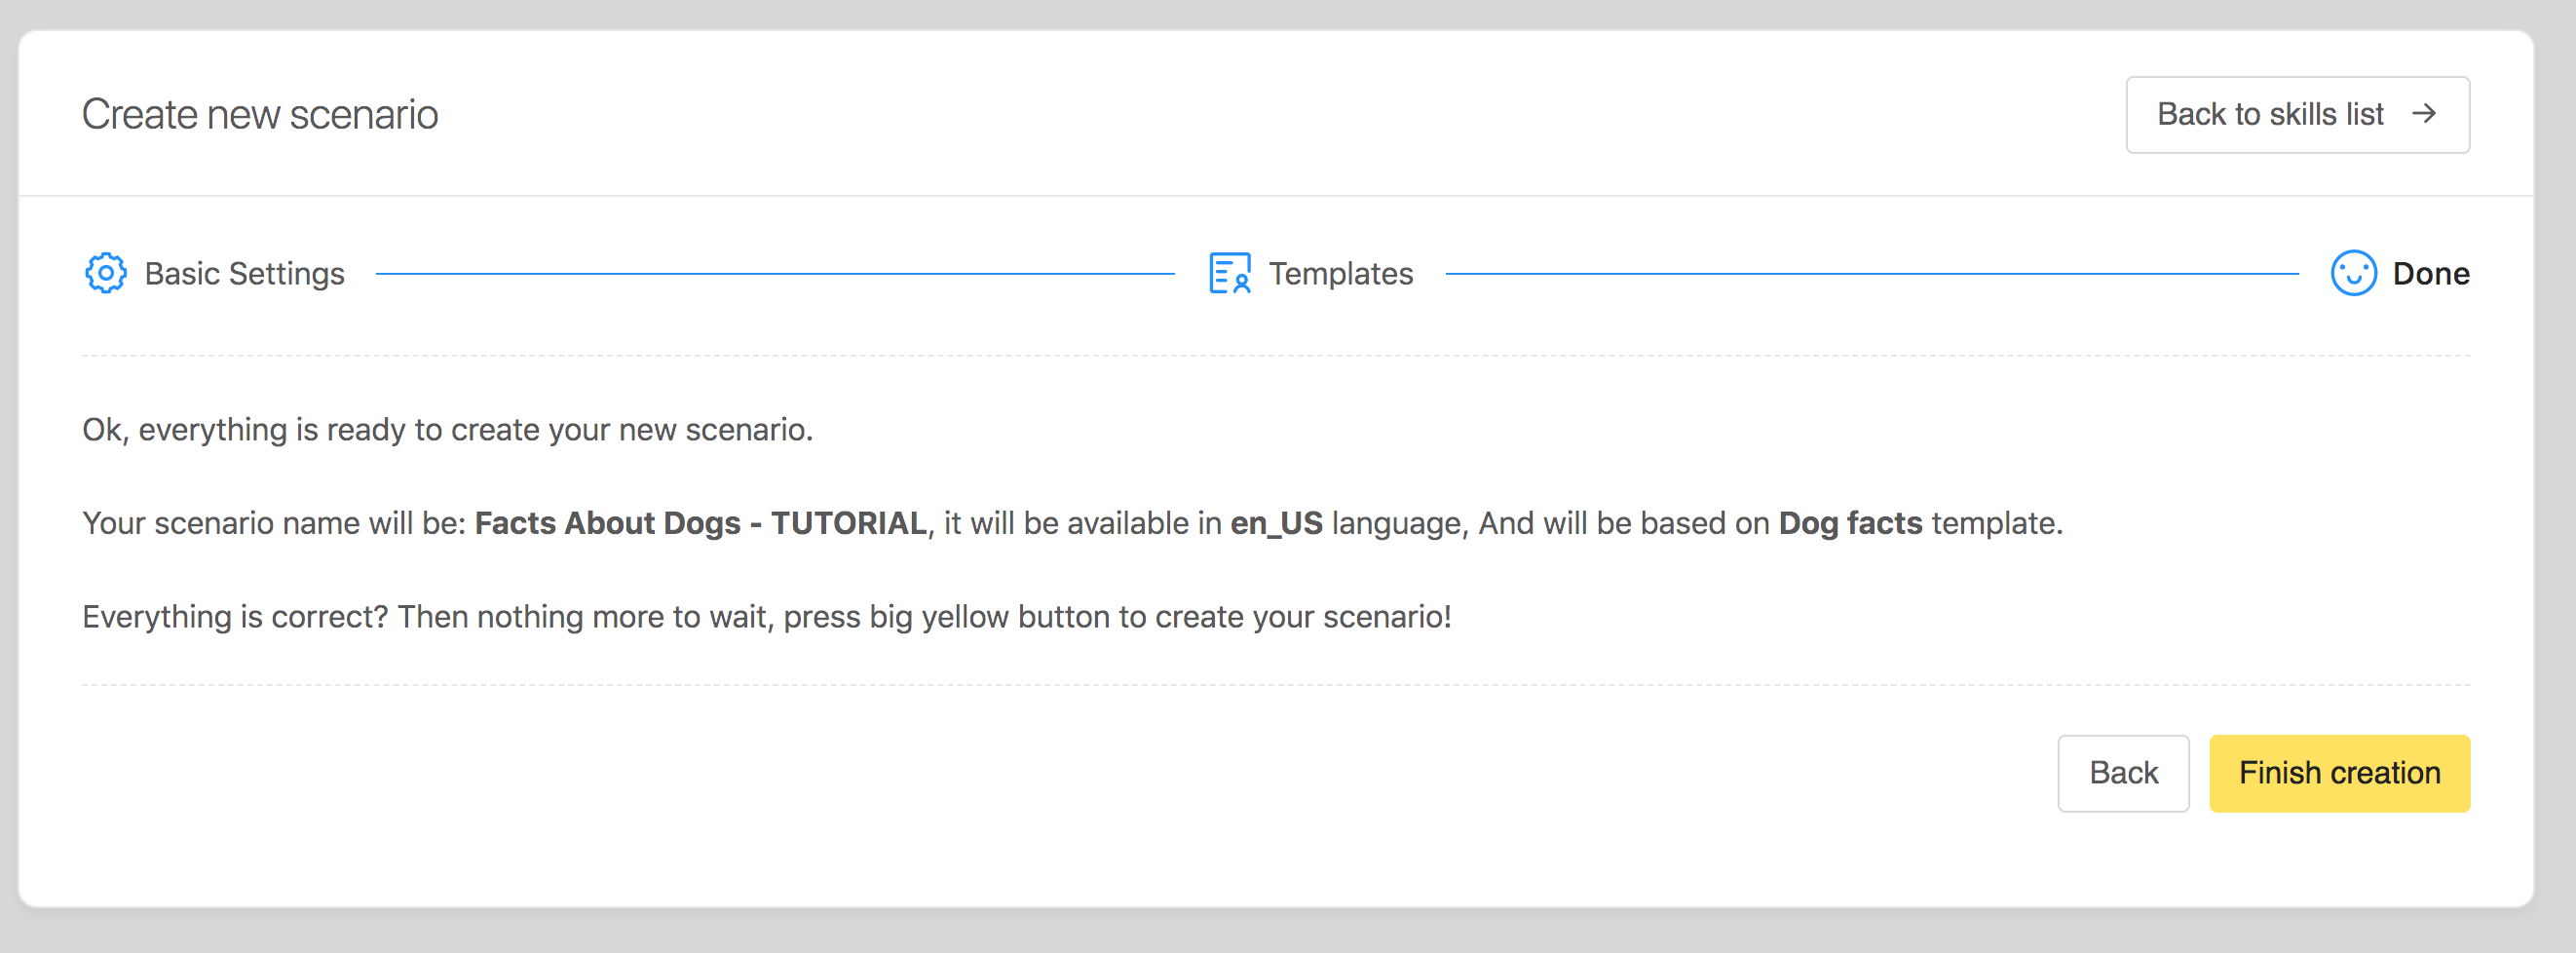
After this you are all set up for launching your brand new scenario in the BotTalk editor:
Deploy to Amazon Alexa
This is how your scenario looks like in the editor:
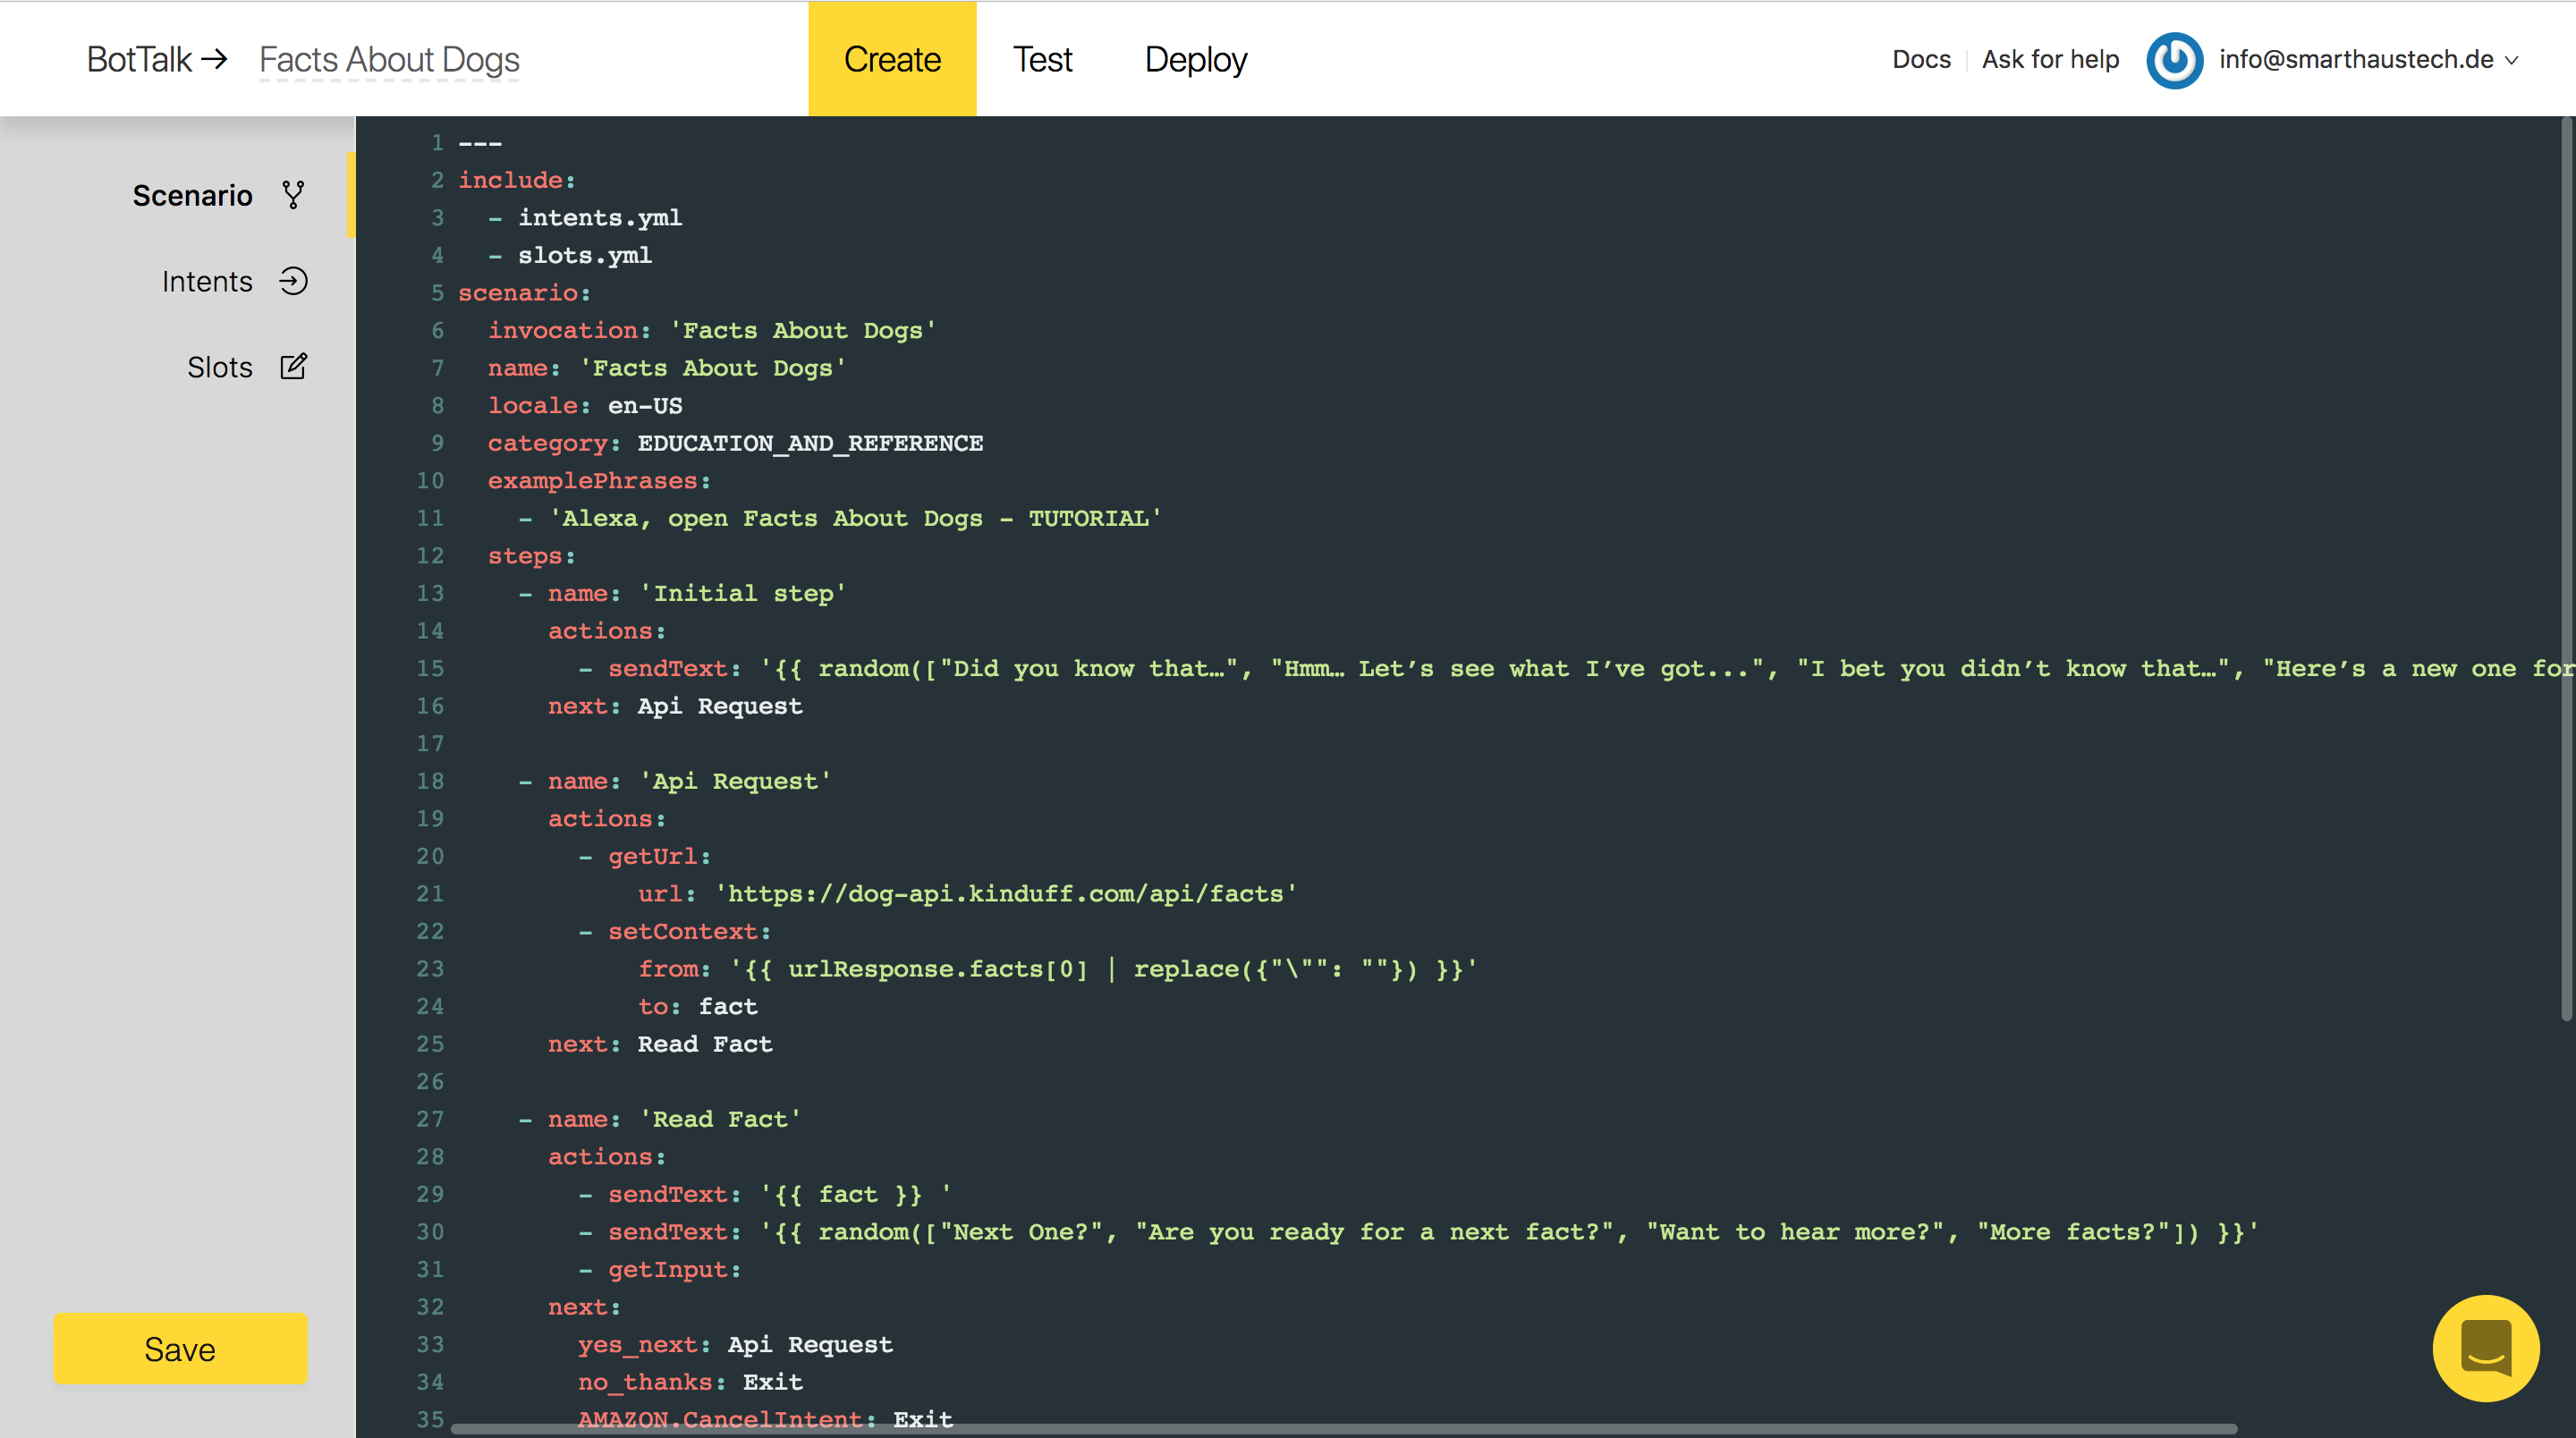
In this guide we will not be looking at the details of the scenario implementation. But if you feel curios - this template has everything you need to kickstart your Amazon Skill or Google Action: predefined logic, third-party API calls, custom intents. Interested? We have developed a comprehensive guide just for you!
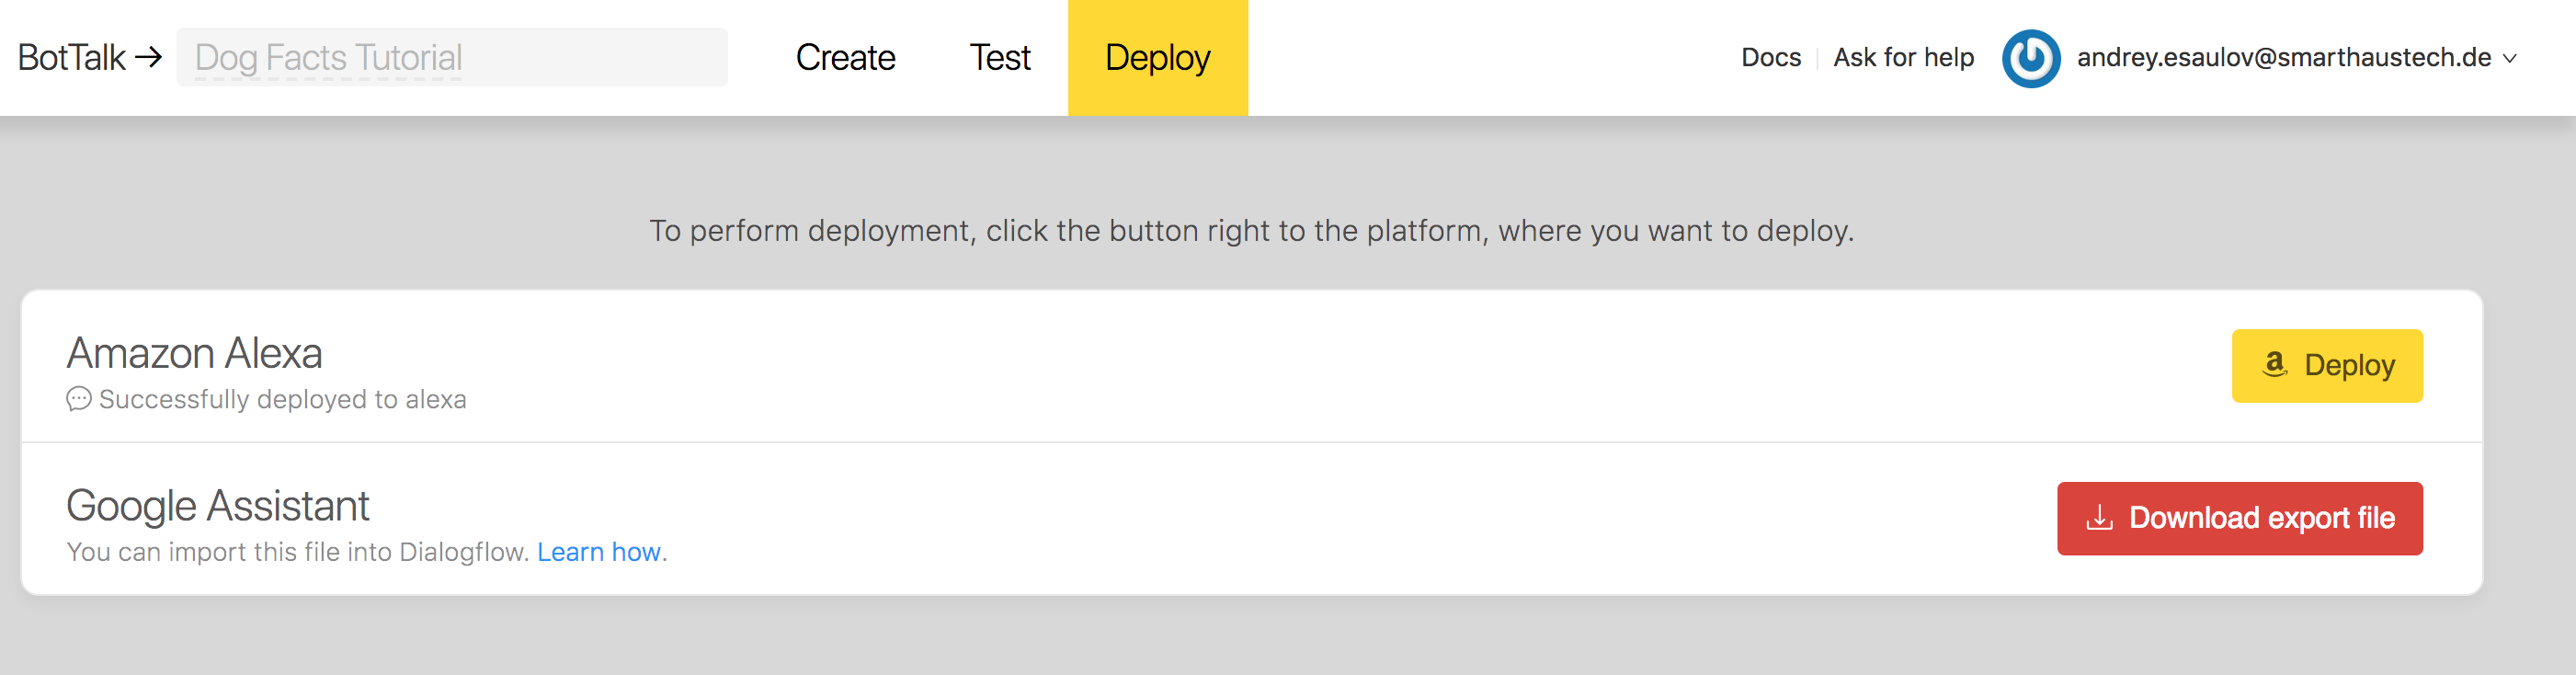
Go to the Deploy tab in the top of the editor and you will see two options. You can deploy, or publish, your scenario as Amazon Alexa Skill or as Google Assistant Action:
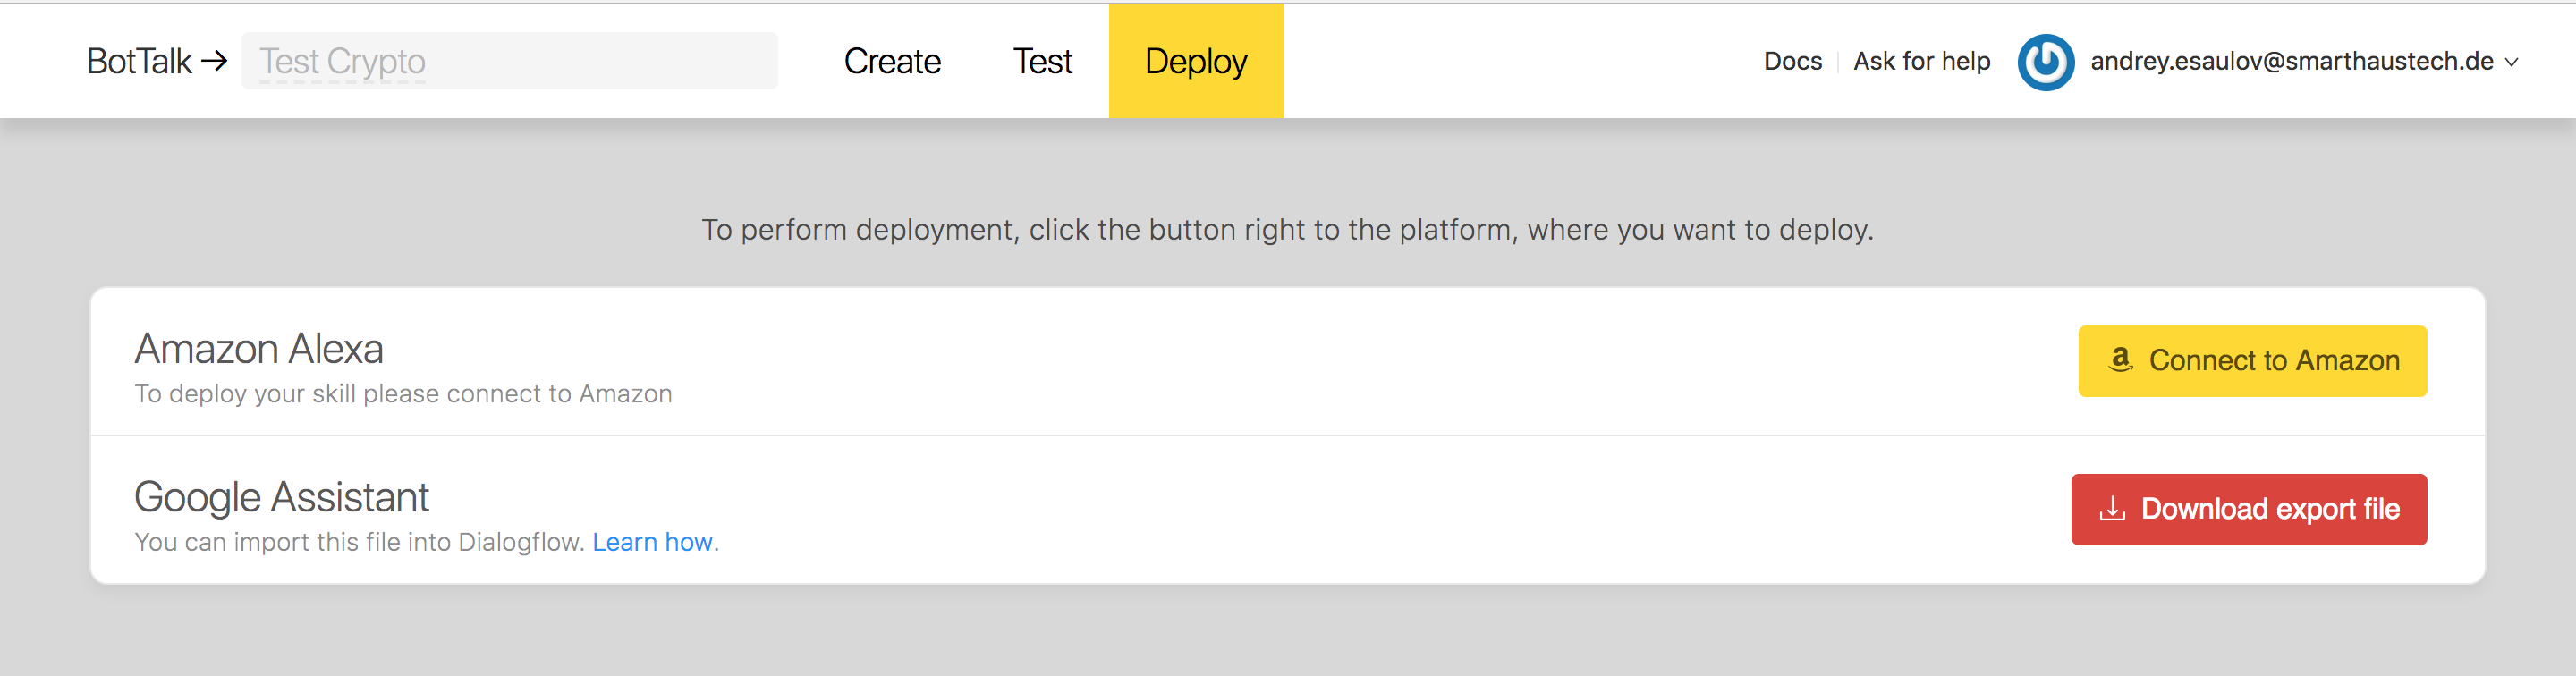
Of course you can do both as well, but we will start with Amazon Alexa first.
In order for you to be able to publish the Skills for Alexa you’re required to become a registered Amazon Developer: Amazon Developer Registration. This process is free of charge - and takes only 3 minutes to complete. Please note, that BotTalk will not be able to deploy your skill if you don’t have Amazon Developer Account.
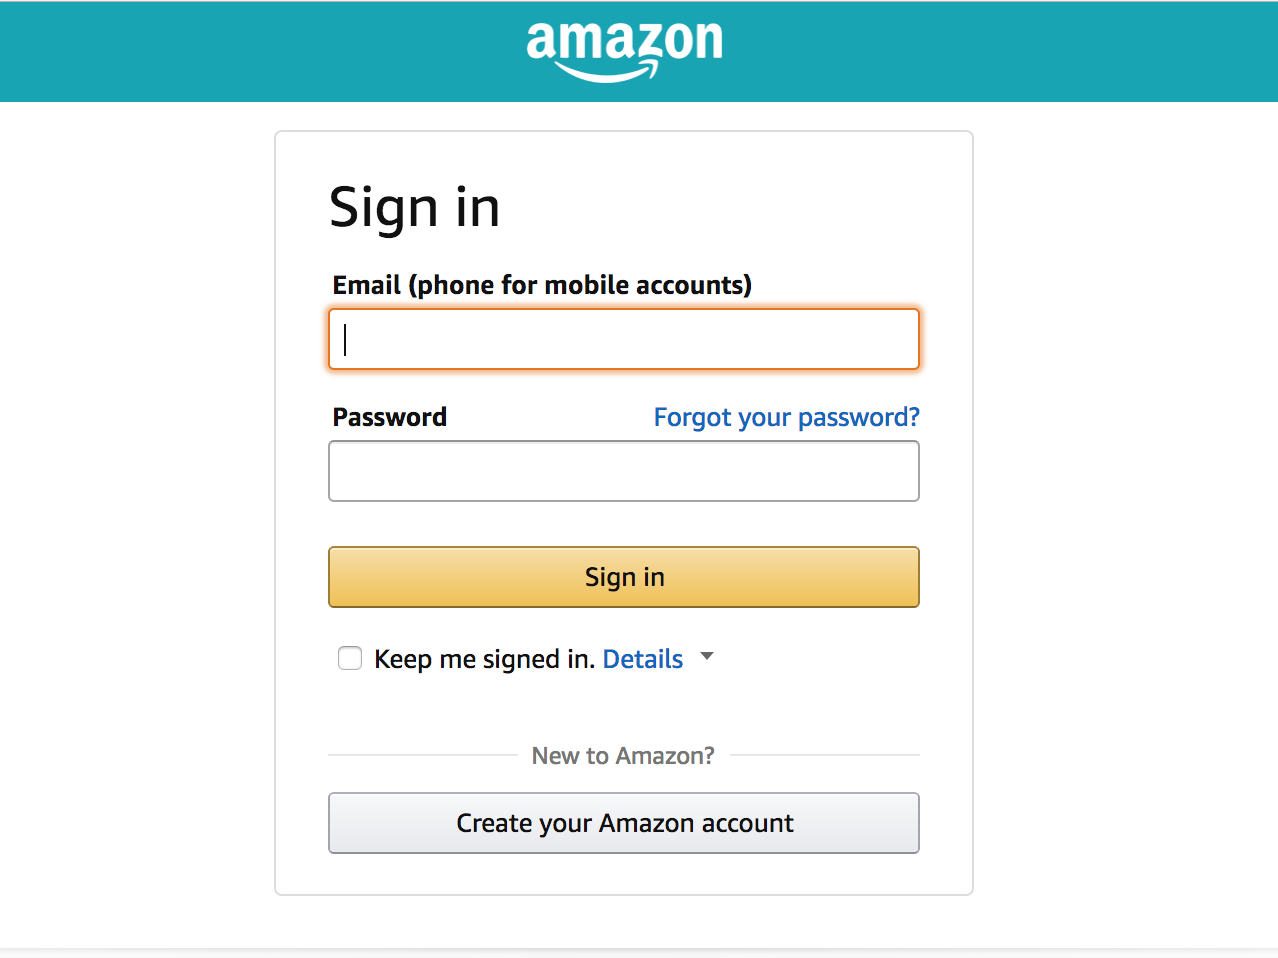
After you created your Amazon Developer Account head back to your scenario on BotTalk, go to the Deploy section and click on the Connect to Amazon button.
You will be redirected to the Amazon authorization page, where you can log in with your Amazon Developer Account:
You will now be asked to authorize BotTalk application. This is required in order for BotTalk to publish and update the Skills you created. BotTalk DOES NOT store your Amazon email / password!!!
After you authorize BotTalk, you’ll be redirected to the dashboard. Where you need to choose the scenario you created once again (sorry for this inconvenience, but there were no other way to solve oath process of Amazon):
After choosing the scenario and going to Deploy section once again, you will see the button that used to be called Connect to Amazon now has changed to Deploy:

Go ahead and click on that button to start the deployment process:

It takes couple of minutes for the deployment to build your skill. After it’s done you will see the confirmation: Successfully deployed to Alexa:
Testing Skill on Amazon Alexa
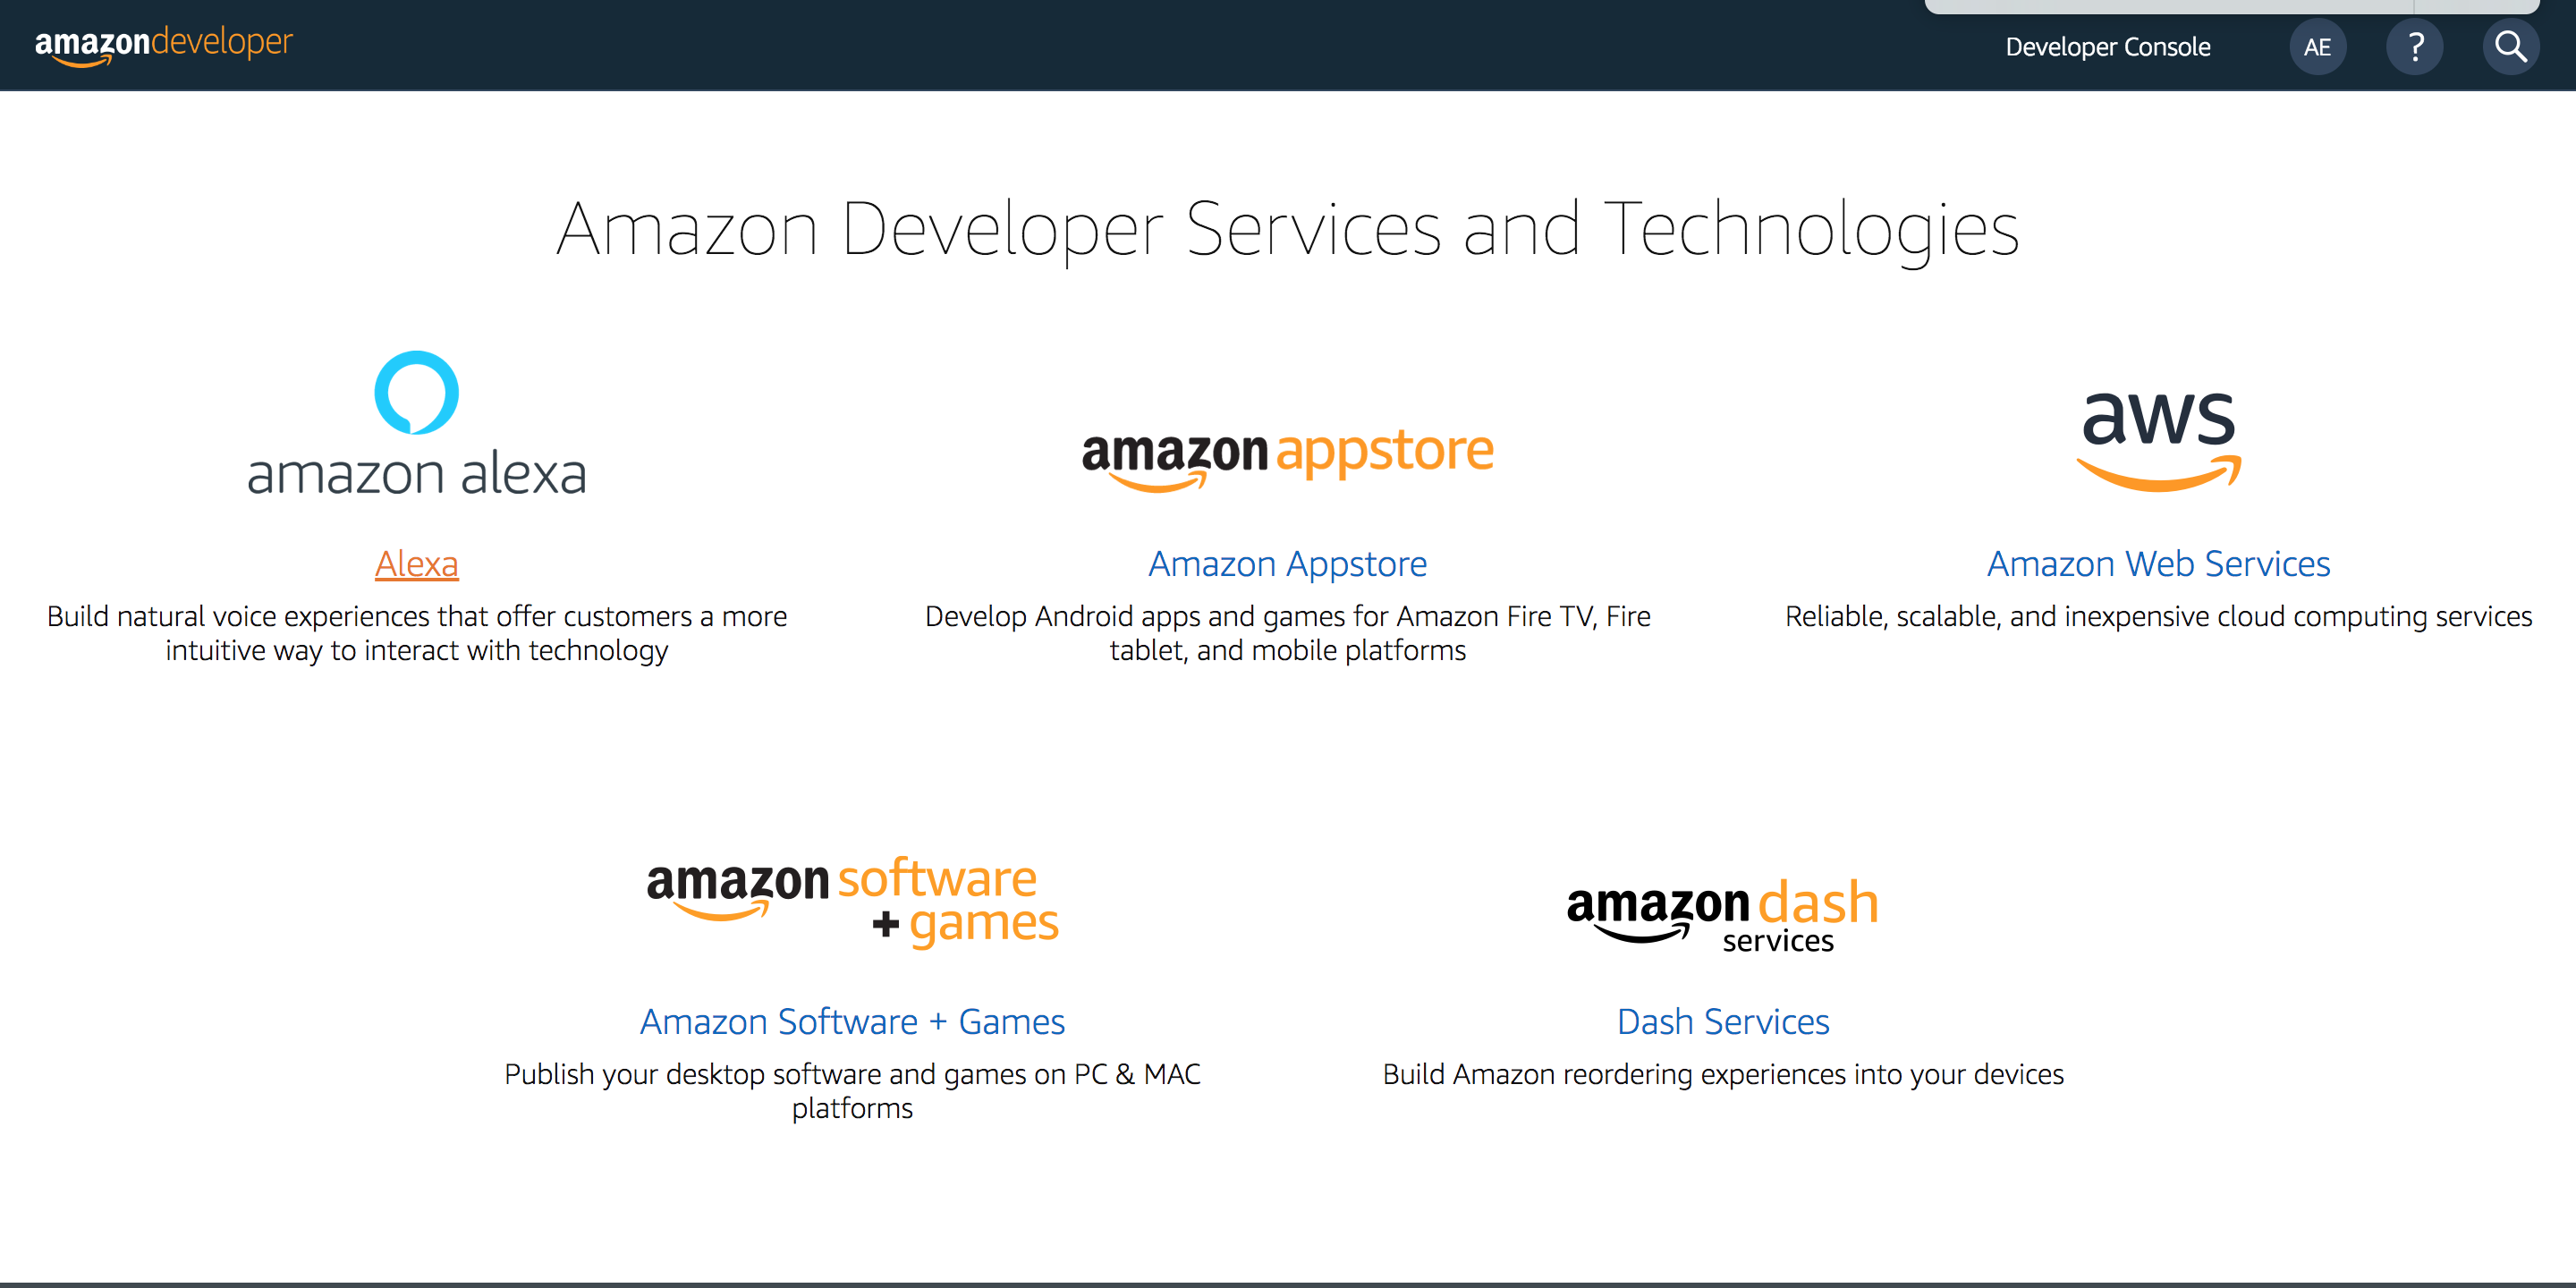
To test that the deployment worked, head over to the Amazon Developer Services and sign in as Amazon Developer.
After this choose Amazon Alexa from the dashboard (left top corner):
And then head to Your Alexa Consoles menu (right top corner). Click on the Skills section:
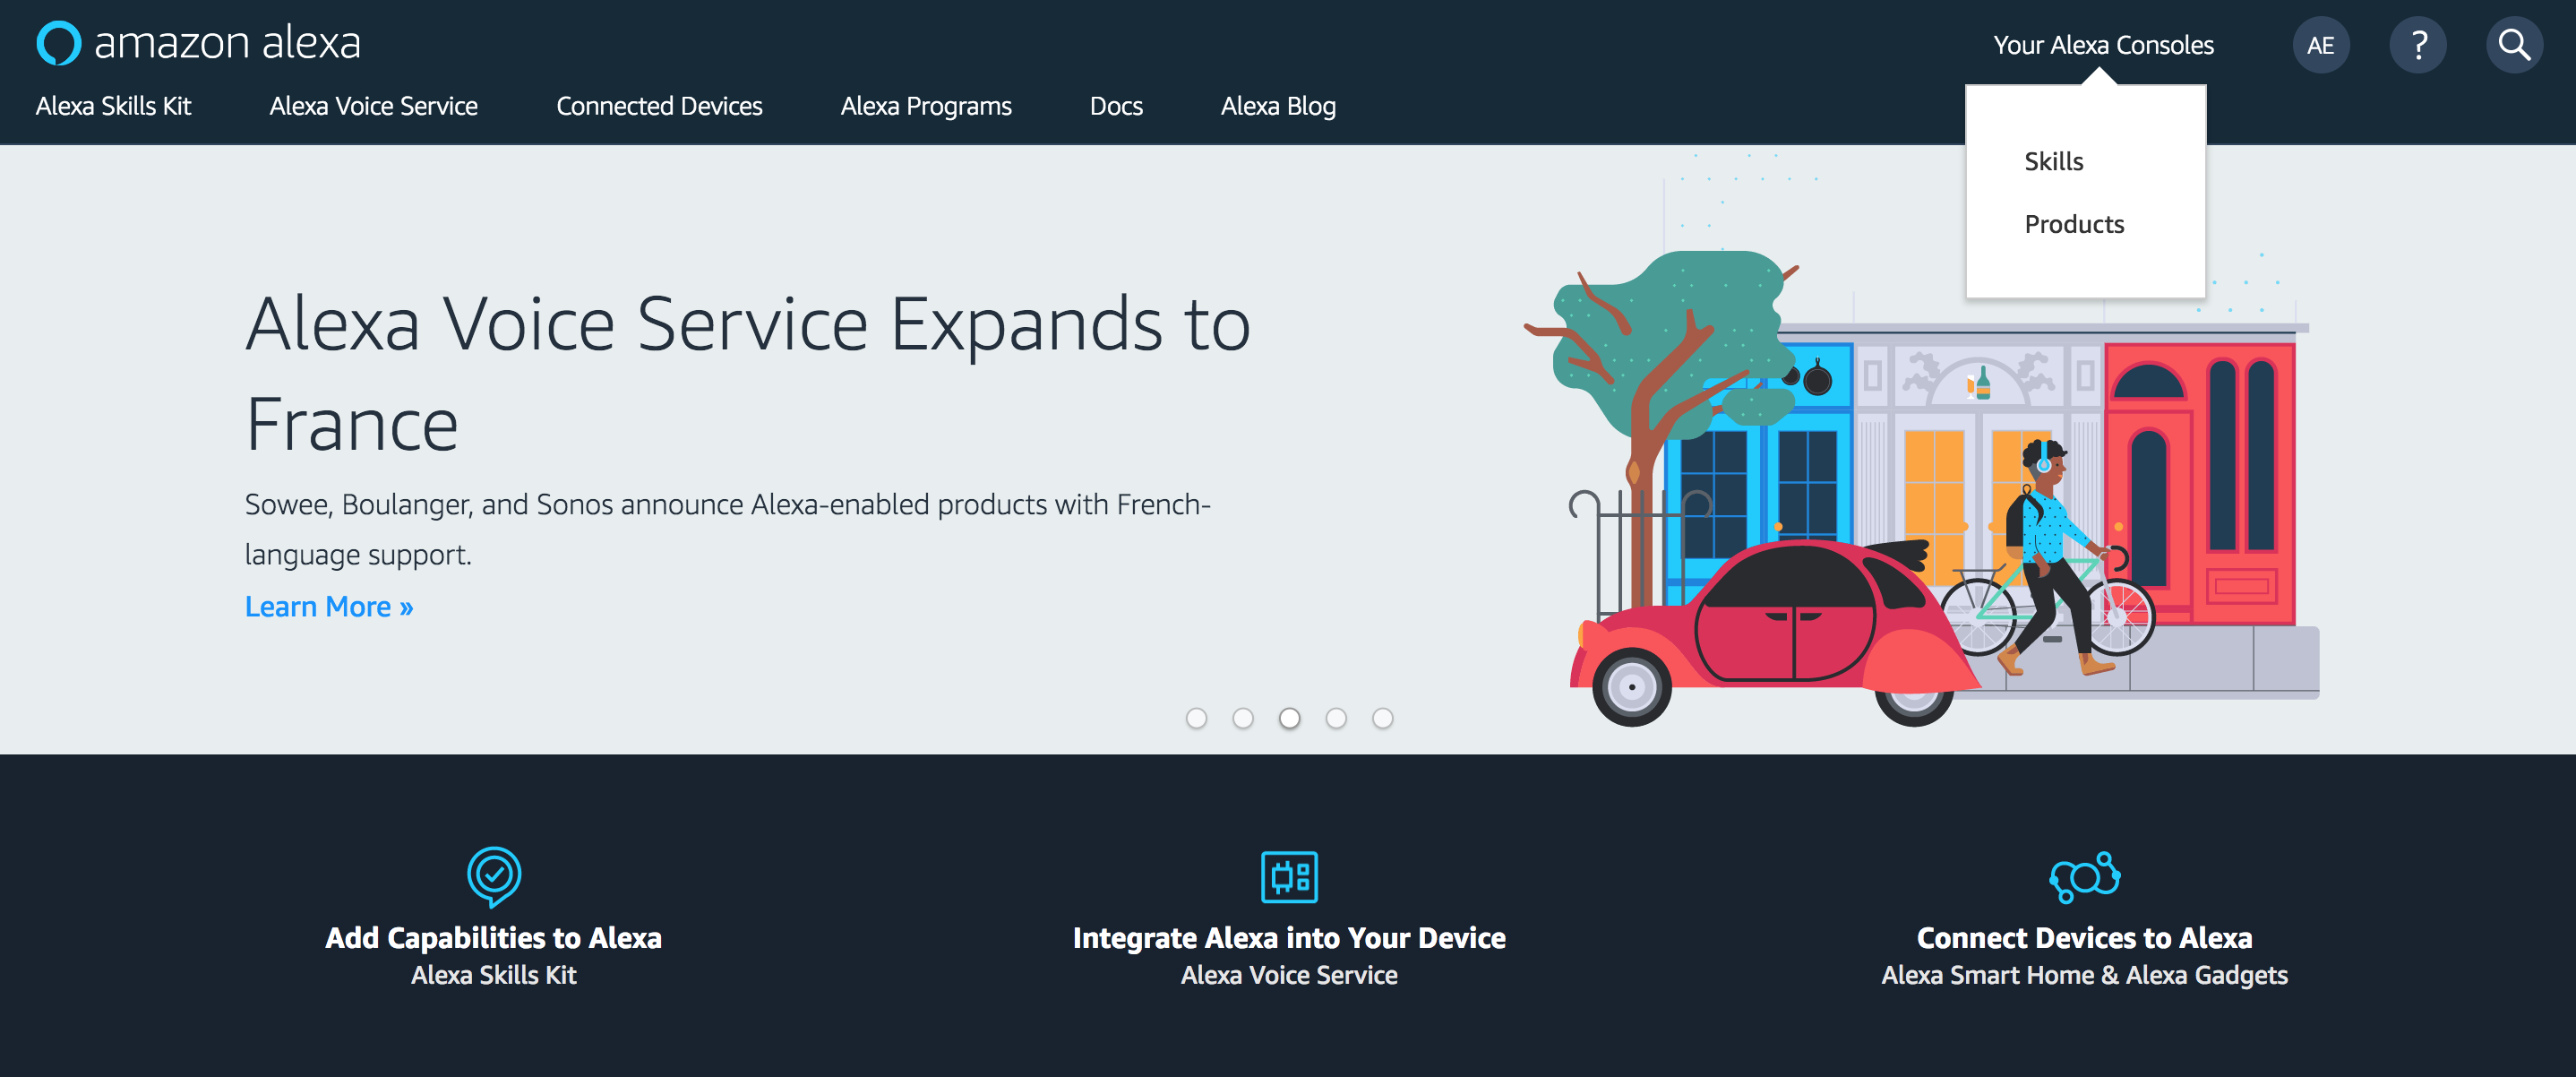
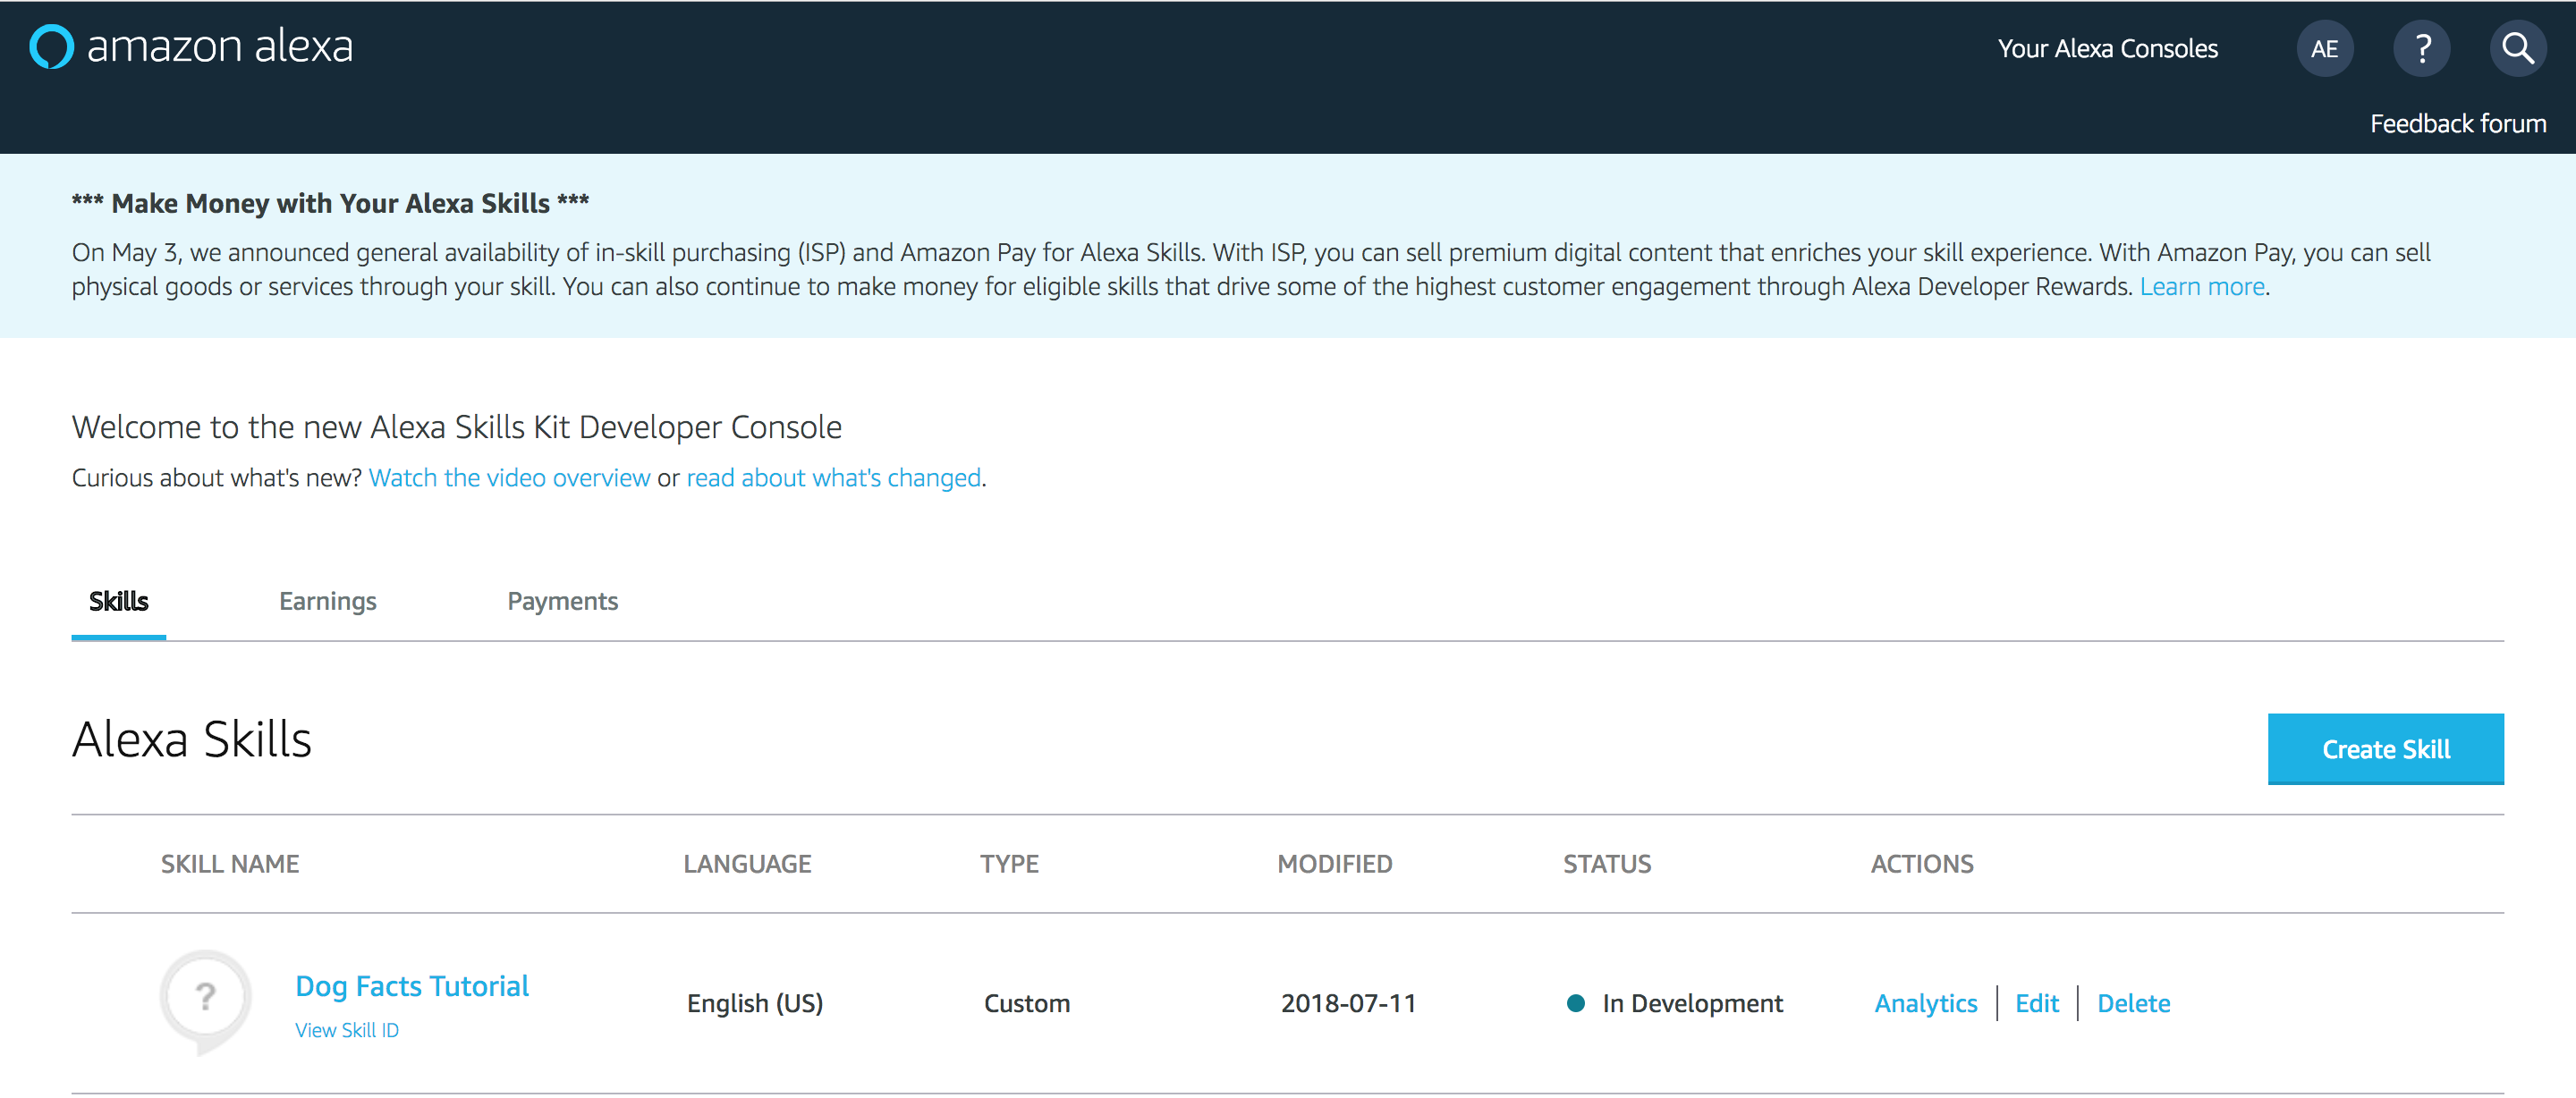
You will see the skill you’ve just deployed from BotTalk displayed in the list as the first item:
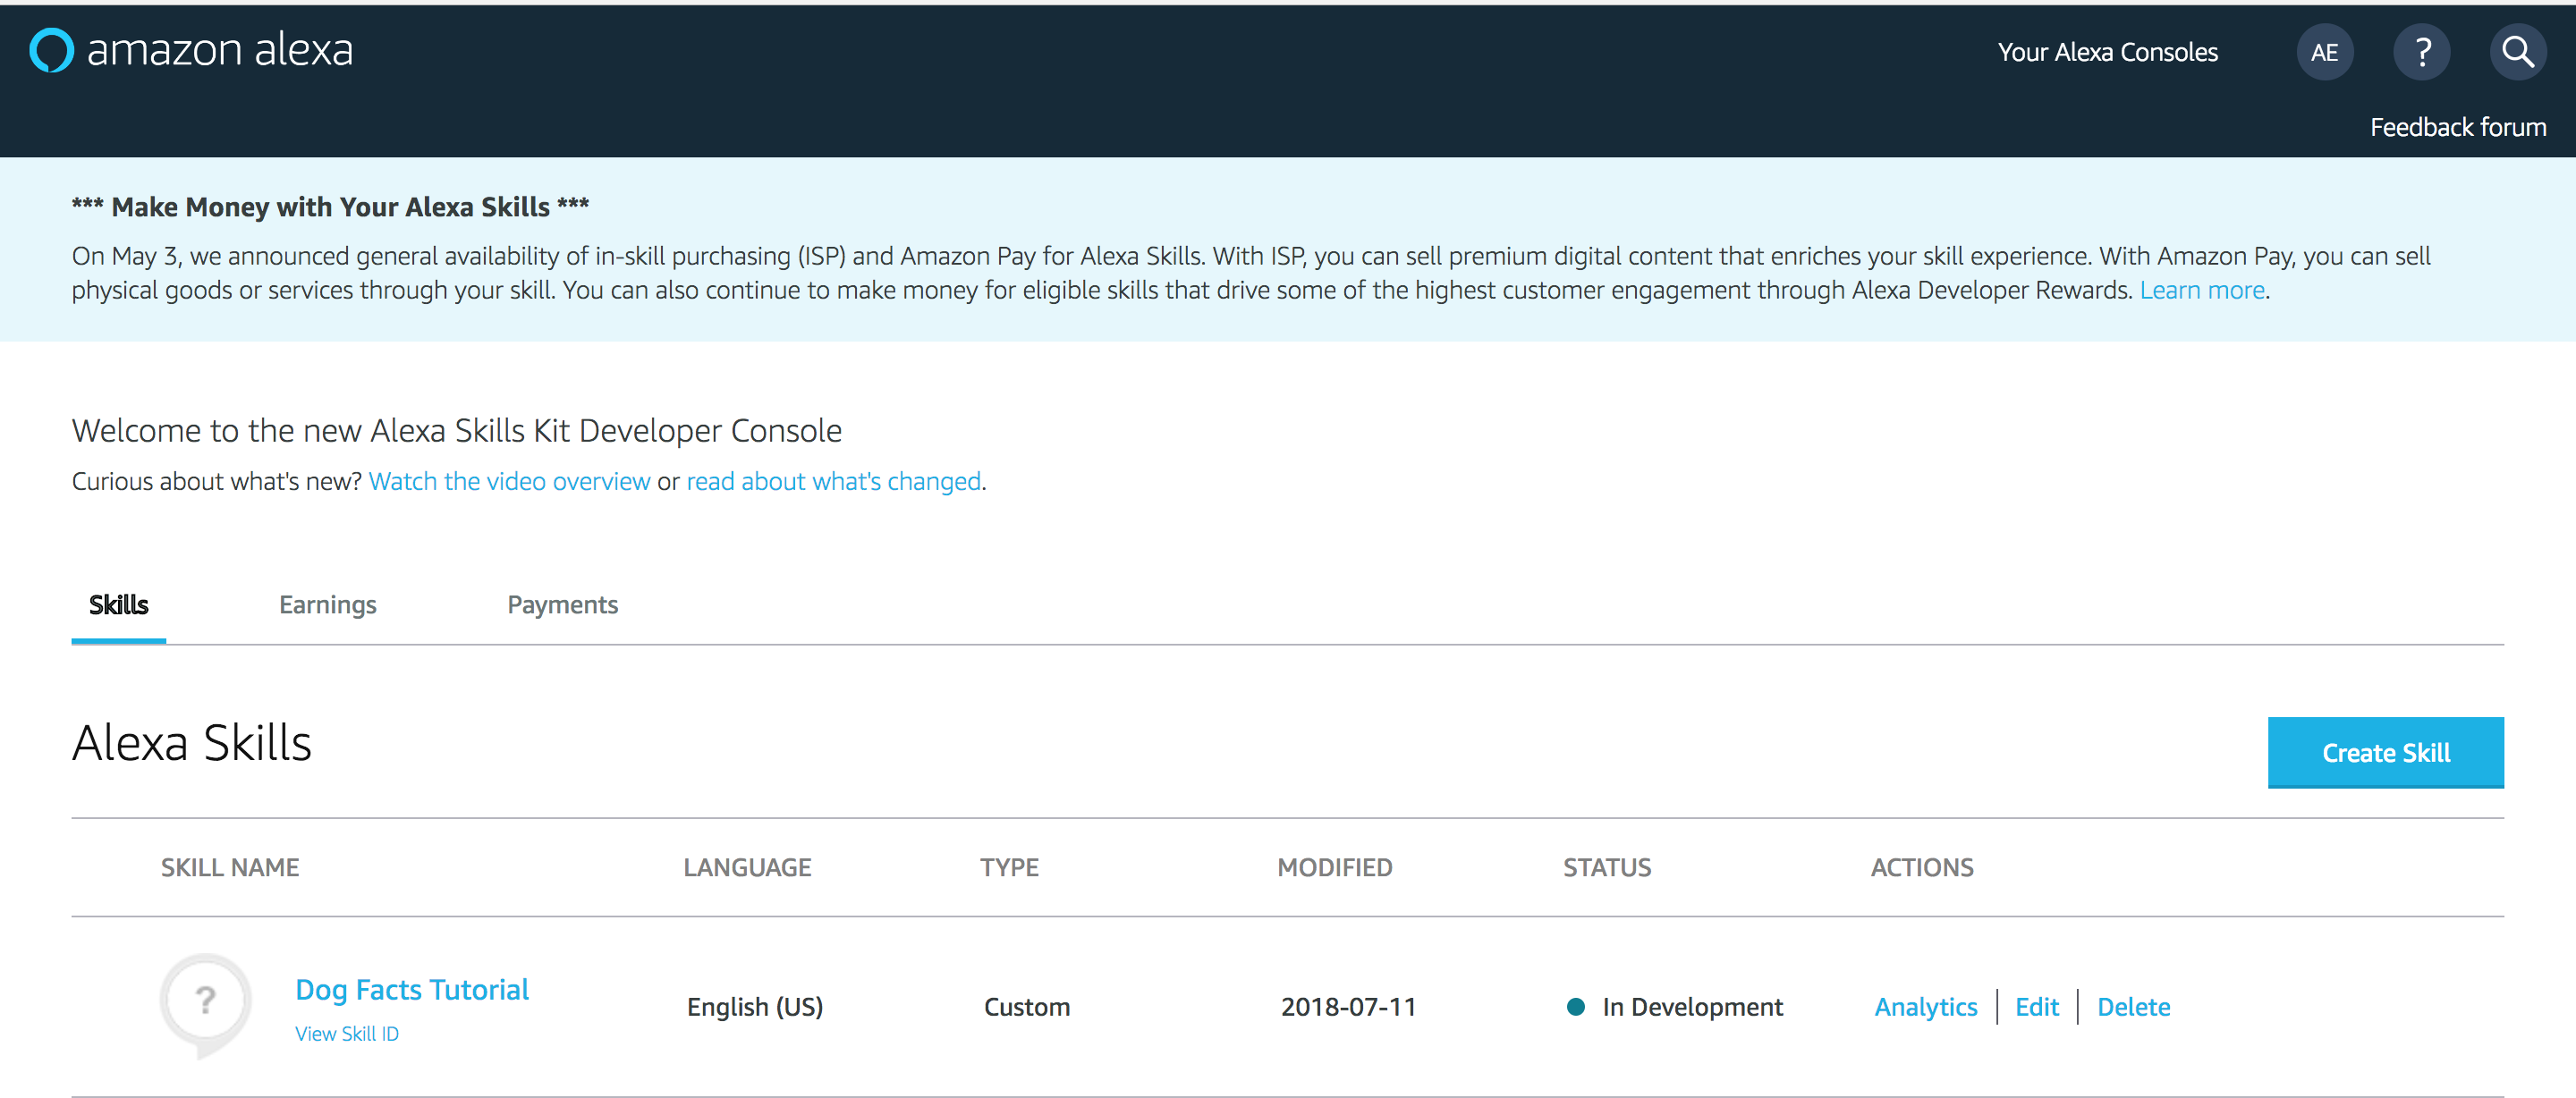
To test the skill, click on the Edit link in the ACTIONS section. You will see the following screen:
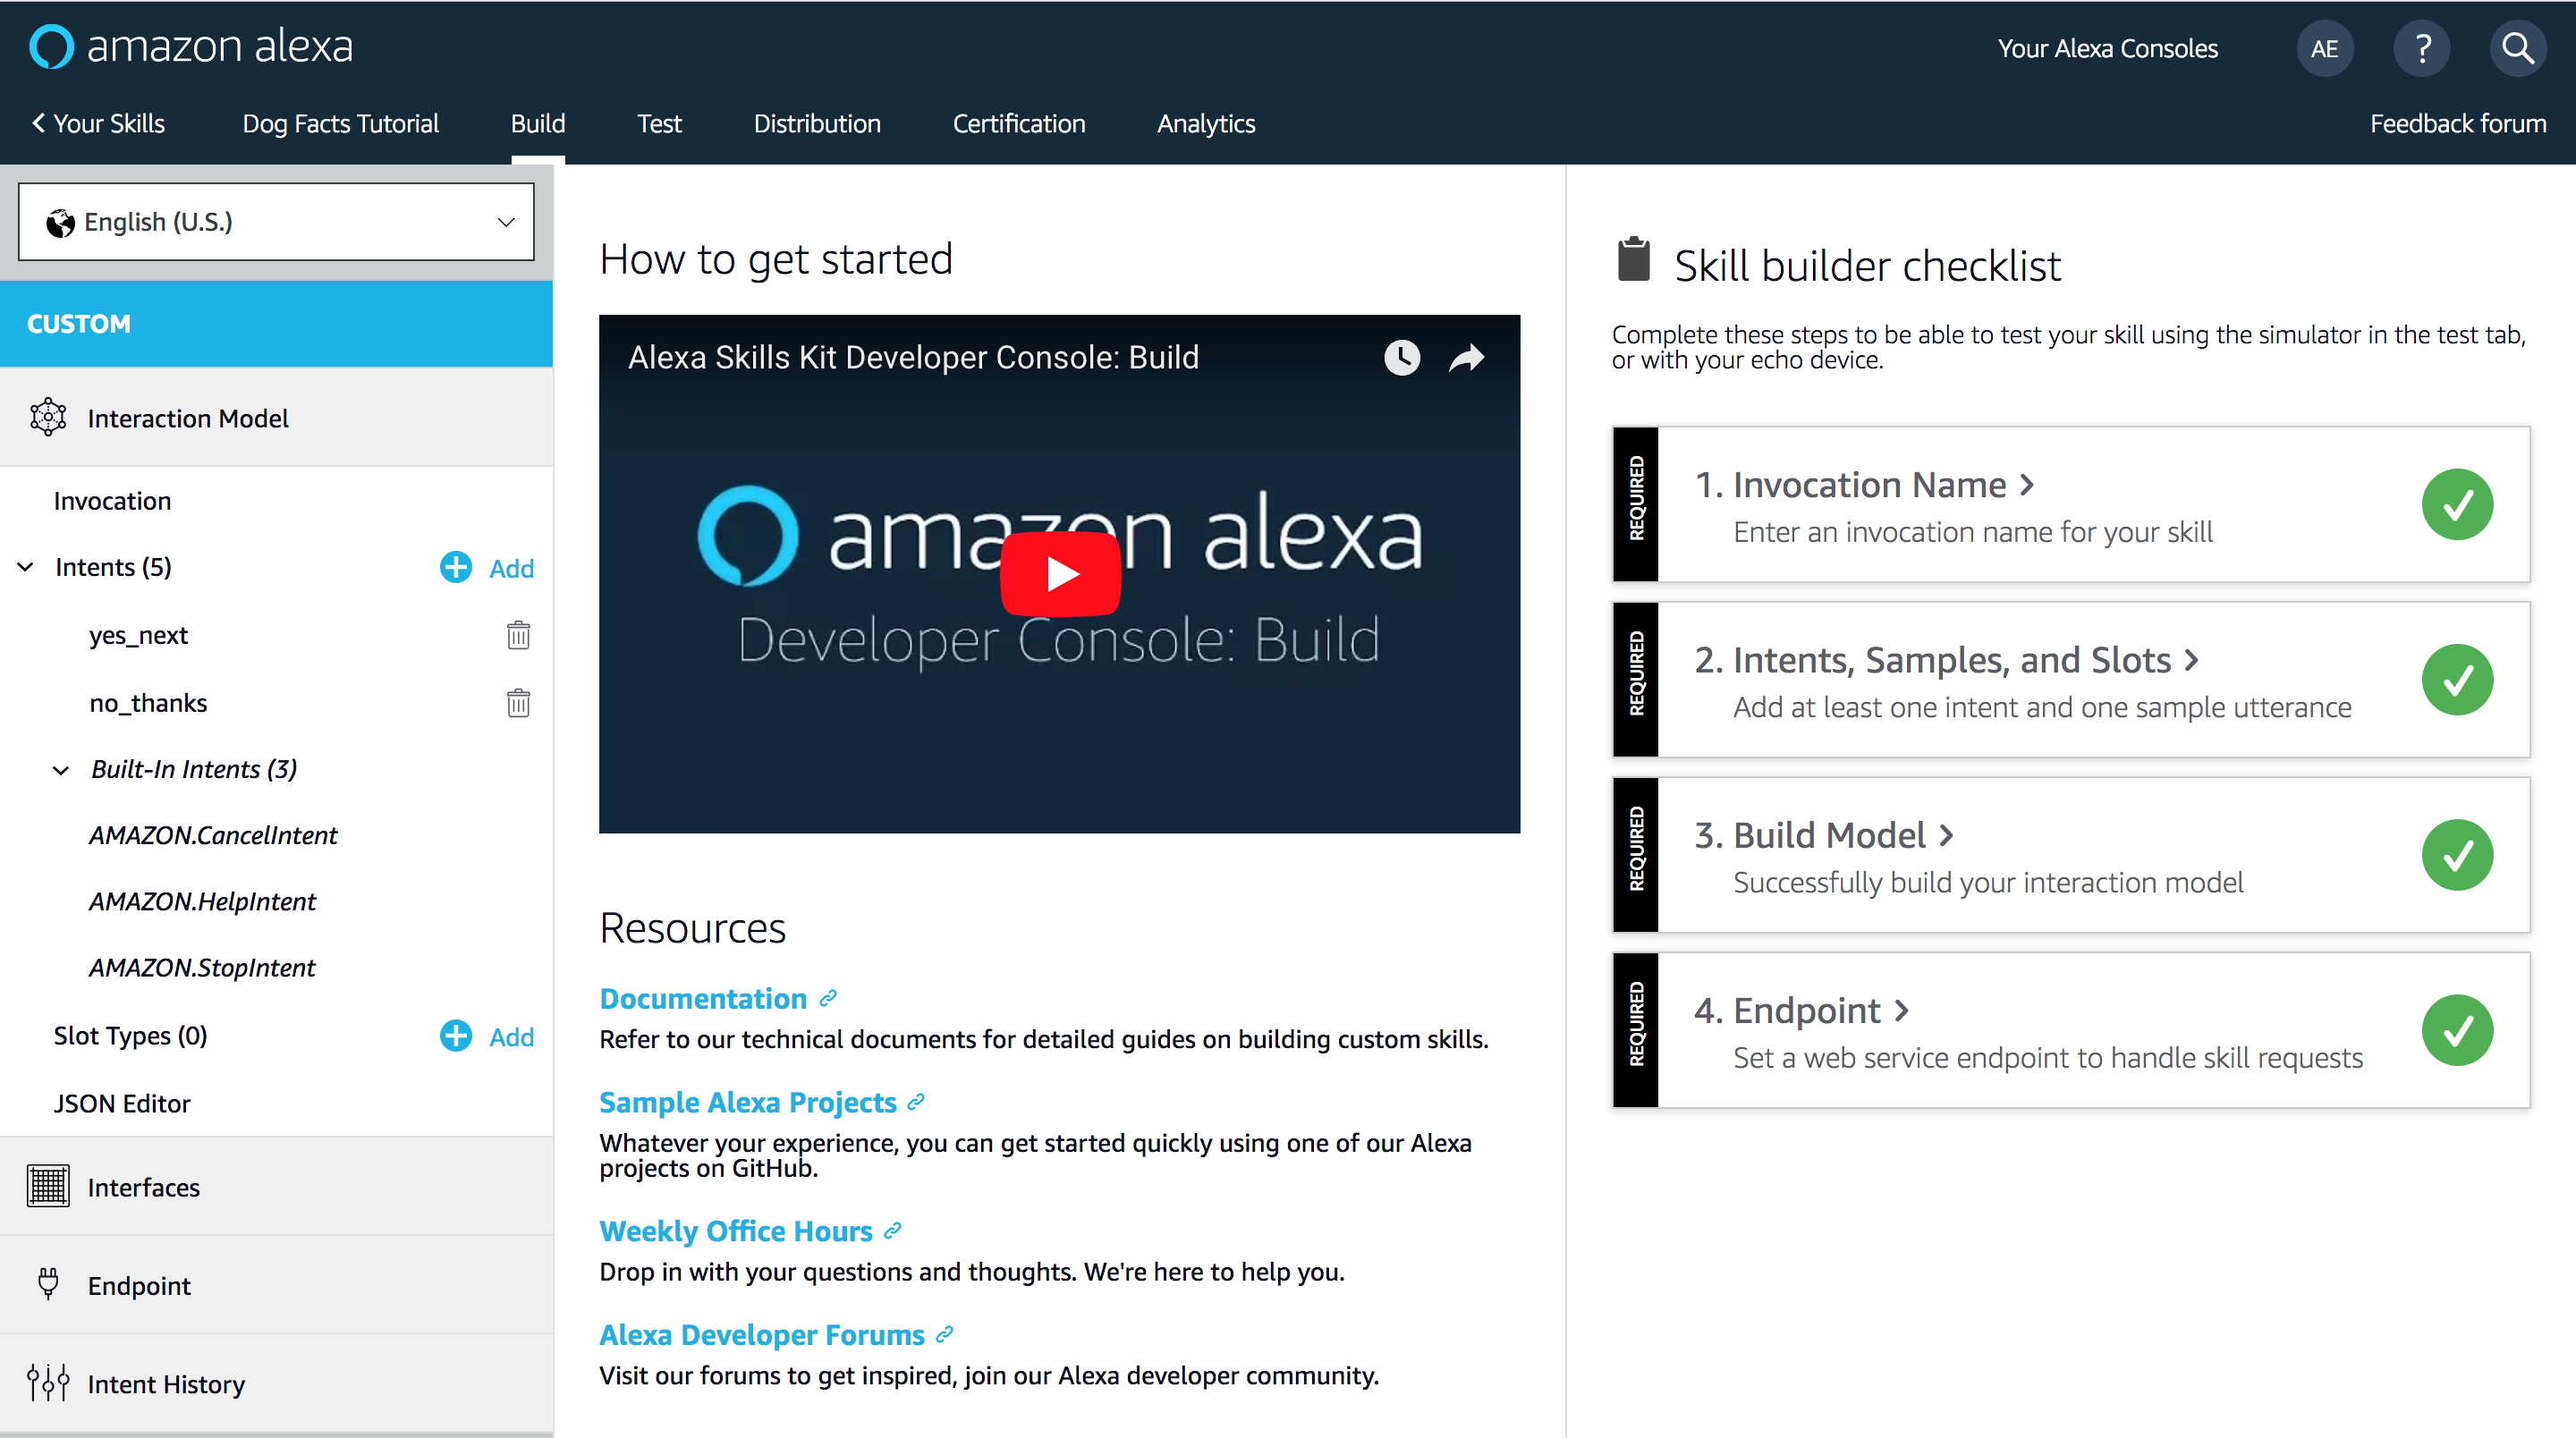
From here head to the Test tab at the top of the screen. The Test Console will open:
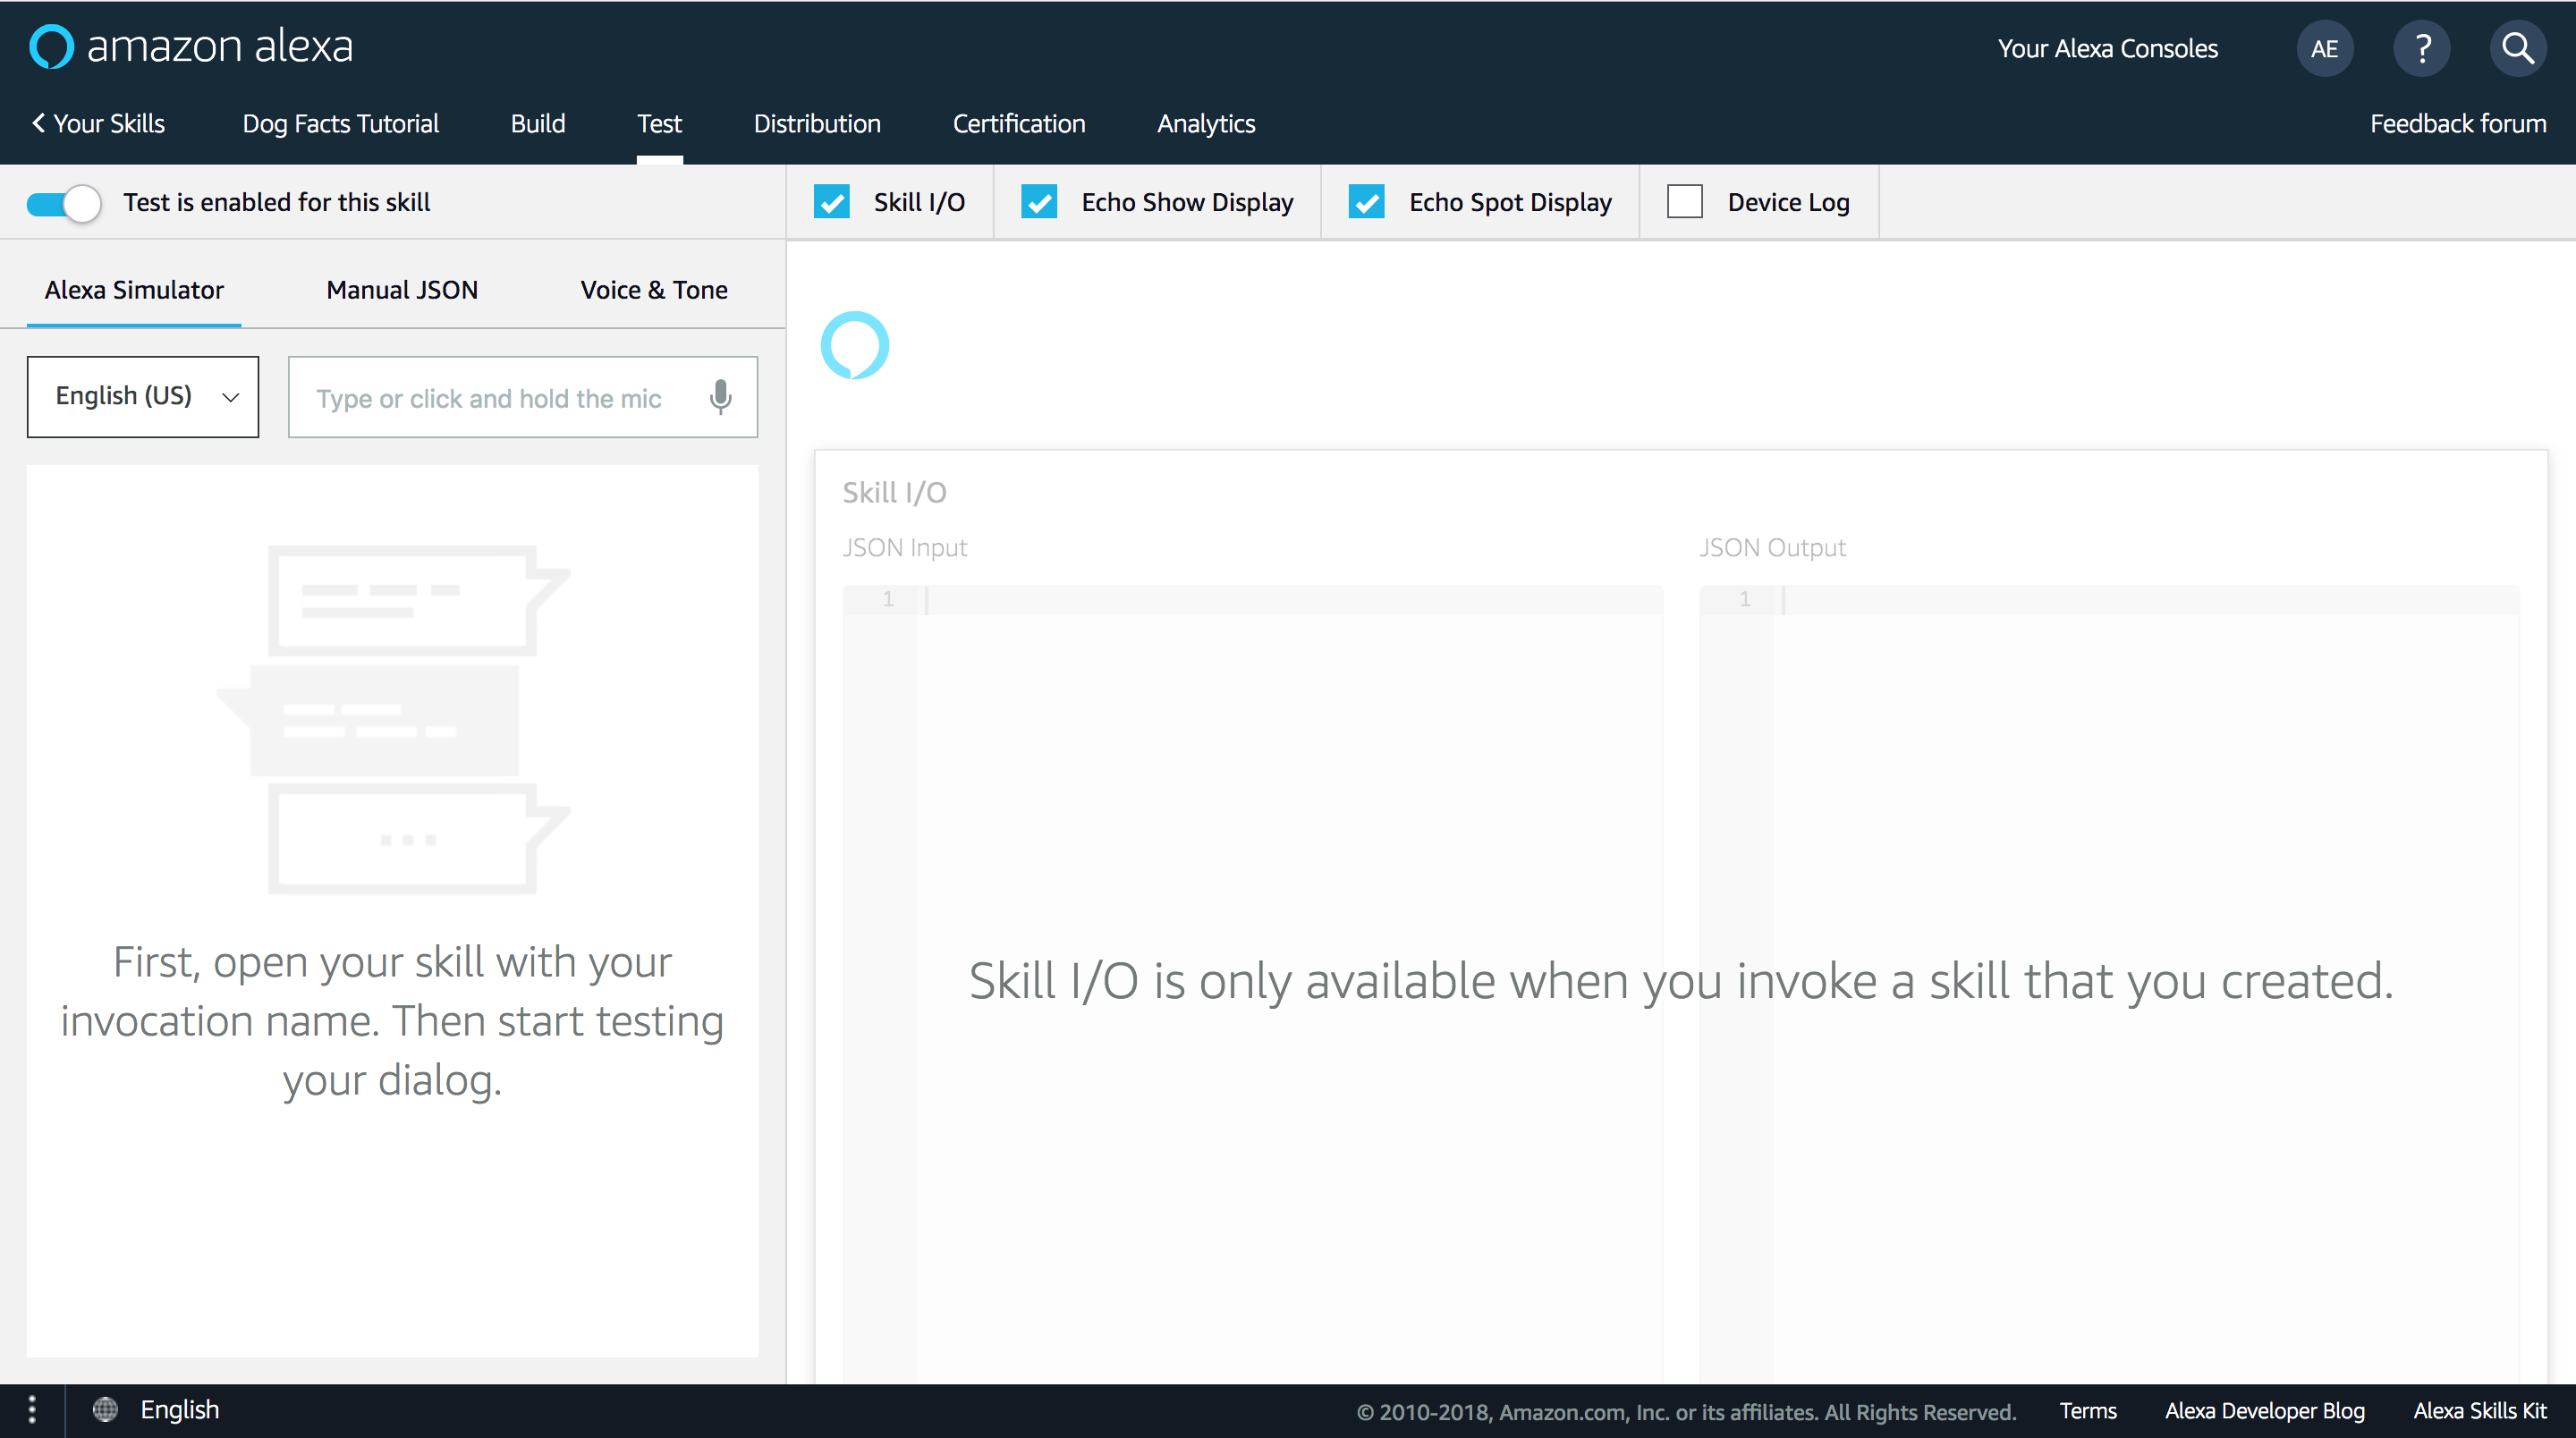
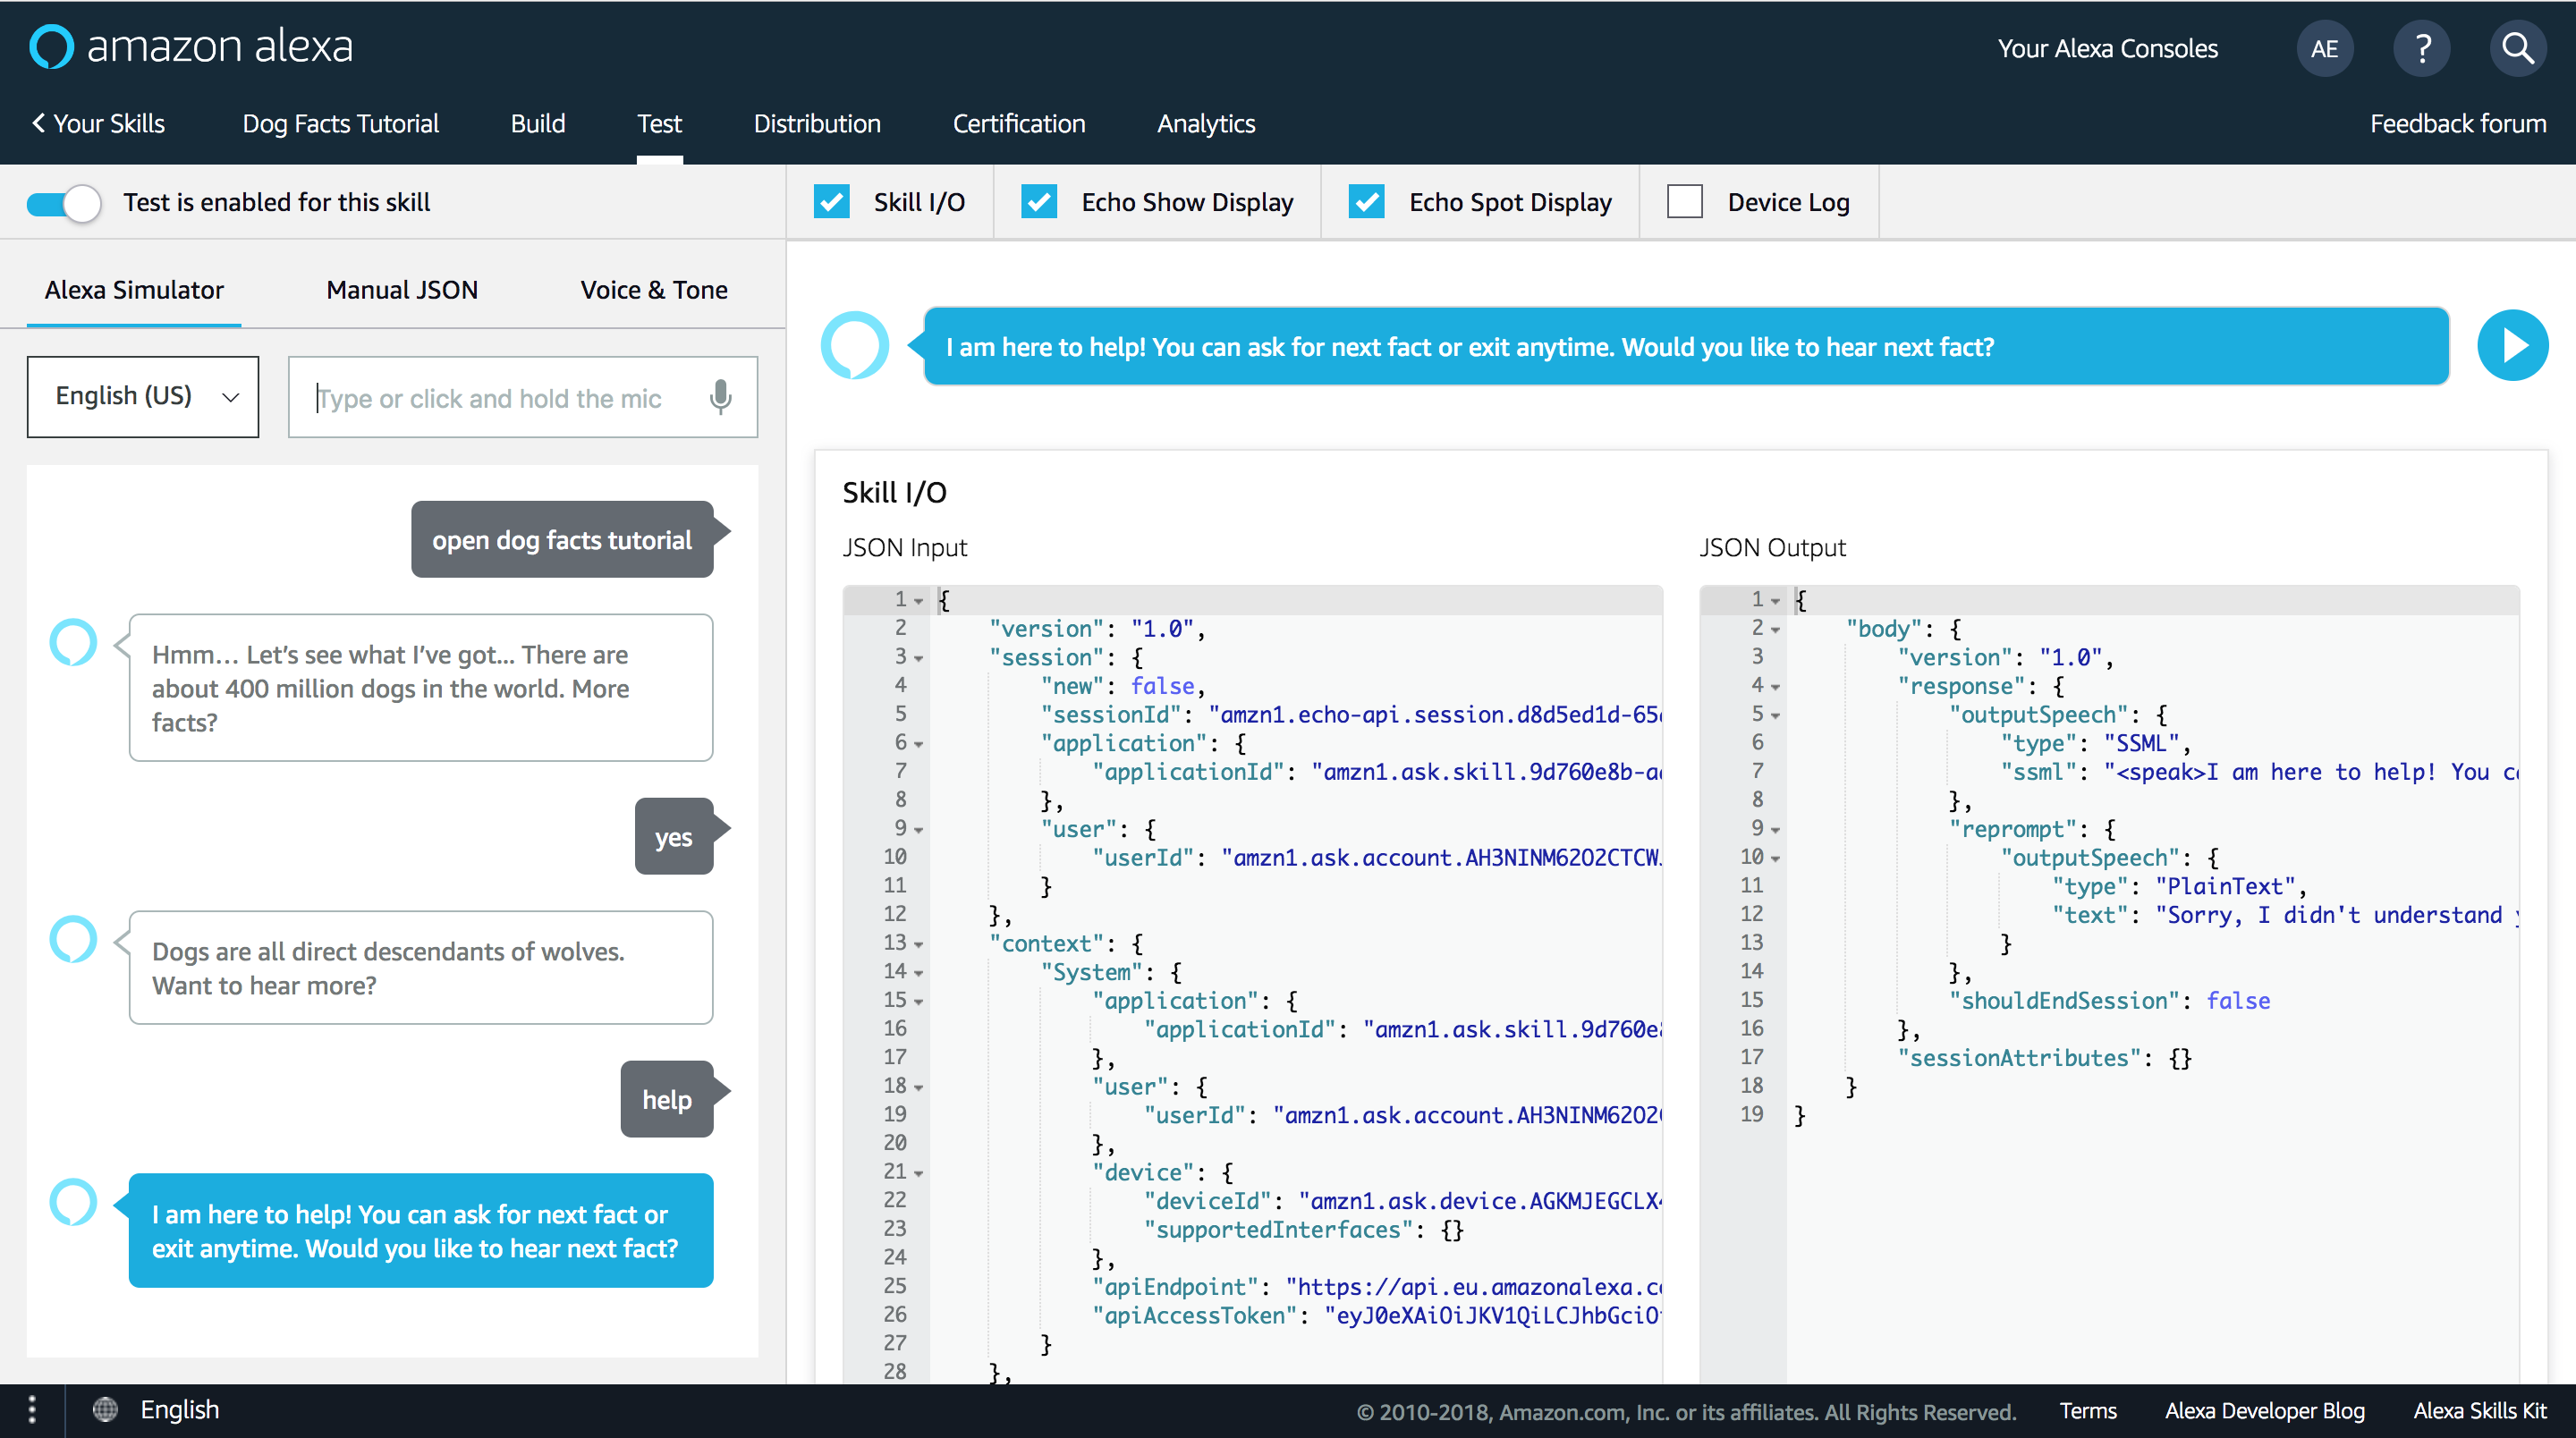
There you can start your newly created skill either by typing in the input field, or by clicking on the microphone icon and saying: open dog facts tutorial. (Please not that if named your scenario differently - you would need to choose that name instead):
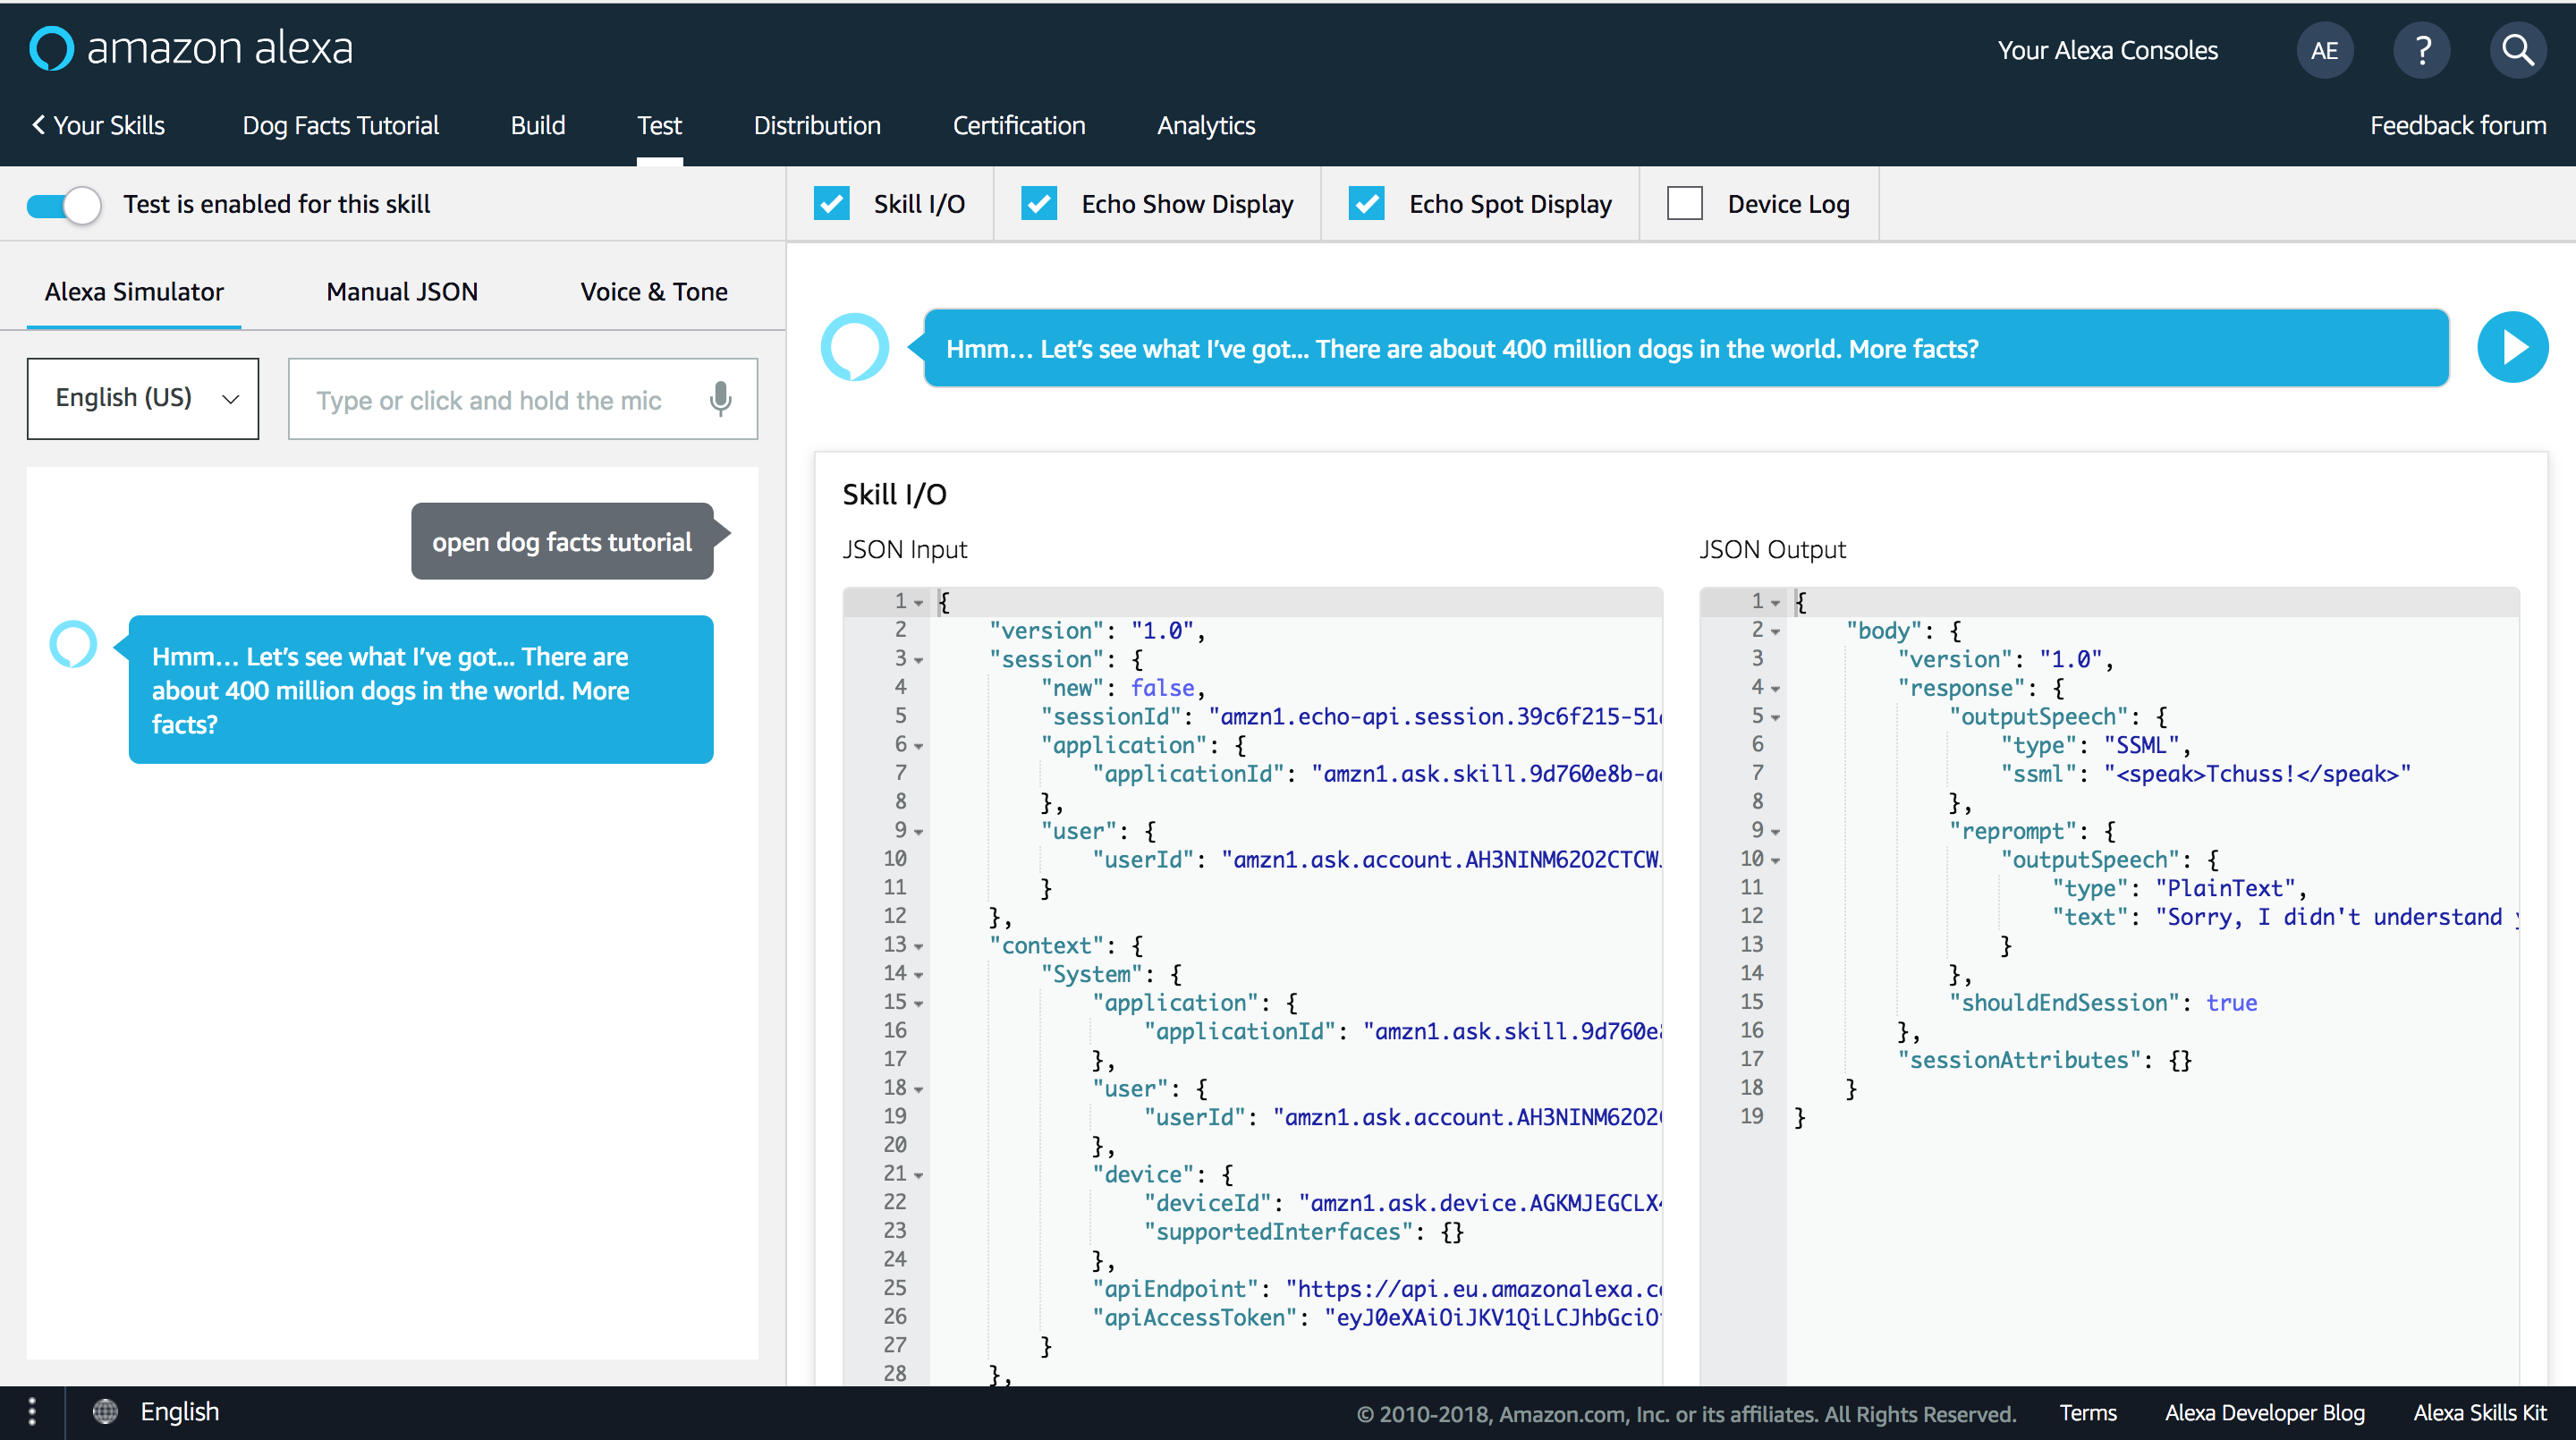
HEY!!! You’ve just written, deployed and tested your first Amazon Alexa Skill! Congratulations!
Now go ahead and play a bit with the Skill. Answer the yes/no questions. Try asking for help etc:
Want to see something cool? Let’s change something in BotTalk and see how those changes are immediately seen in the Alexa Test Console.
Head back to BotTalk, open the scenario, scroll to the help step:

Edit the text inside of the single quotes. Don’t forget to close the quotes. We’ll change the help text
from:
'I am here to help! You can ask for next fact or exit anytime. Would you like to hear next fact?'
to:
'Here is my own help text! Can I help you? Do you want to hear the text dog fact?'

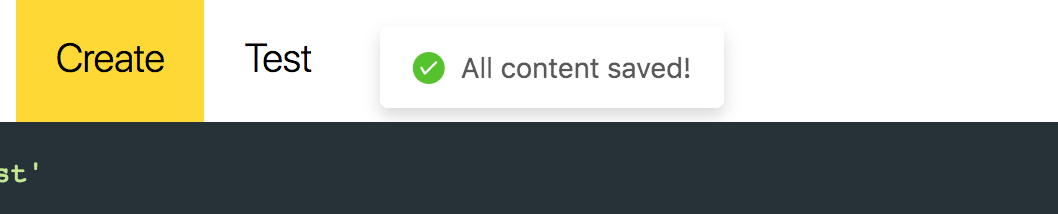
Click the Save button and wait for the little confirmation at the top of the editor:
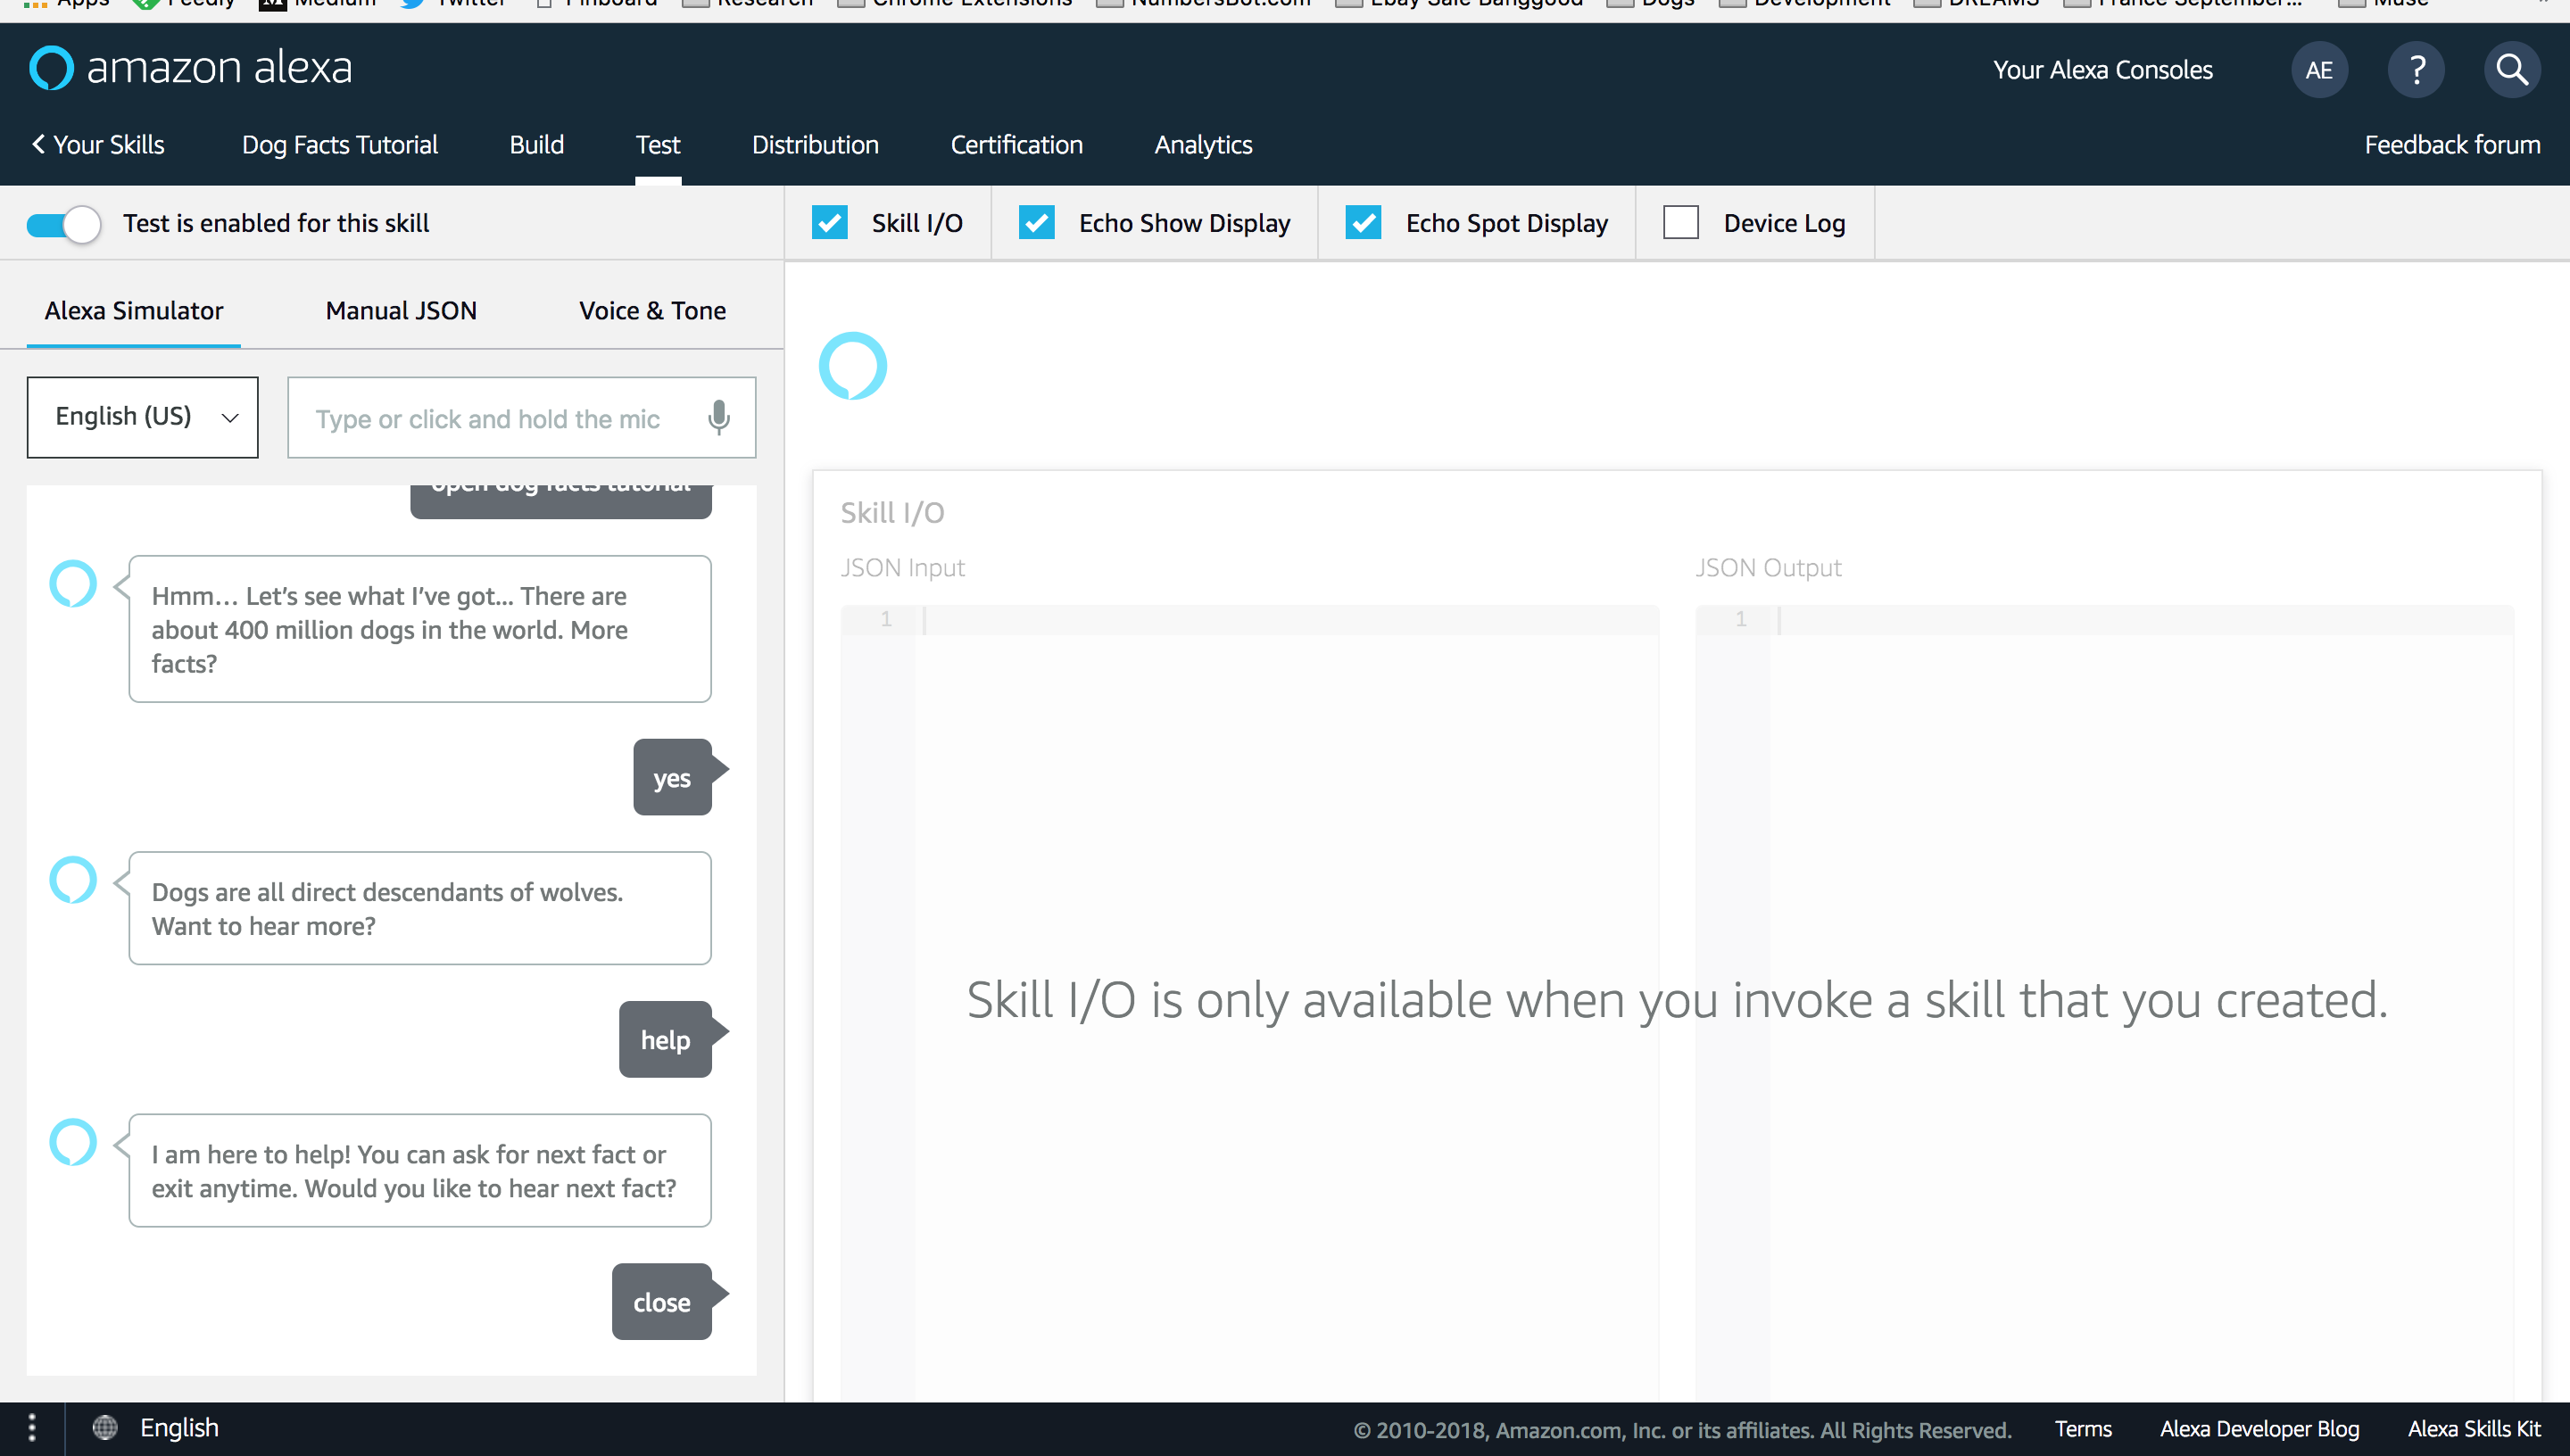
Now head back to Alexa Test Console, close the Skill by typing in close. This step is important - the opened skill can’t see the changes you have just made in BotTalk:
Open the skill once again by typing/saying open dog facts tutorial and then help to see if the changes you have made to the help section in the BotTalk scenario are working:
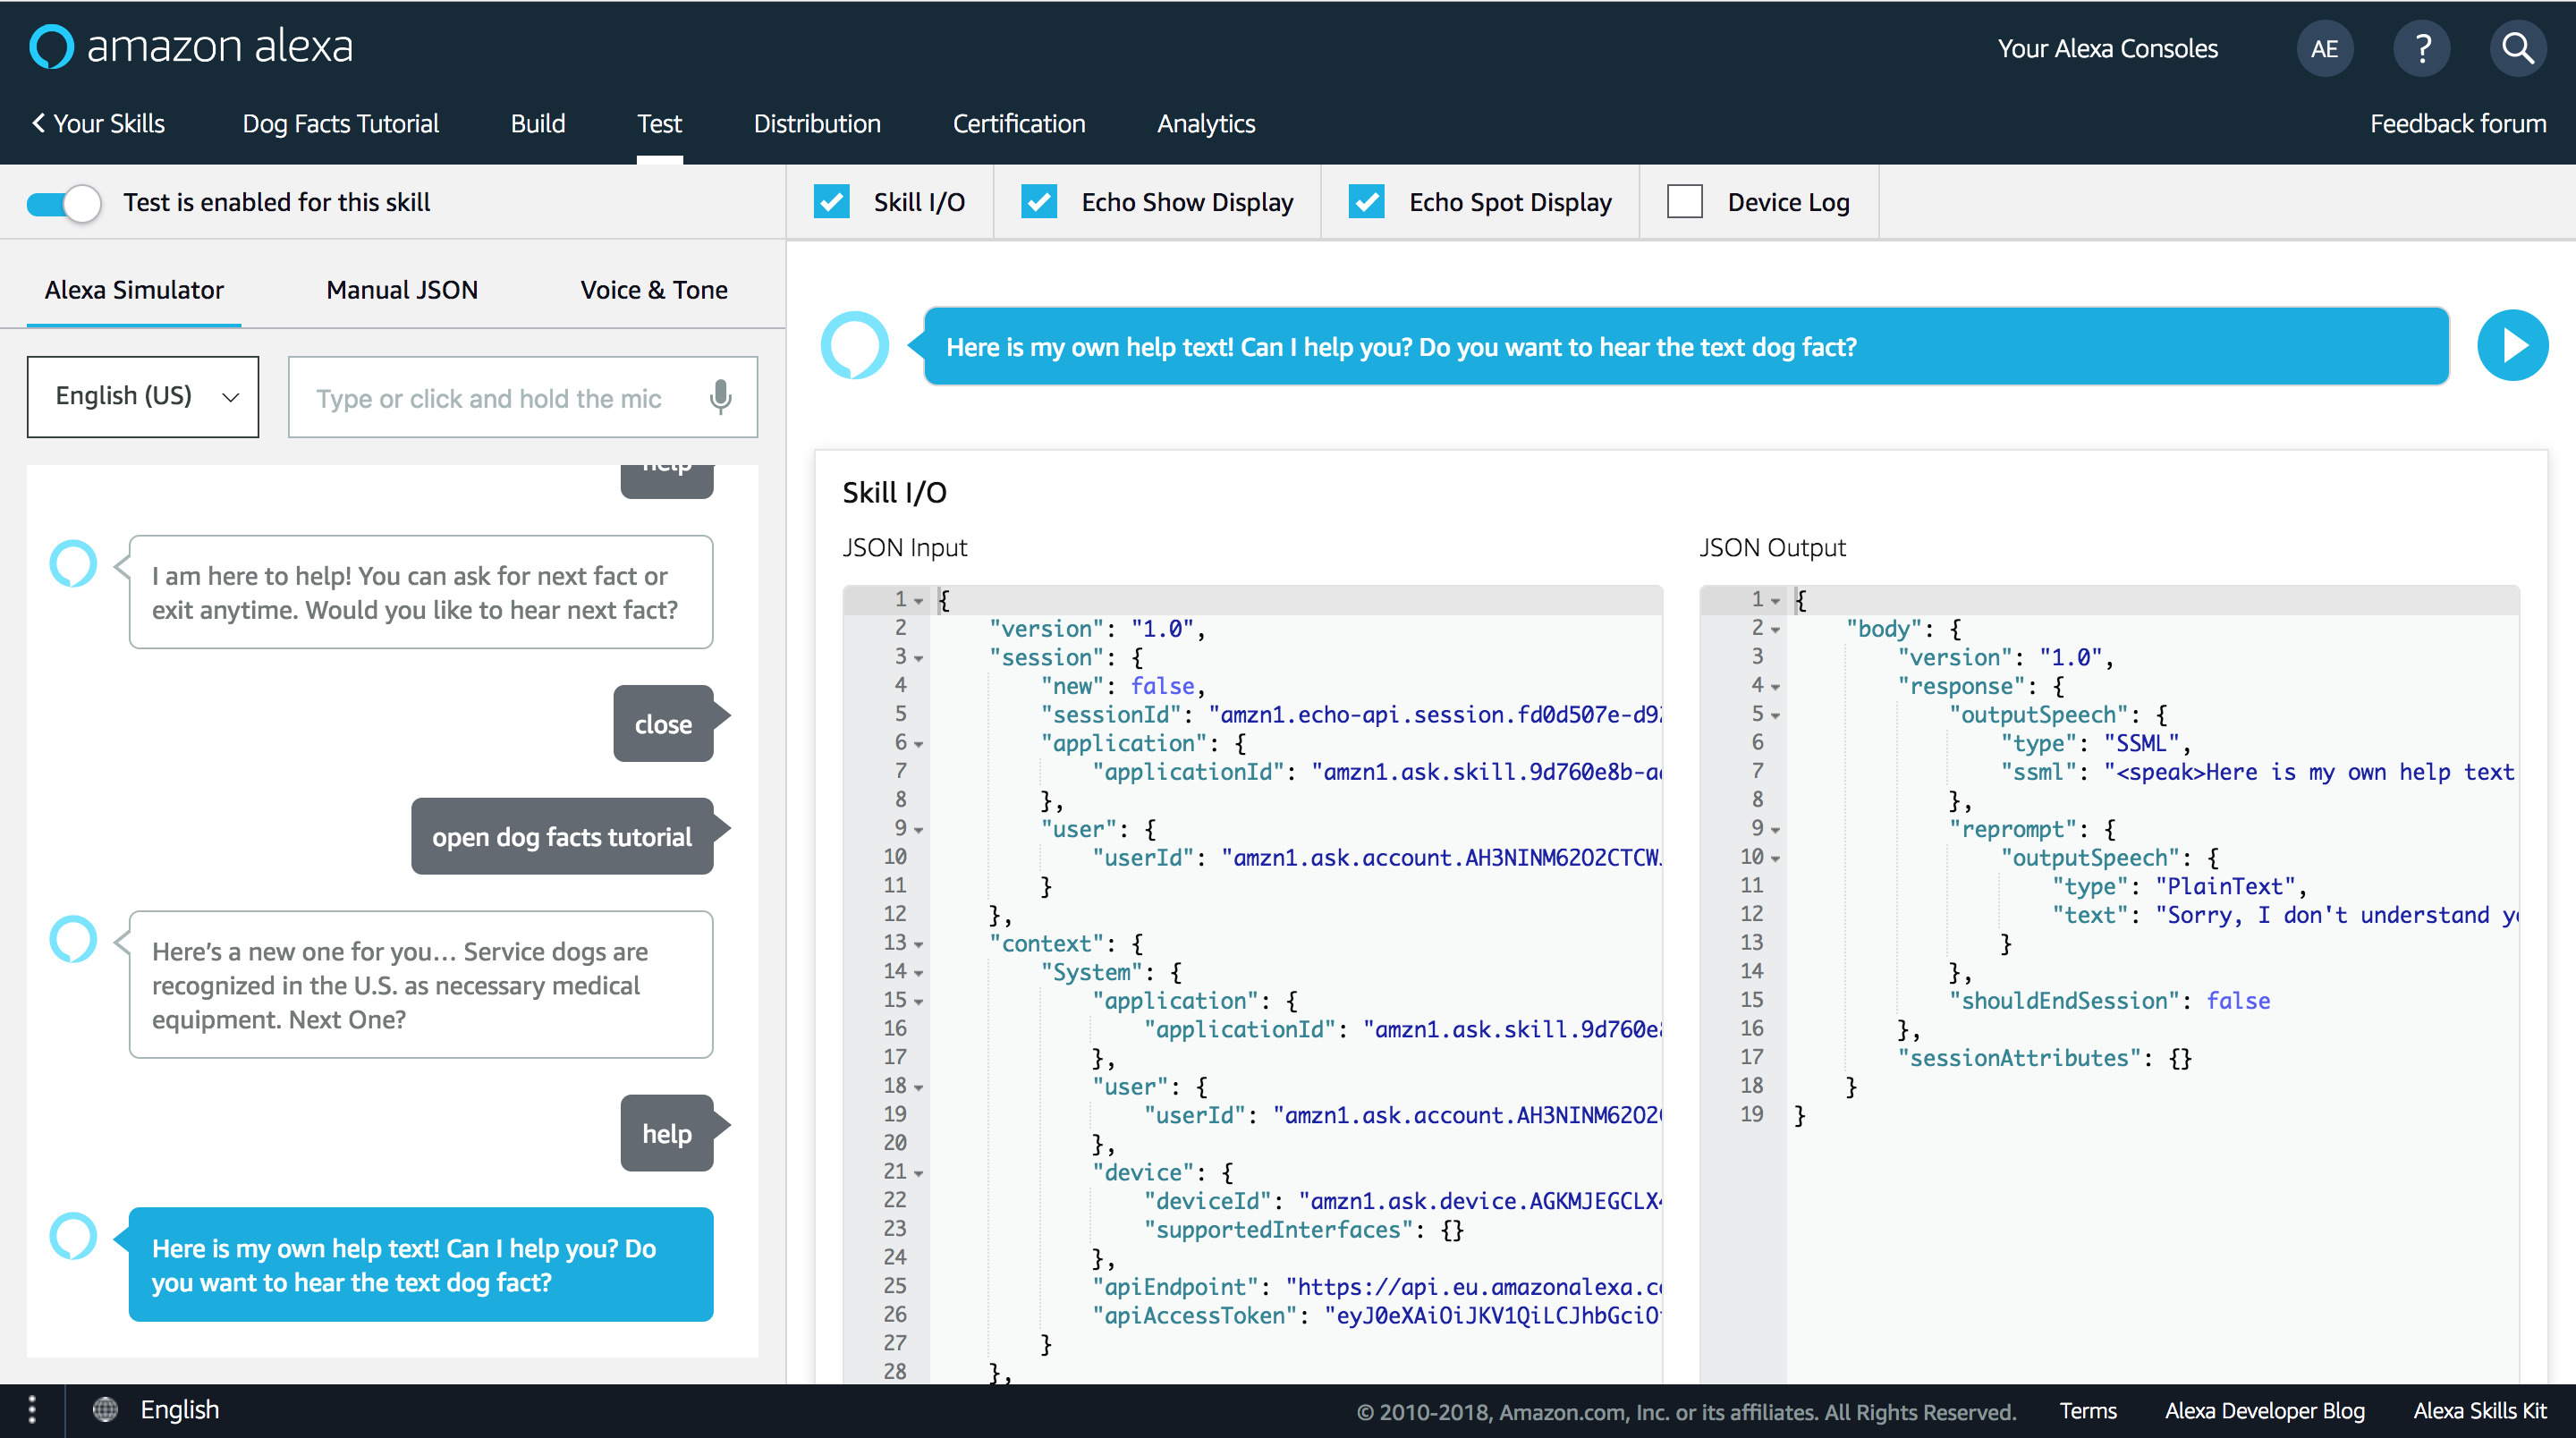
YAY!!! That’s how easy it is to change what Alexa is saying by editing the sendText action in BotTalk!
Deploy to Google Assistant (via Dialogflow)
To deploy your scenario from BotTalk to Google Assistant you need to create an account on Dialogflow. Dialogflow is owned by Google and is essentially the counterpart of Amazon Alexa Console.
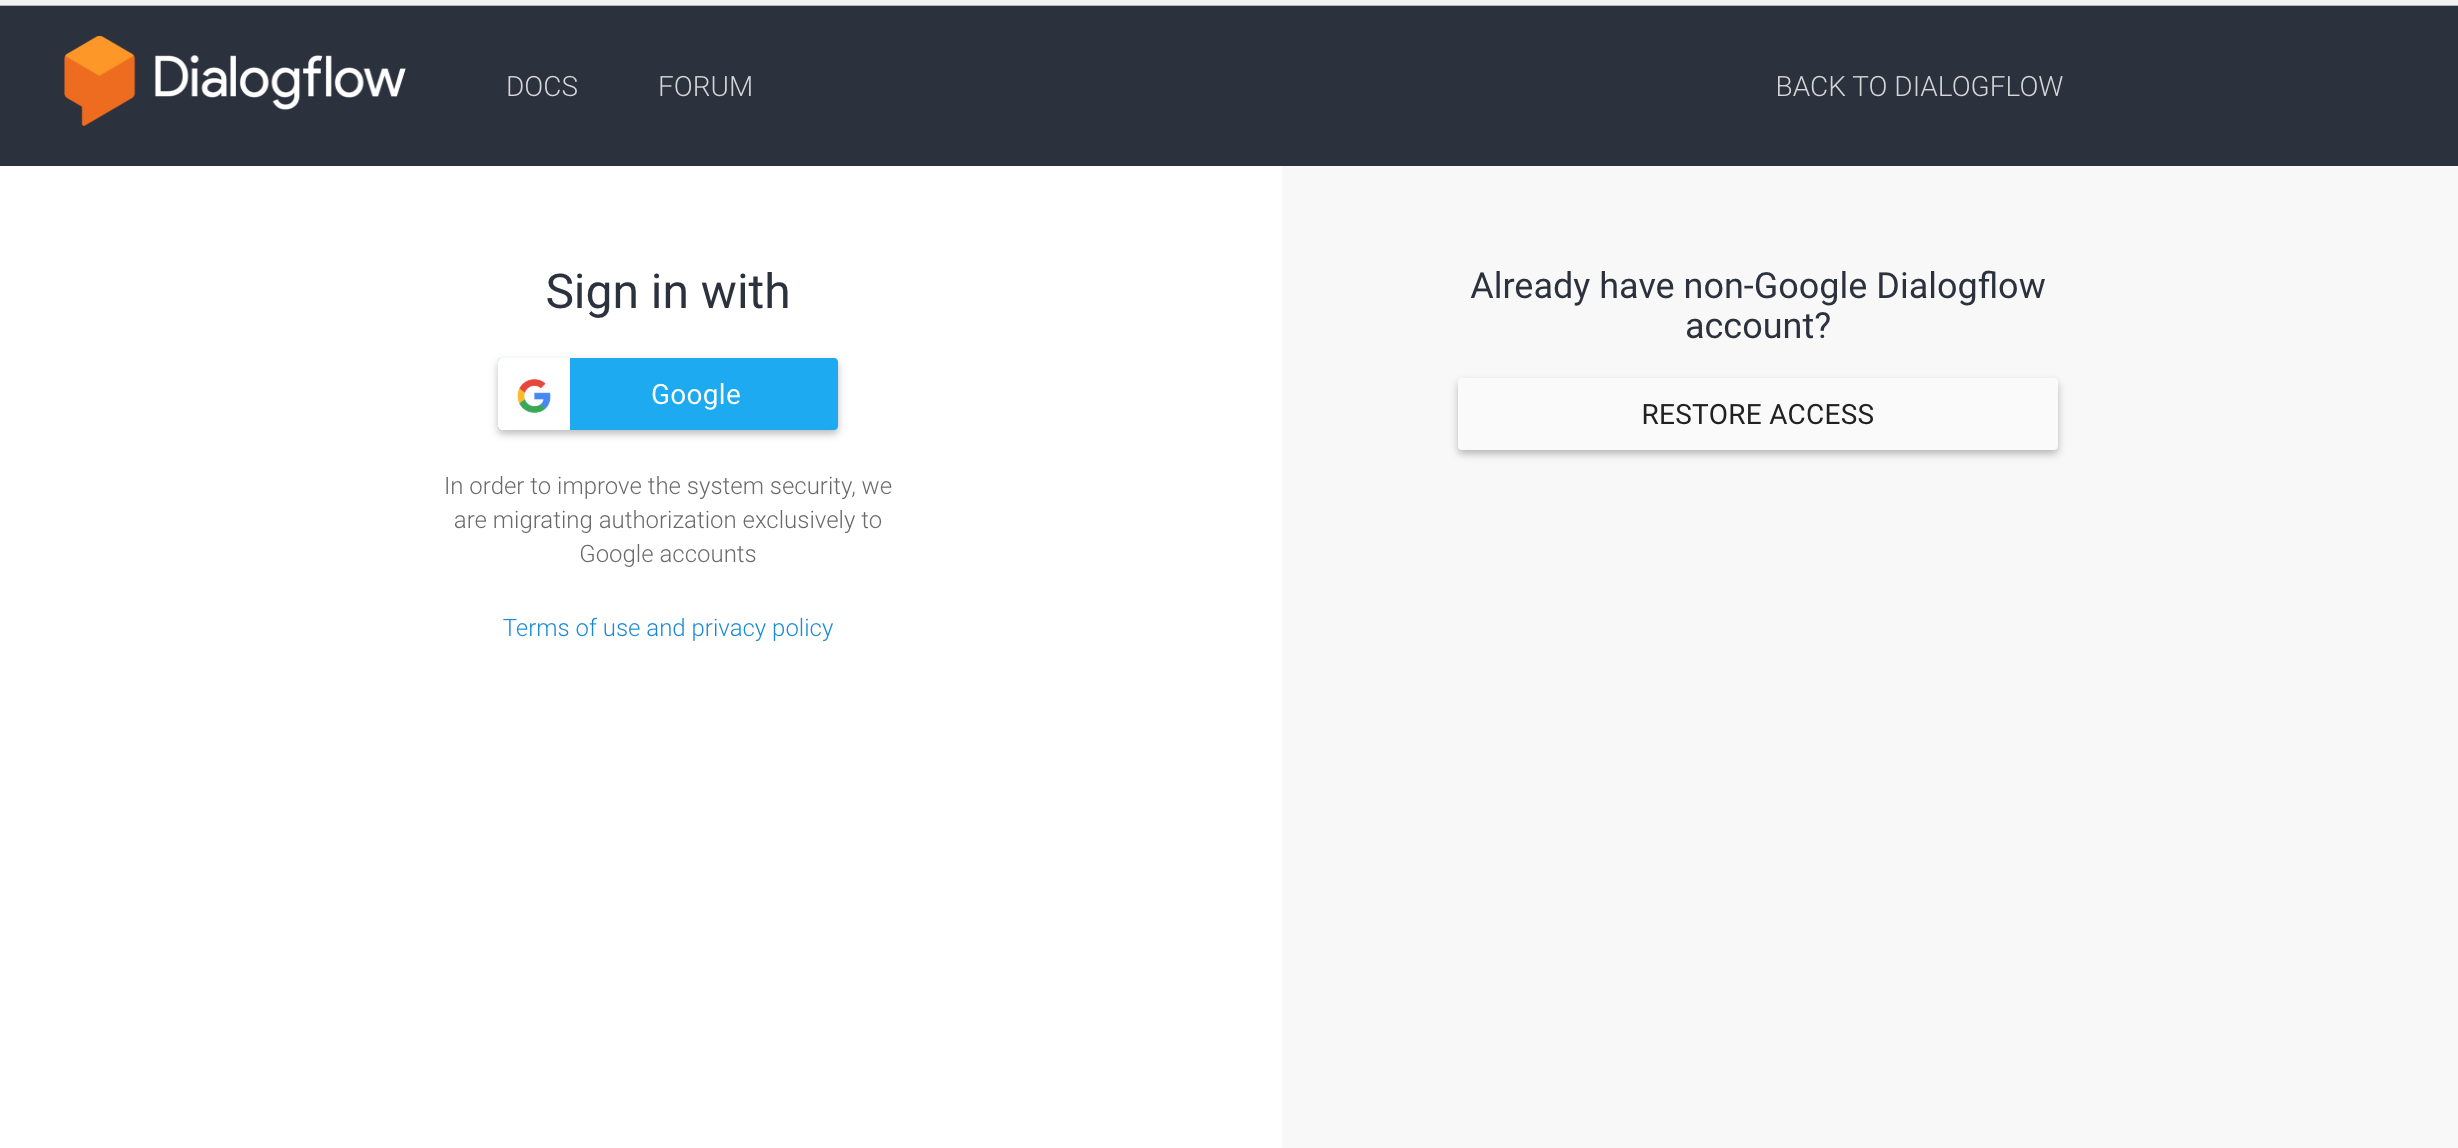
You can either register an account here or log in with your existing Google account:
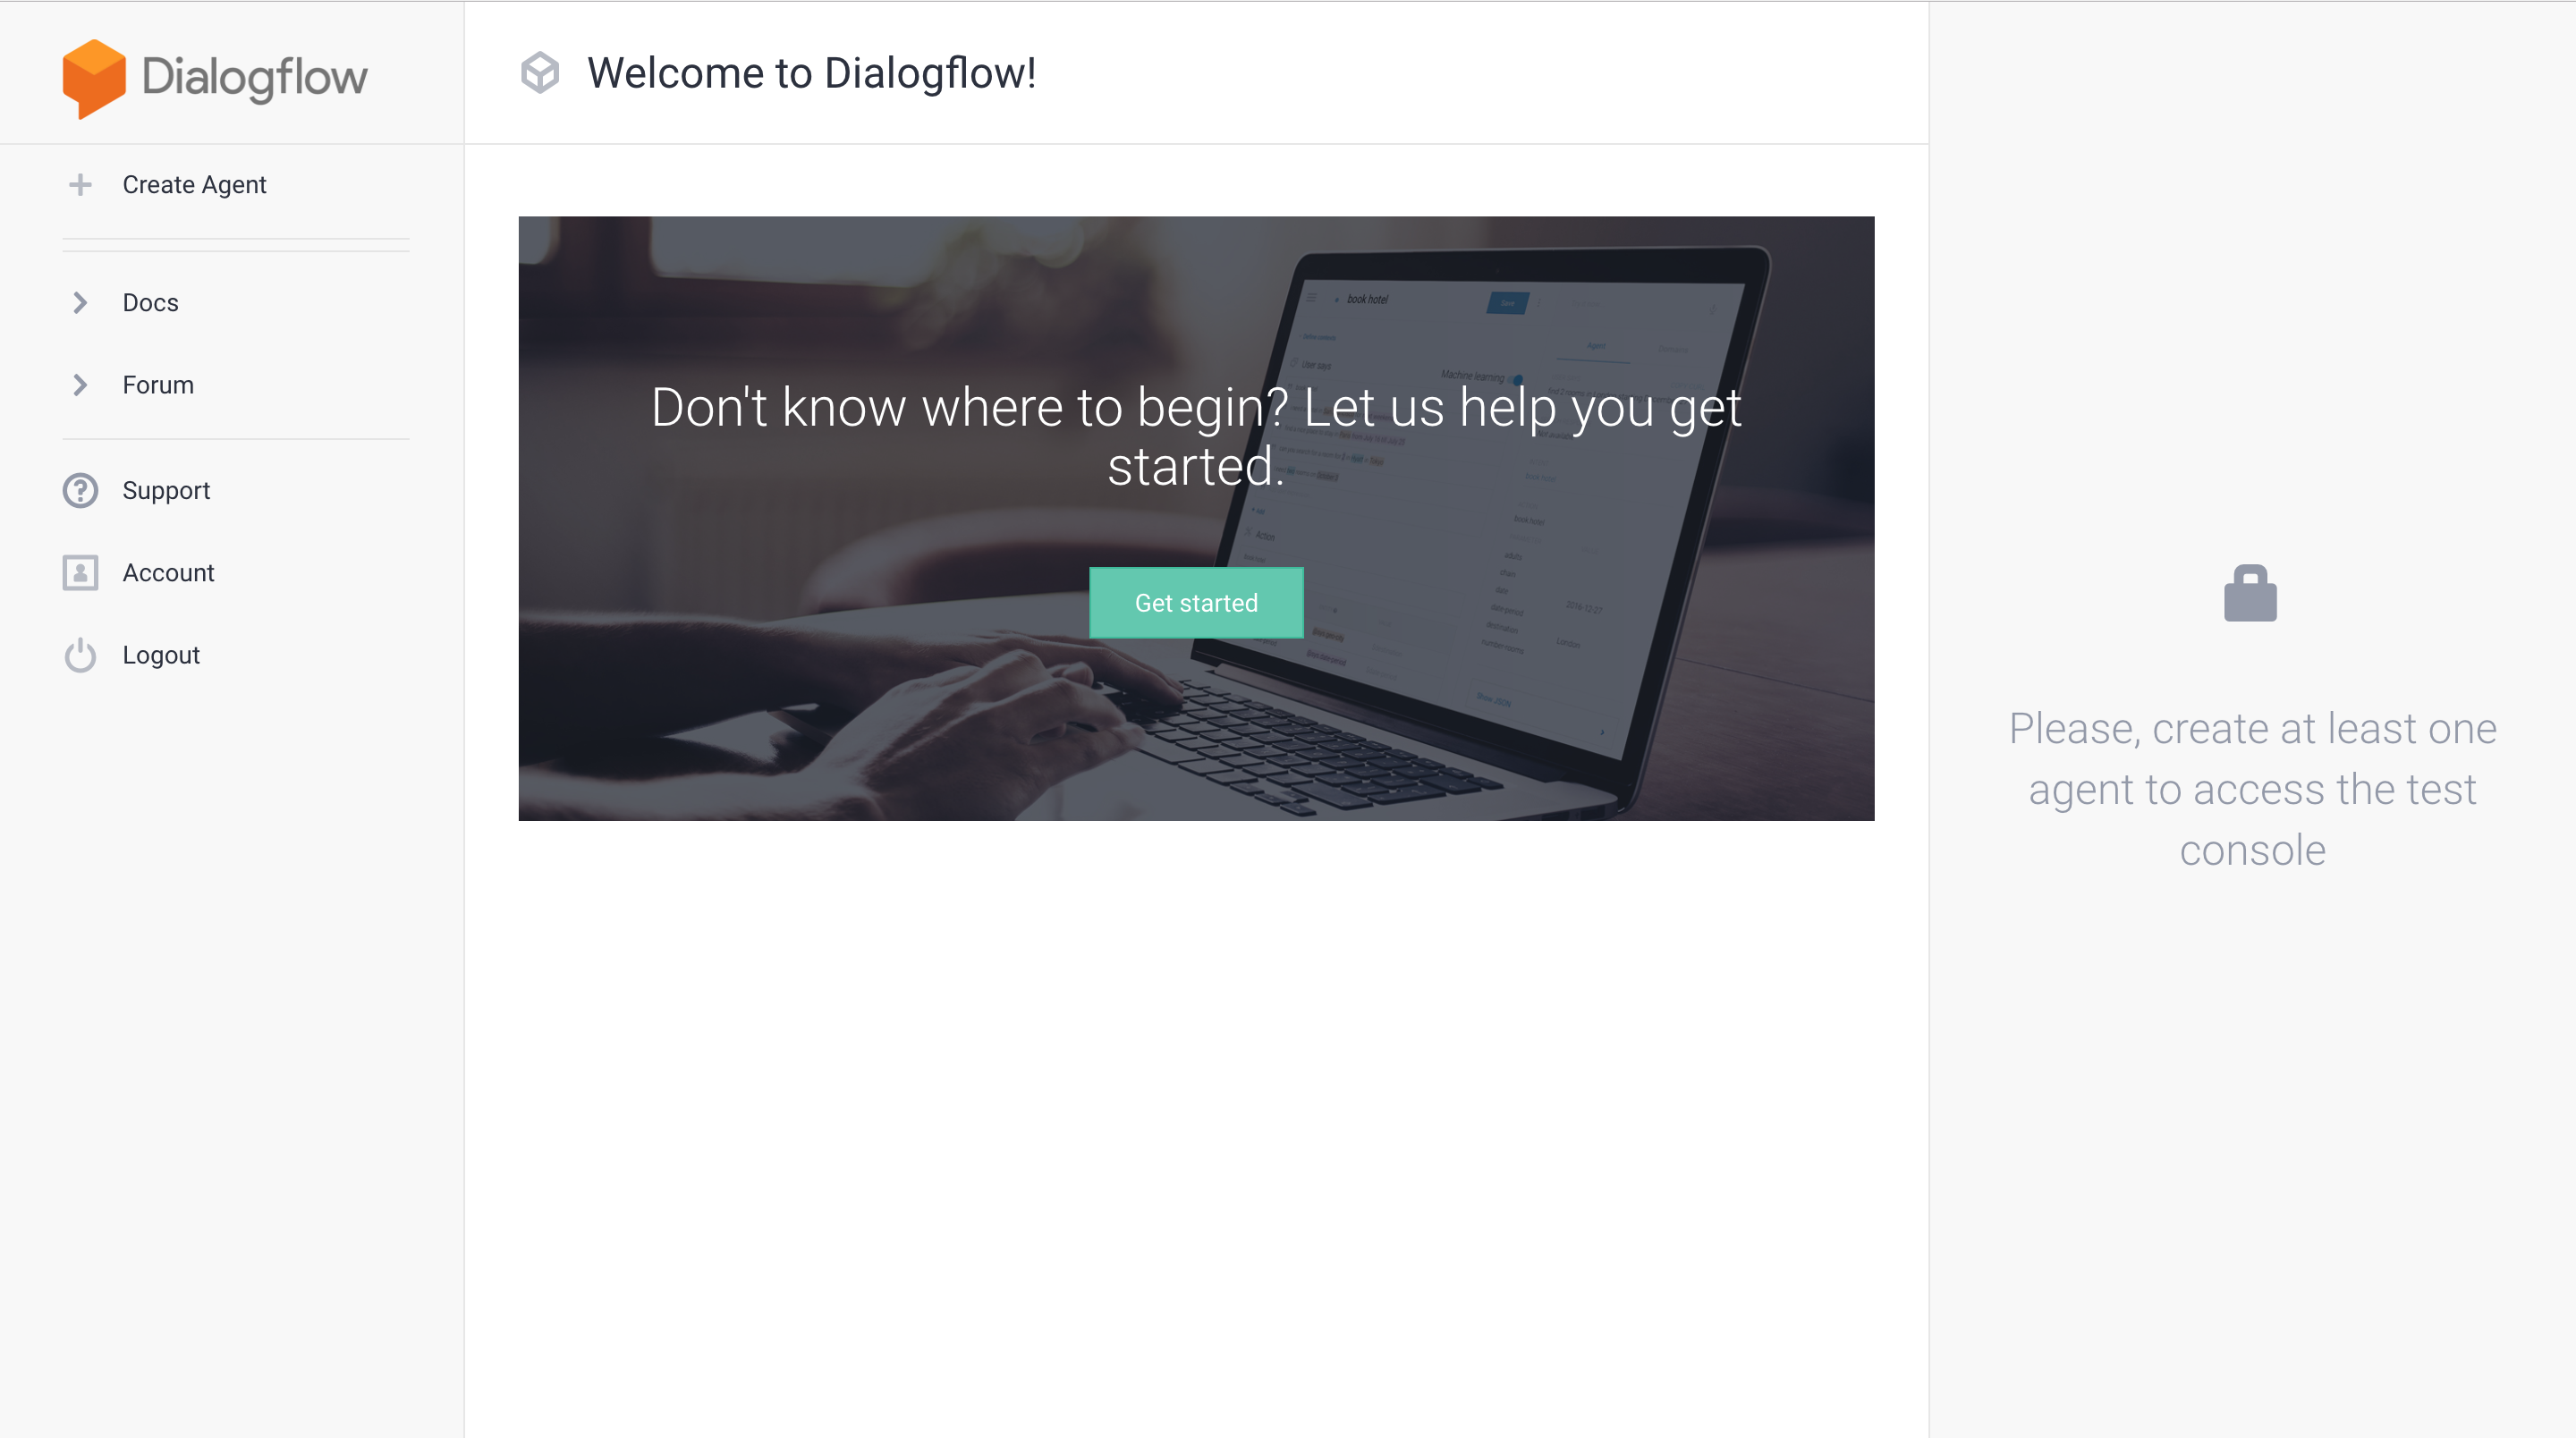
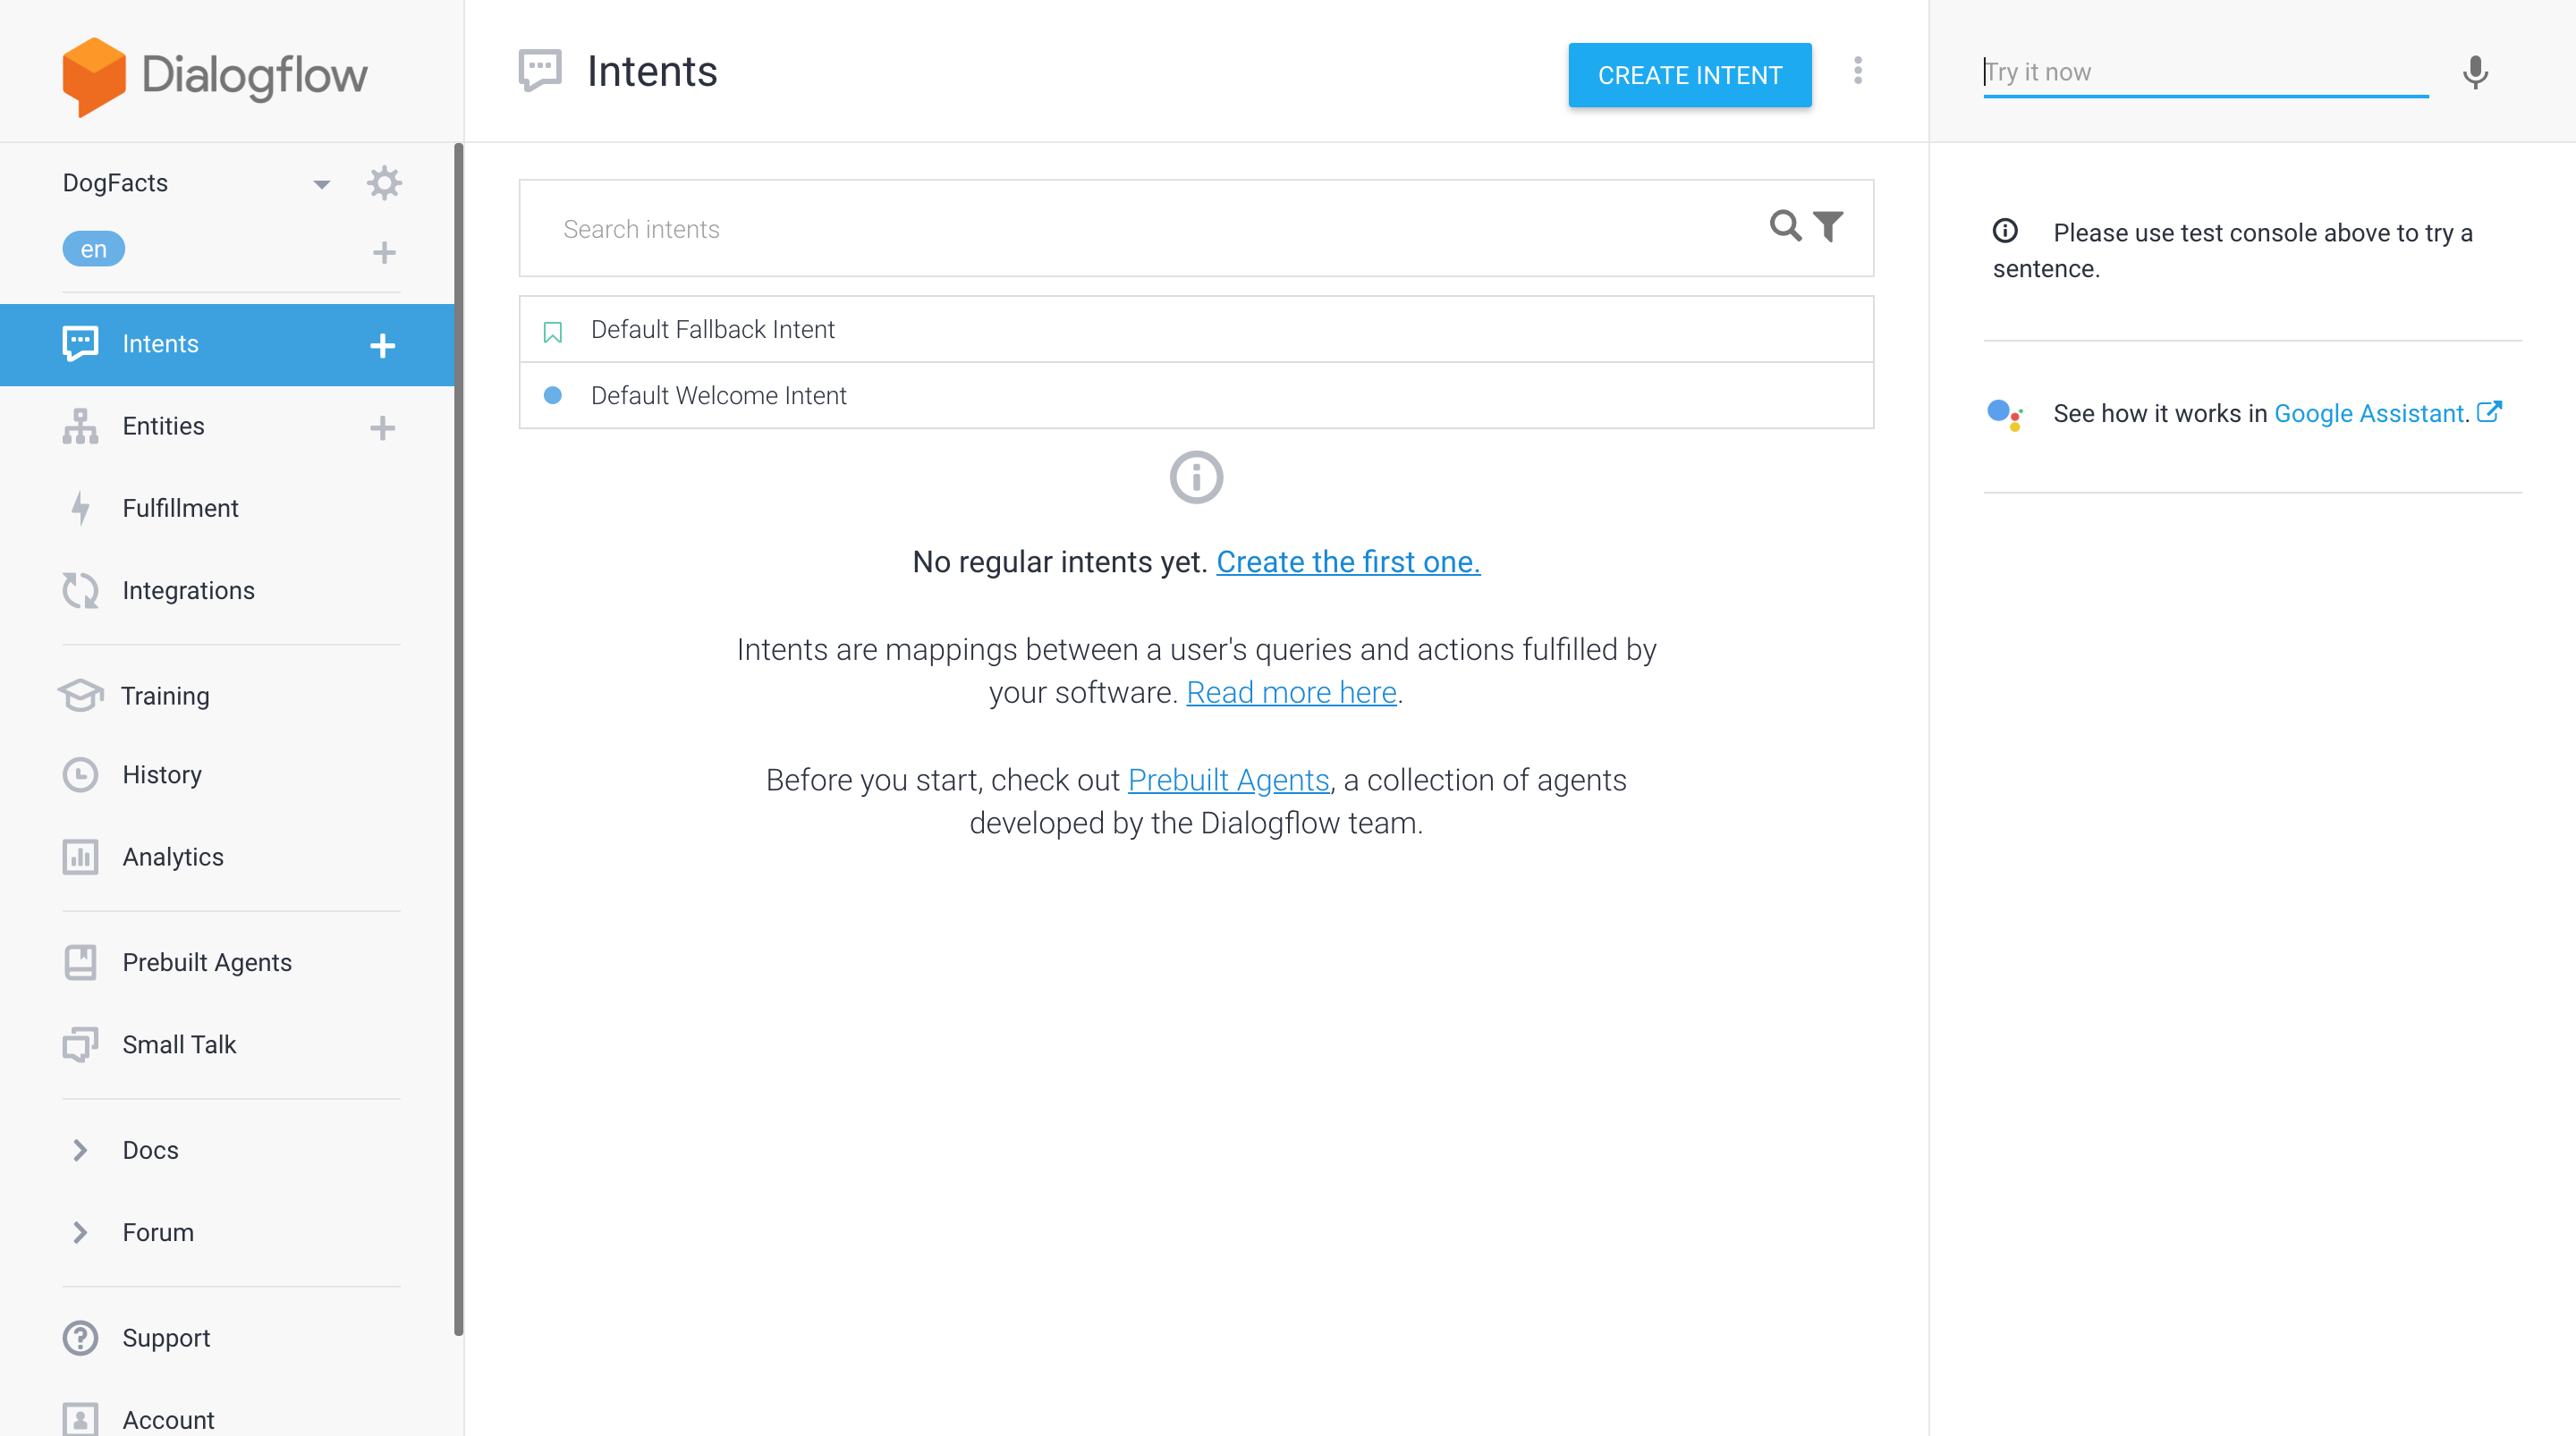
After you create an account, your Dialogflow dashboard will look something like that:
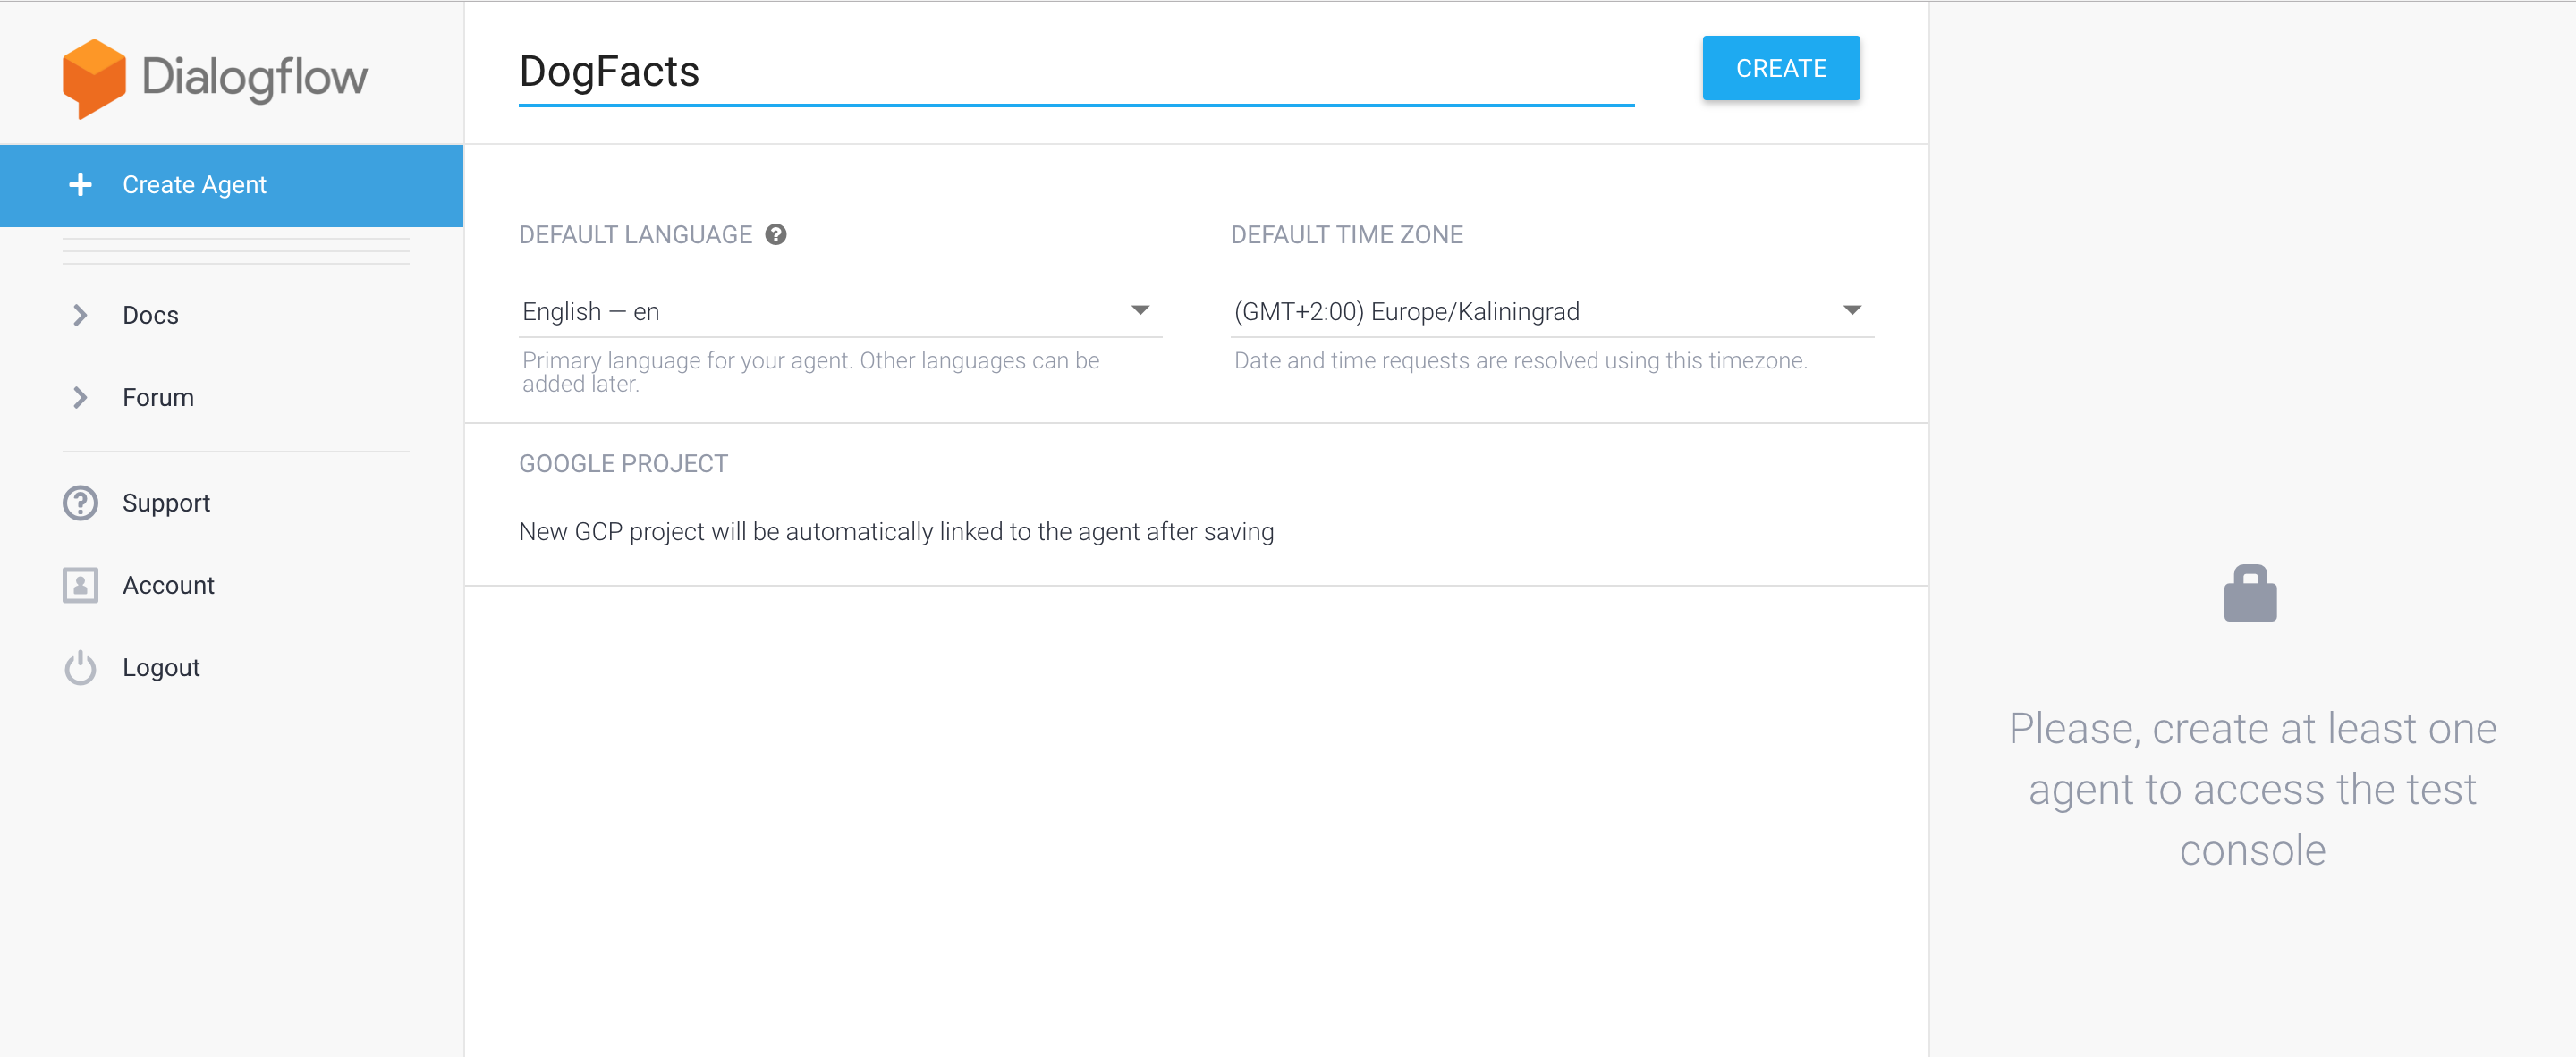
Go ahead and Create Agent by clicking the link the top left of the menu. You will then need to provide AgentName that should not contain any whitespaces and choose the basic settings, like language and location. Please choose the same language you’ve chosen in BotTalk when you created your scenario, in our case it will be English:
Click Create and wait for the Agent to be created. It could take couple of minutes:
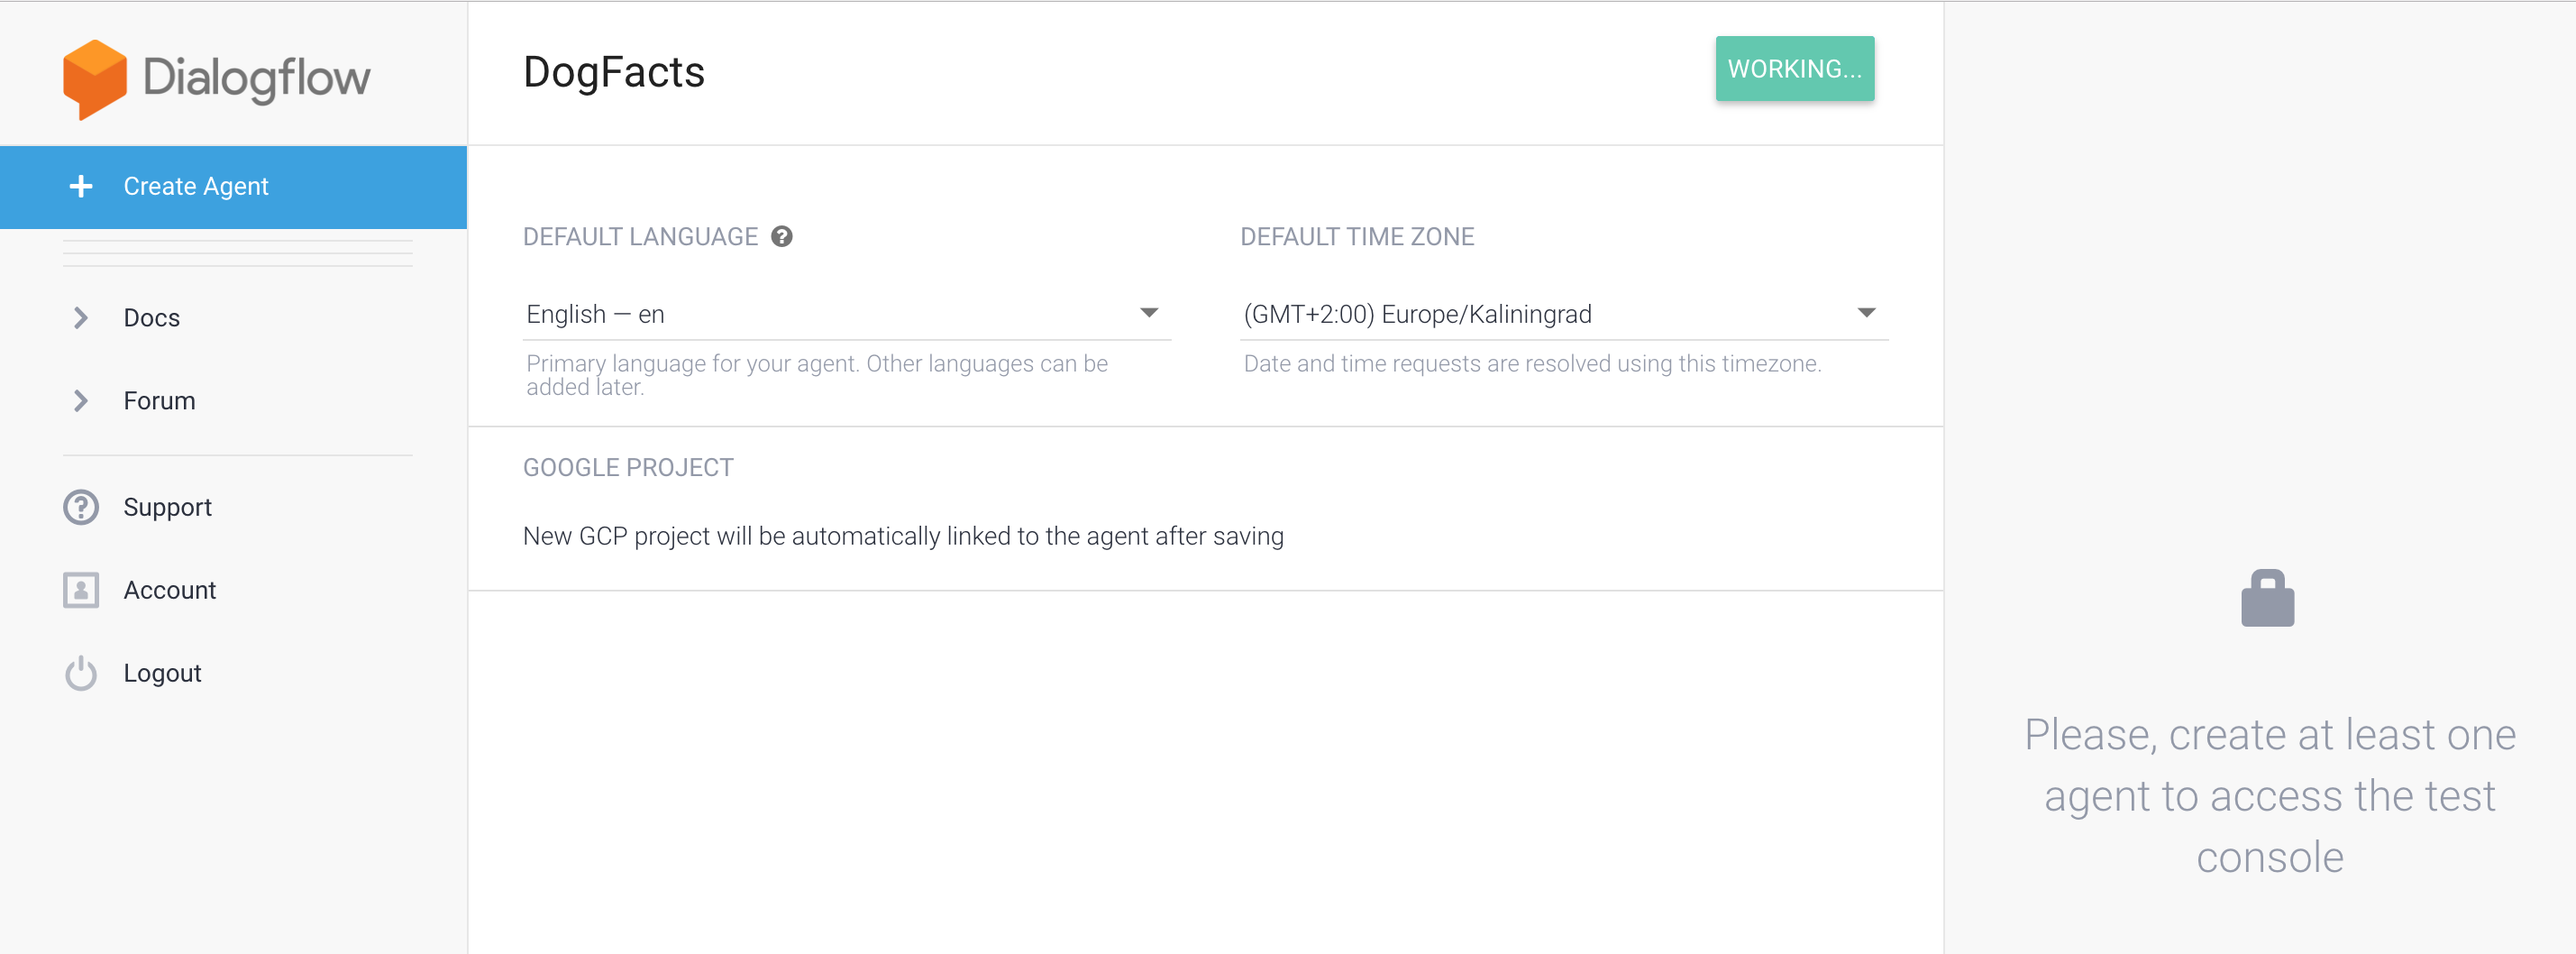
After it’s done you’ll see the following screen:
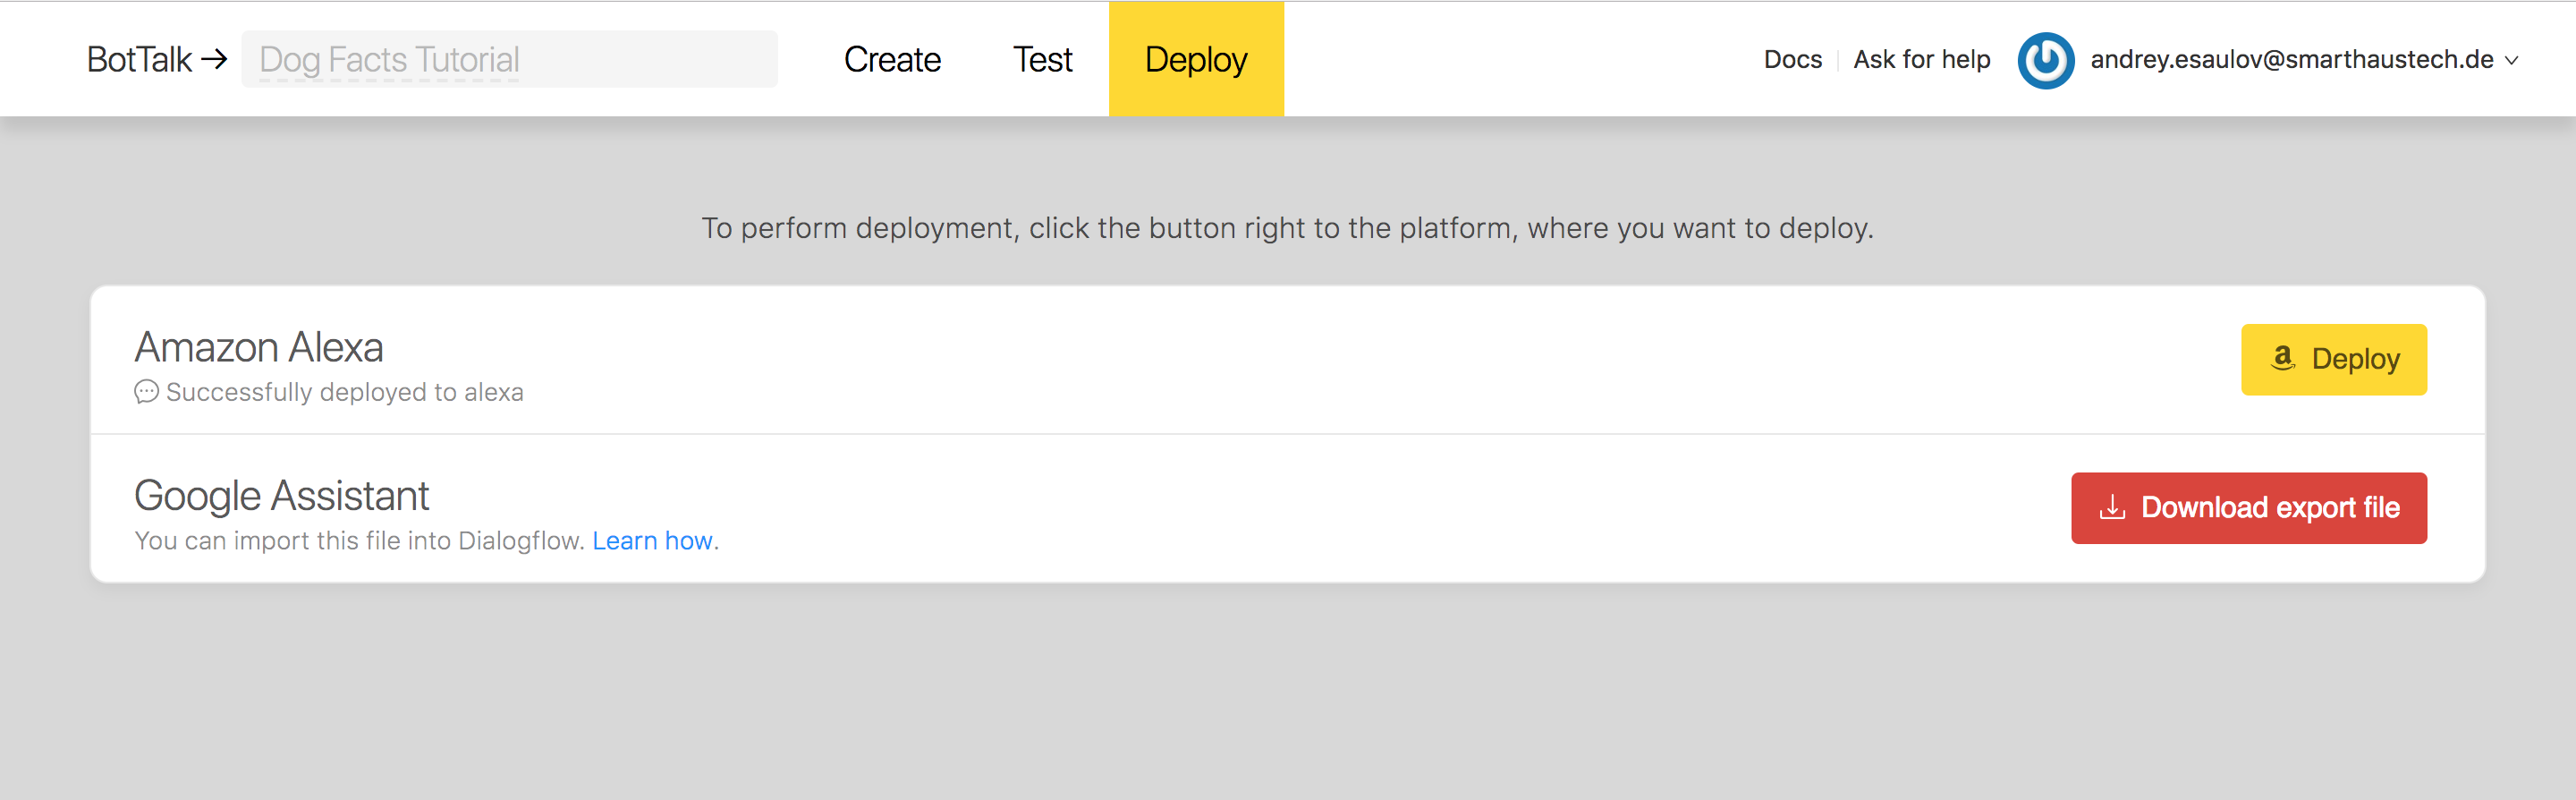
Now head back to BotTalk, choose you scenario and click on the Deploy tab. From there click on the red button Download export file from the Google Assistant section:
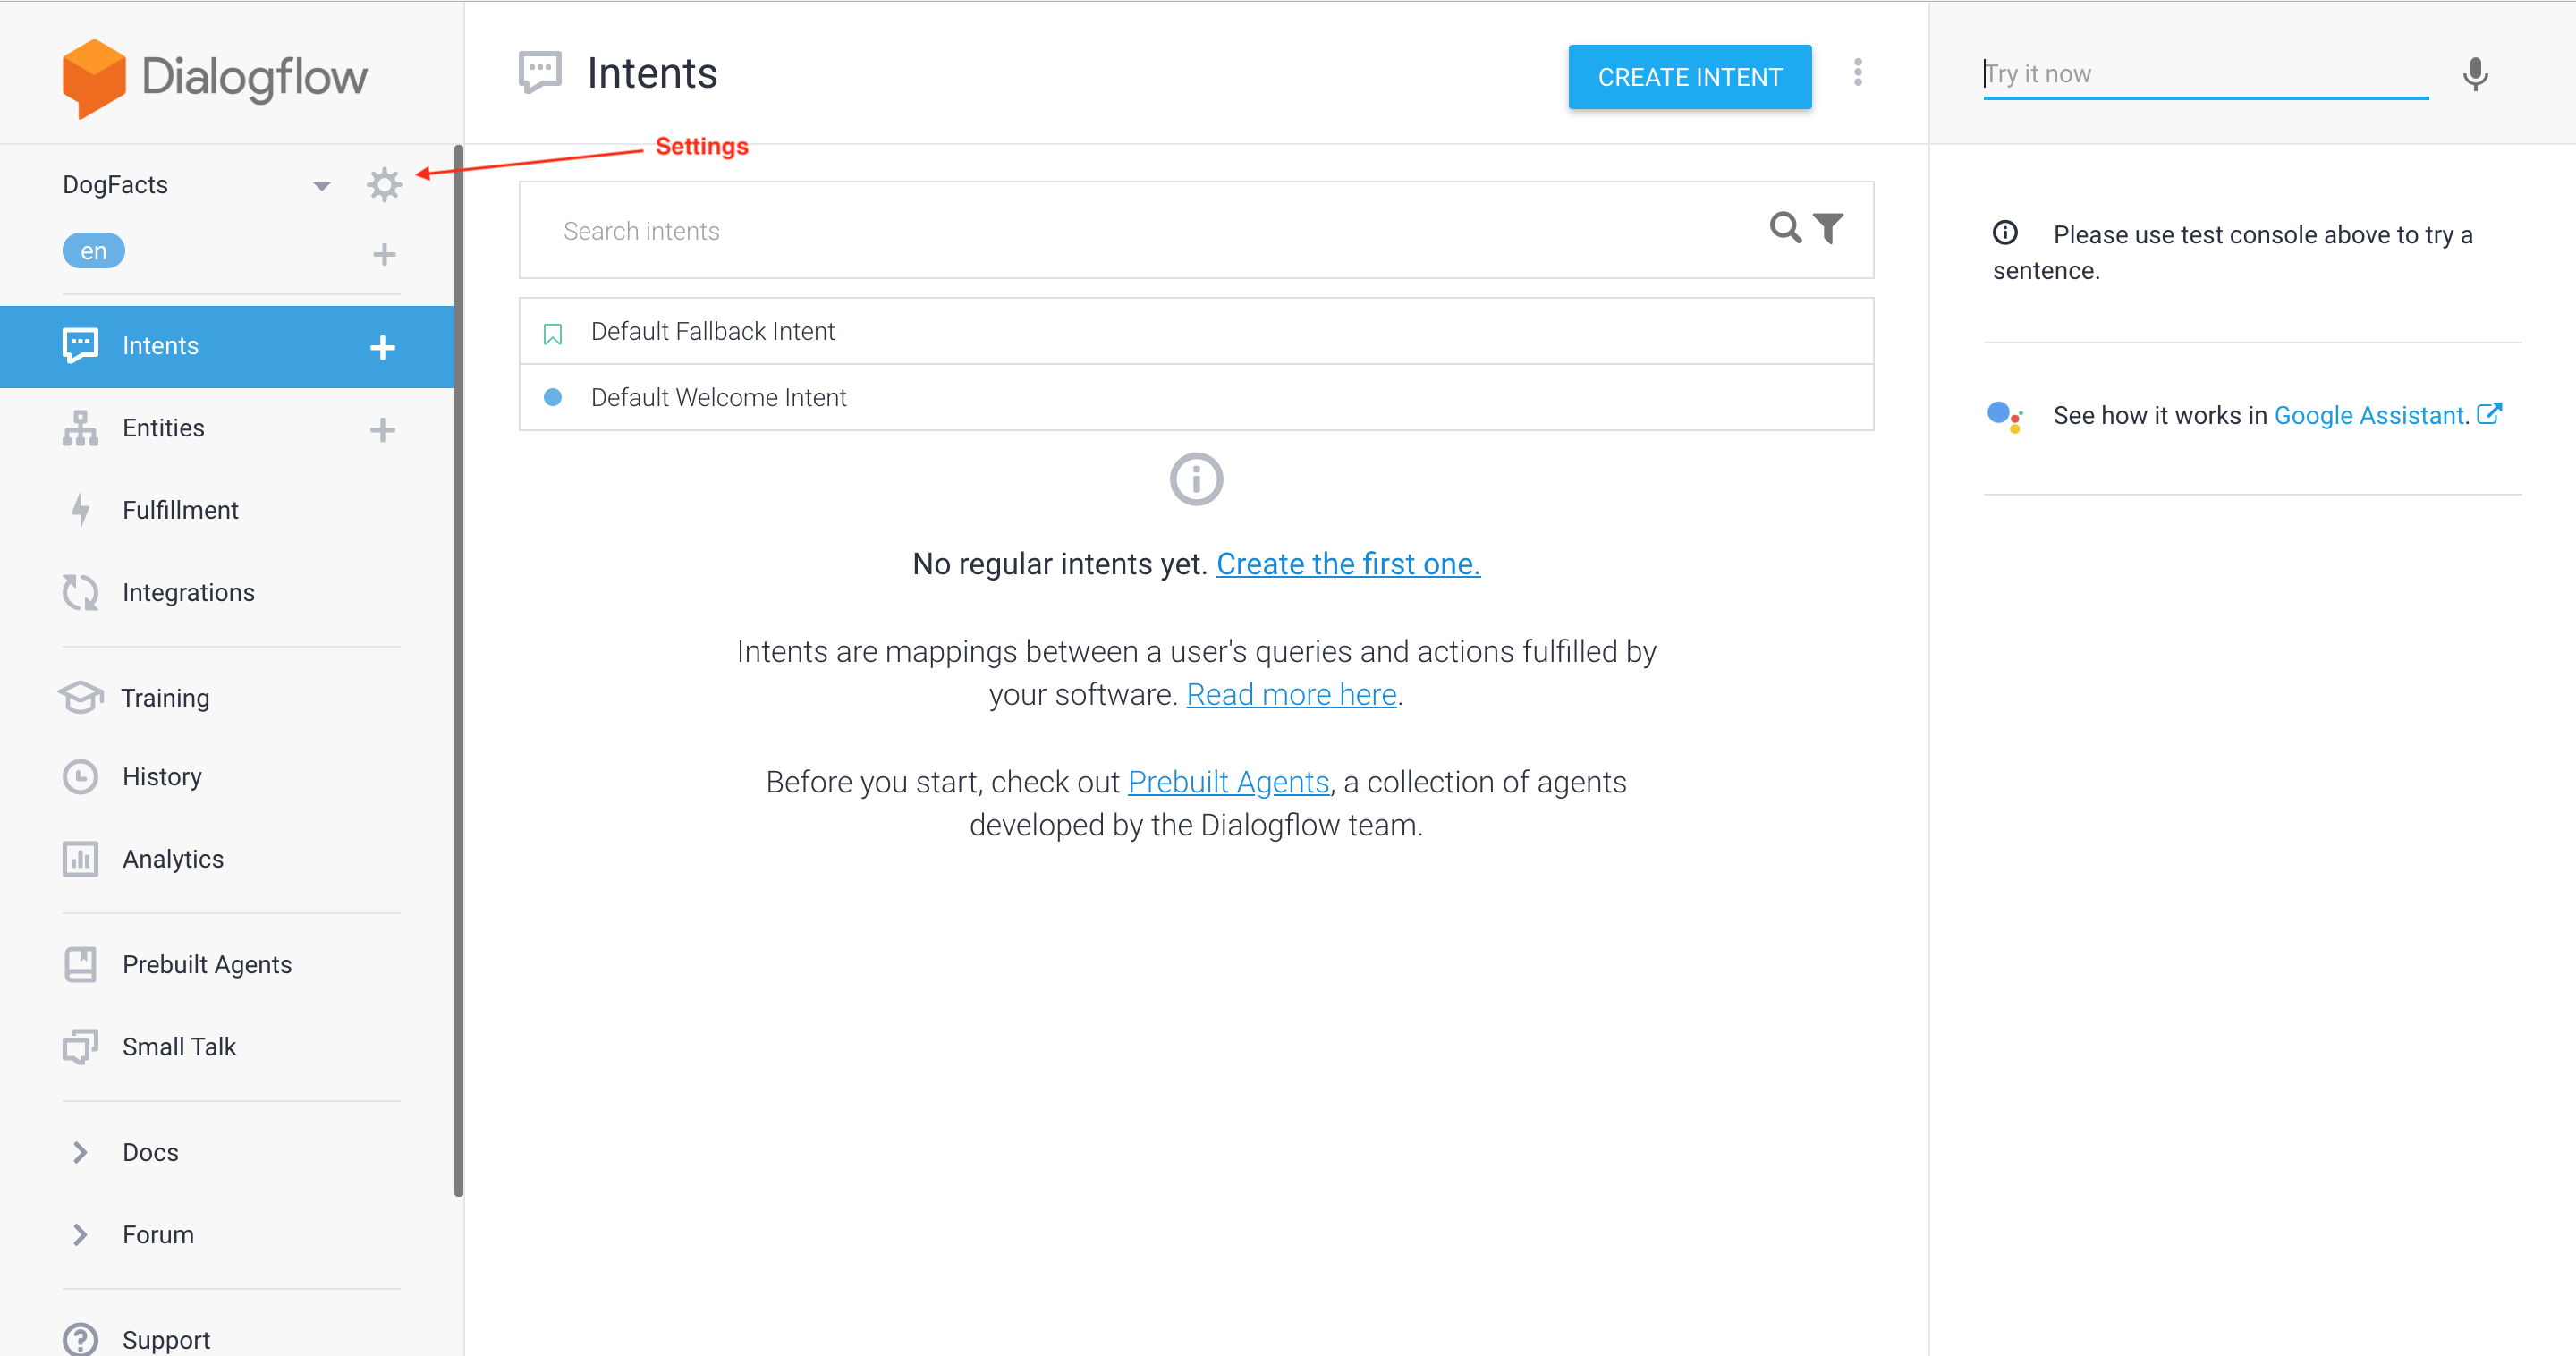
Save the zip file on your computer and go back to Dialogflow. There click the settings icon next to the Agent name (marked with the red arrow on the screenshot):
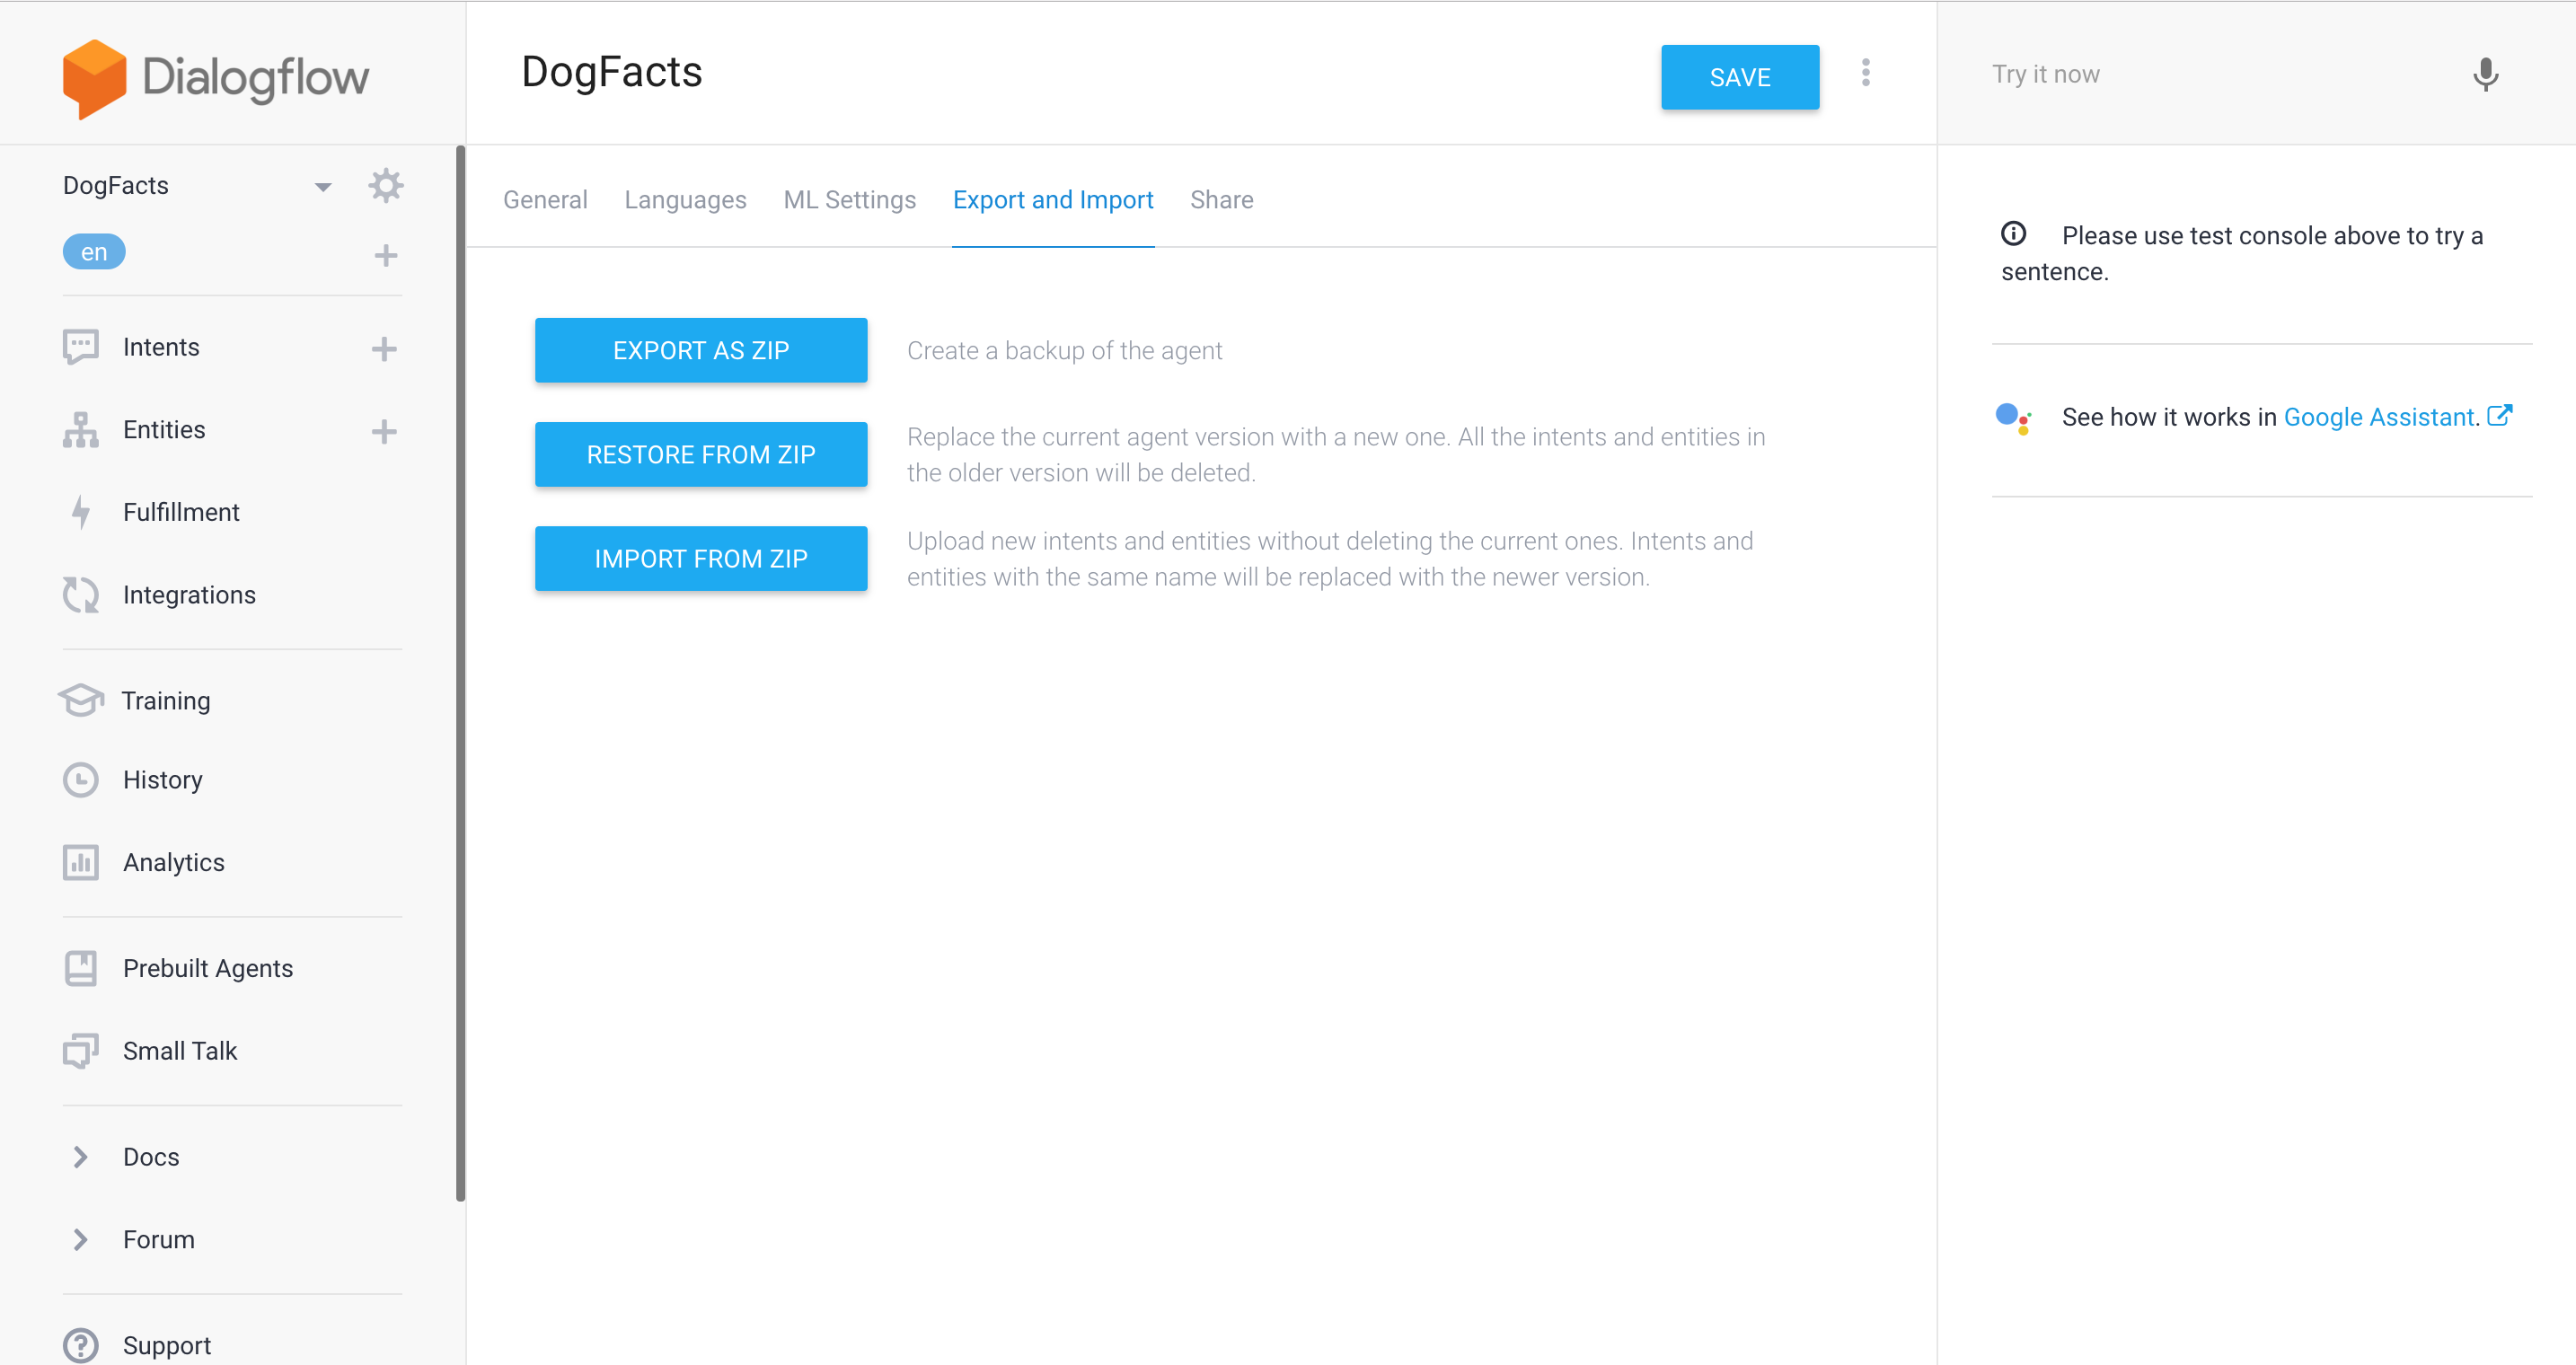
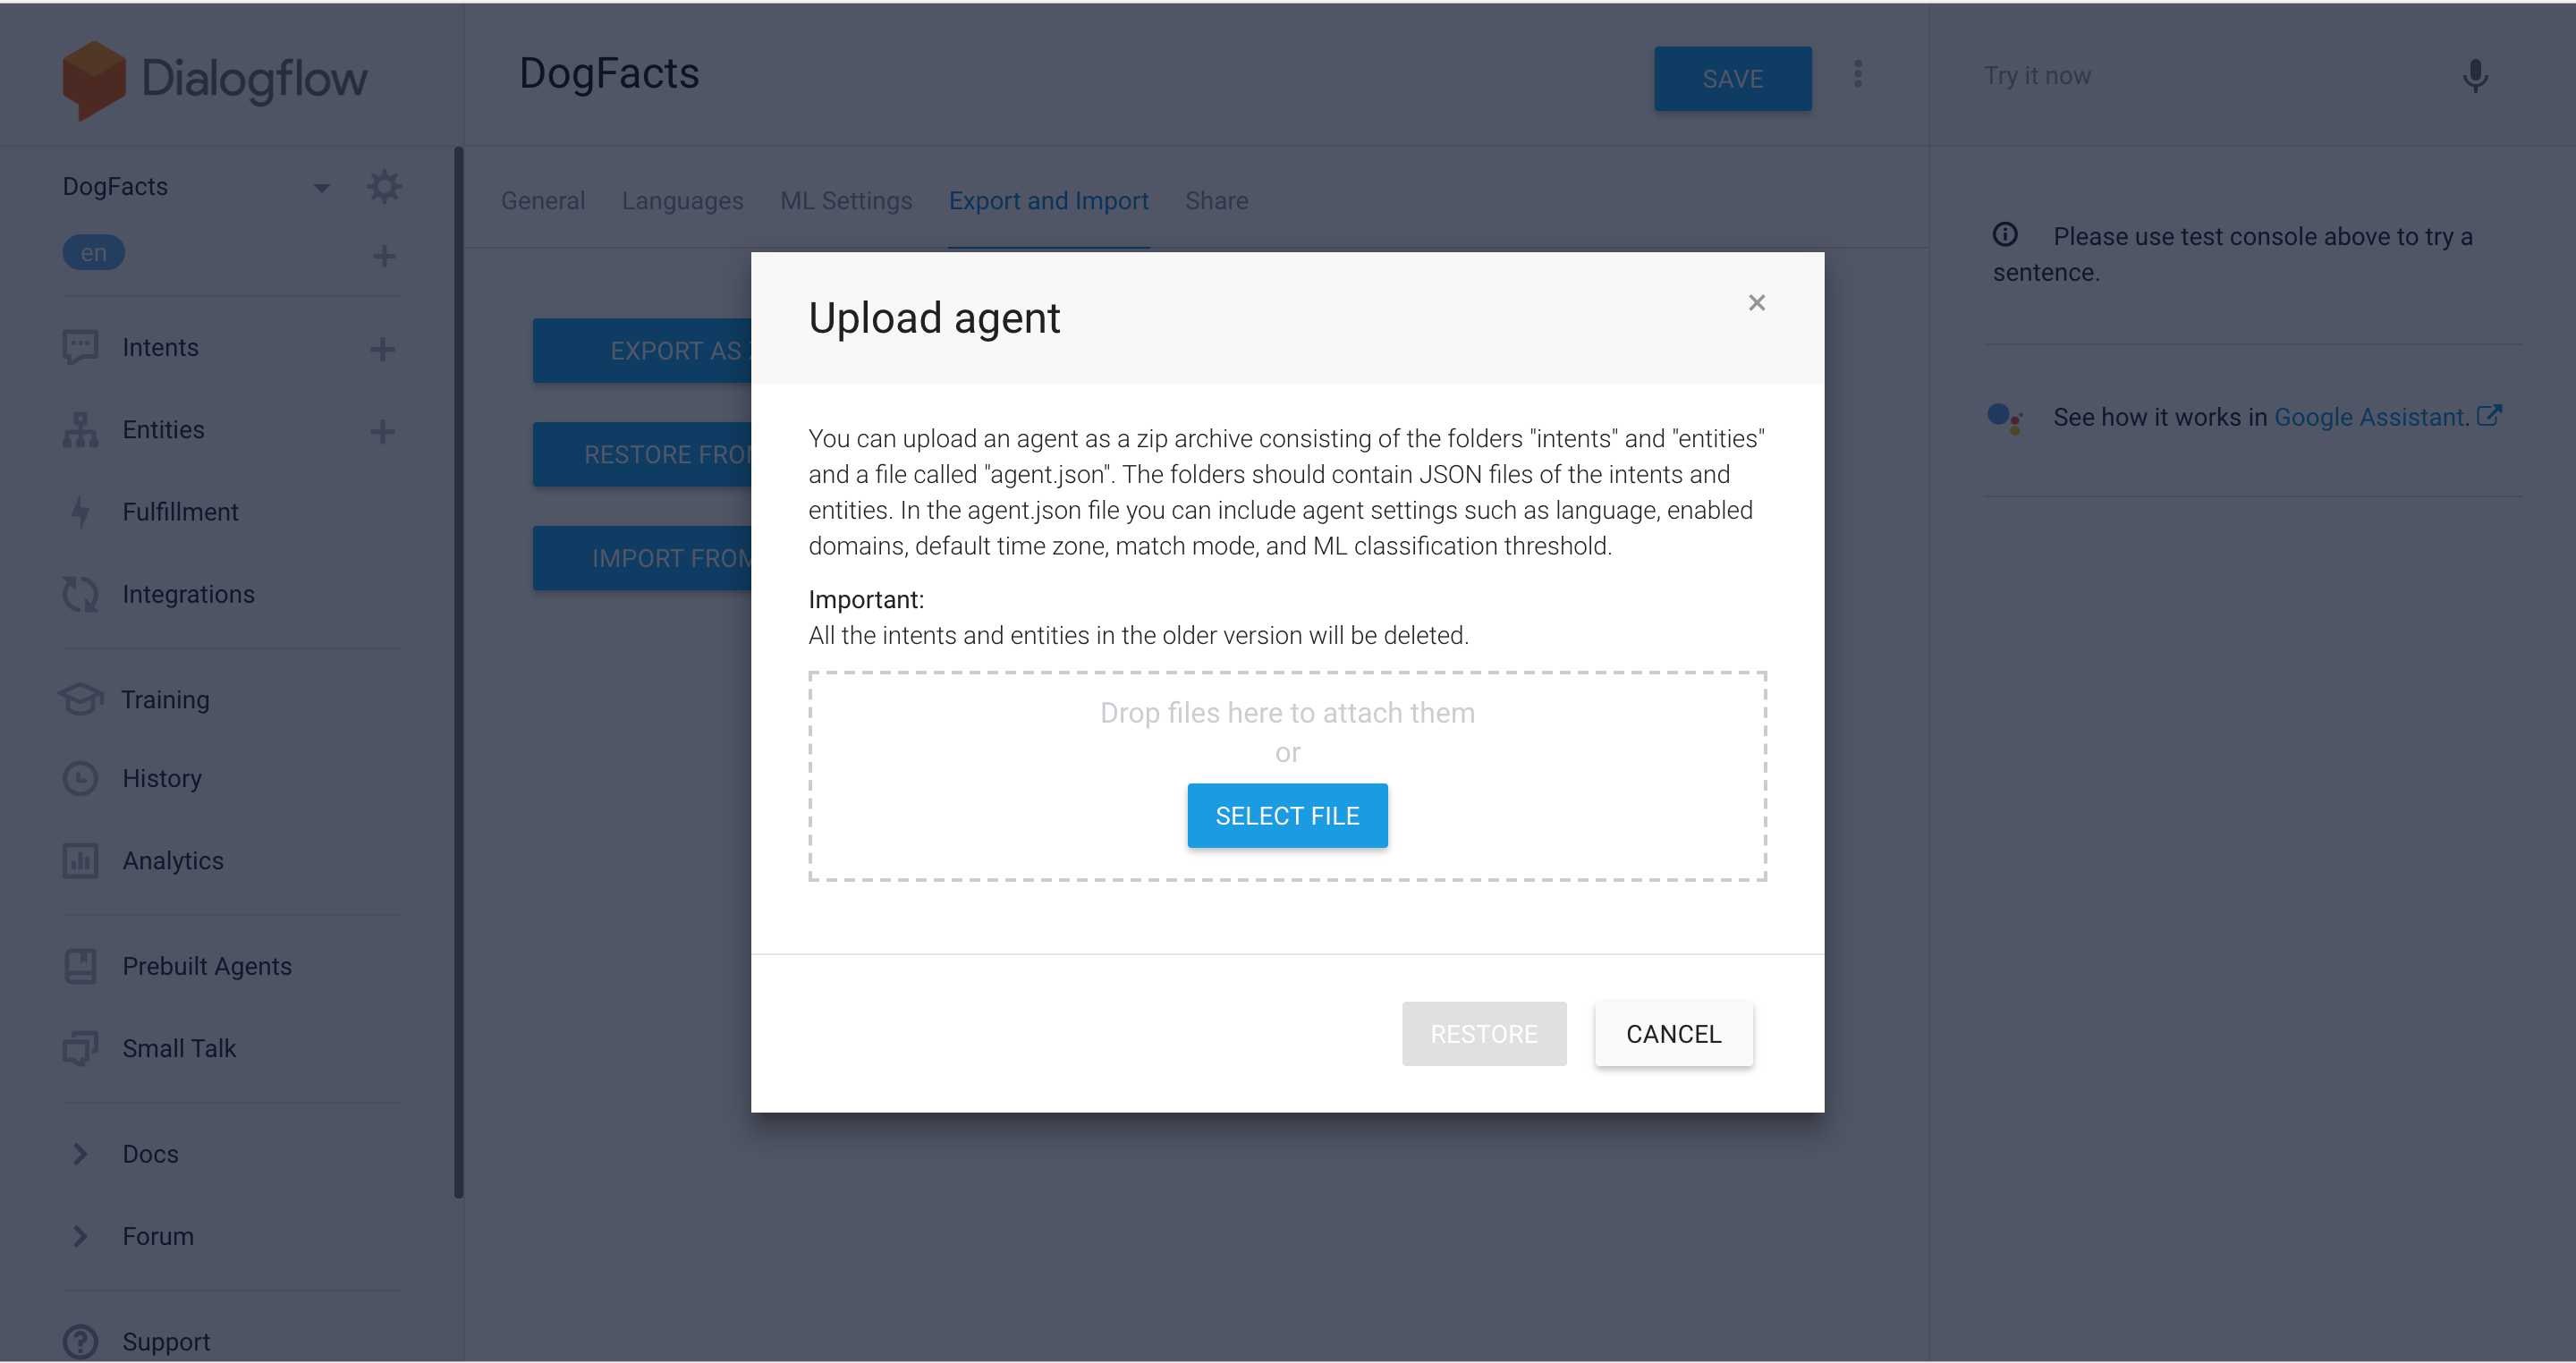
In the Settings go to the Export and Import tab and click on the Restore from Zip button:
In the popup window choose the file you’ve just downloaded from BotTalk:
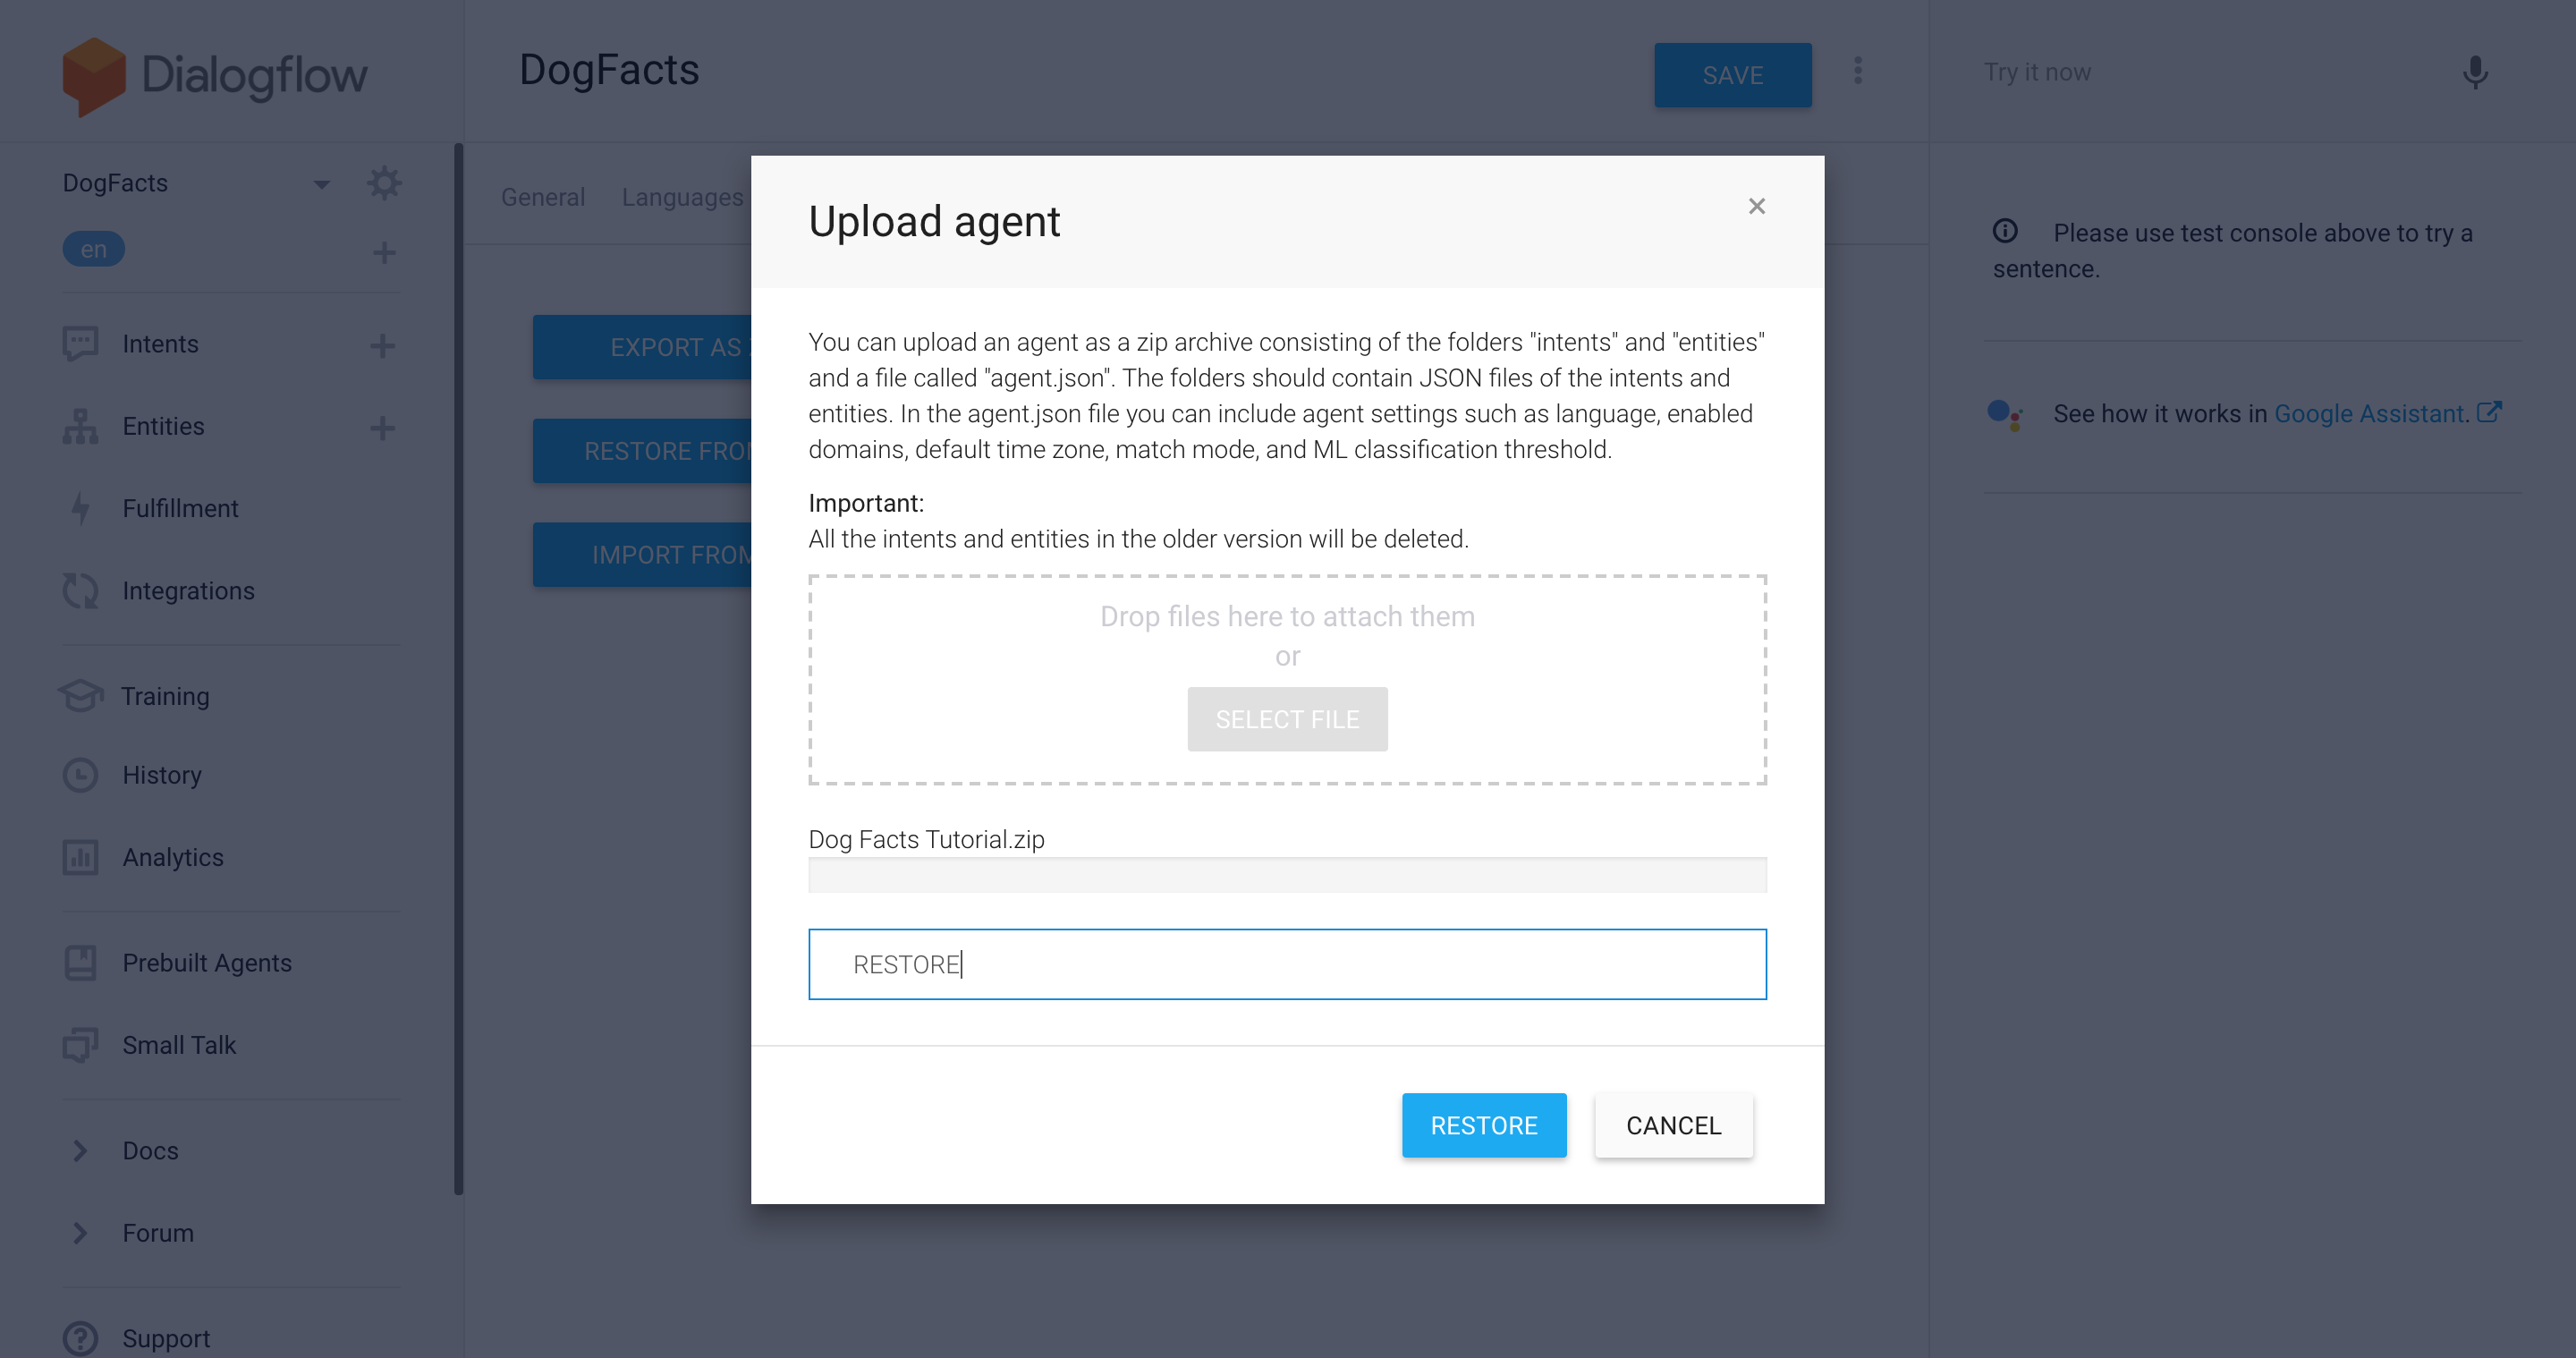
Type in RESTORE in the text field and click RESTORE button:
You’ll get a green notification in the bottom right corner of the screen:
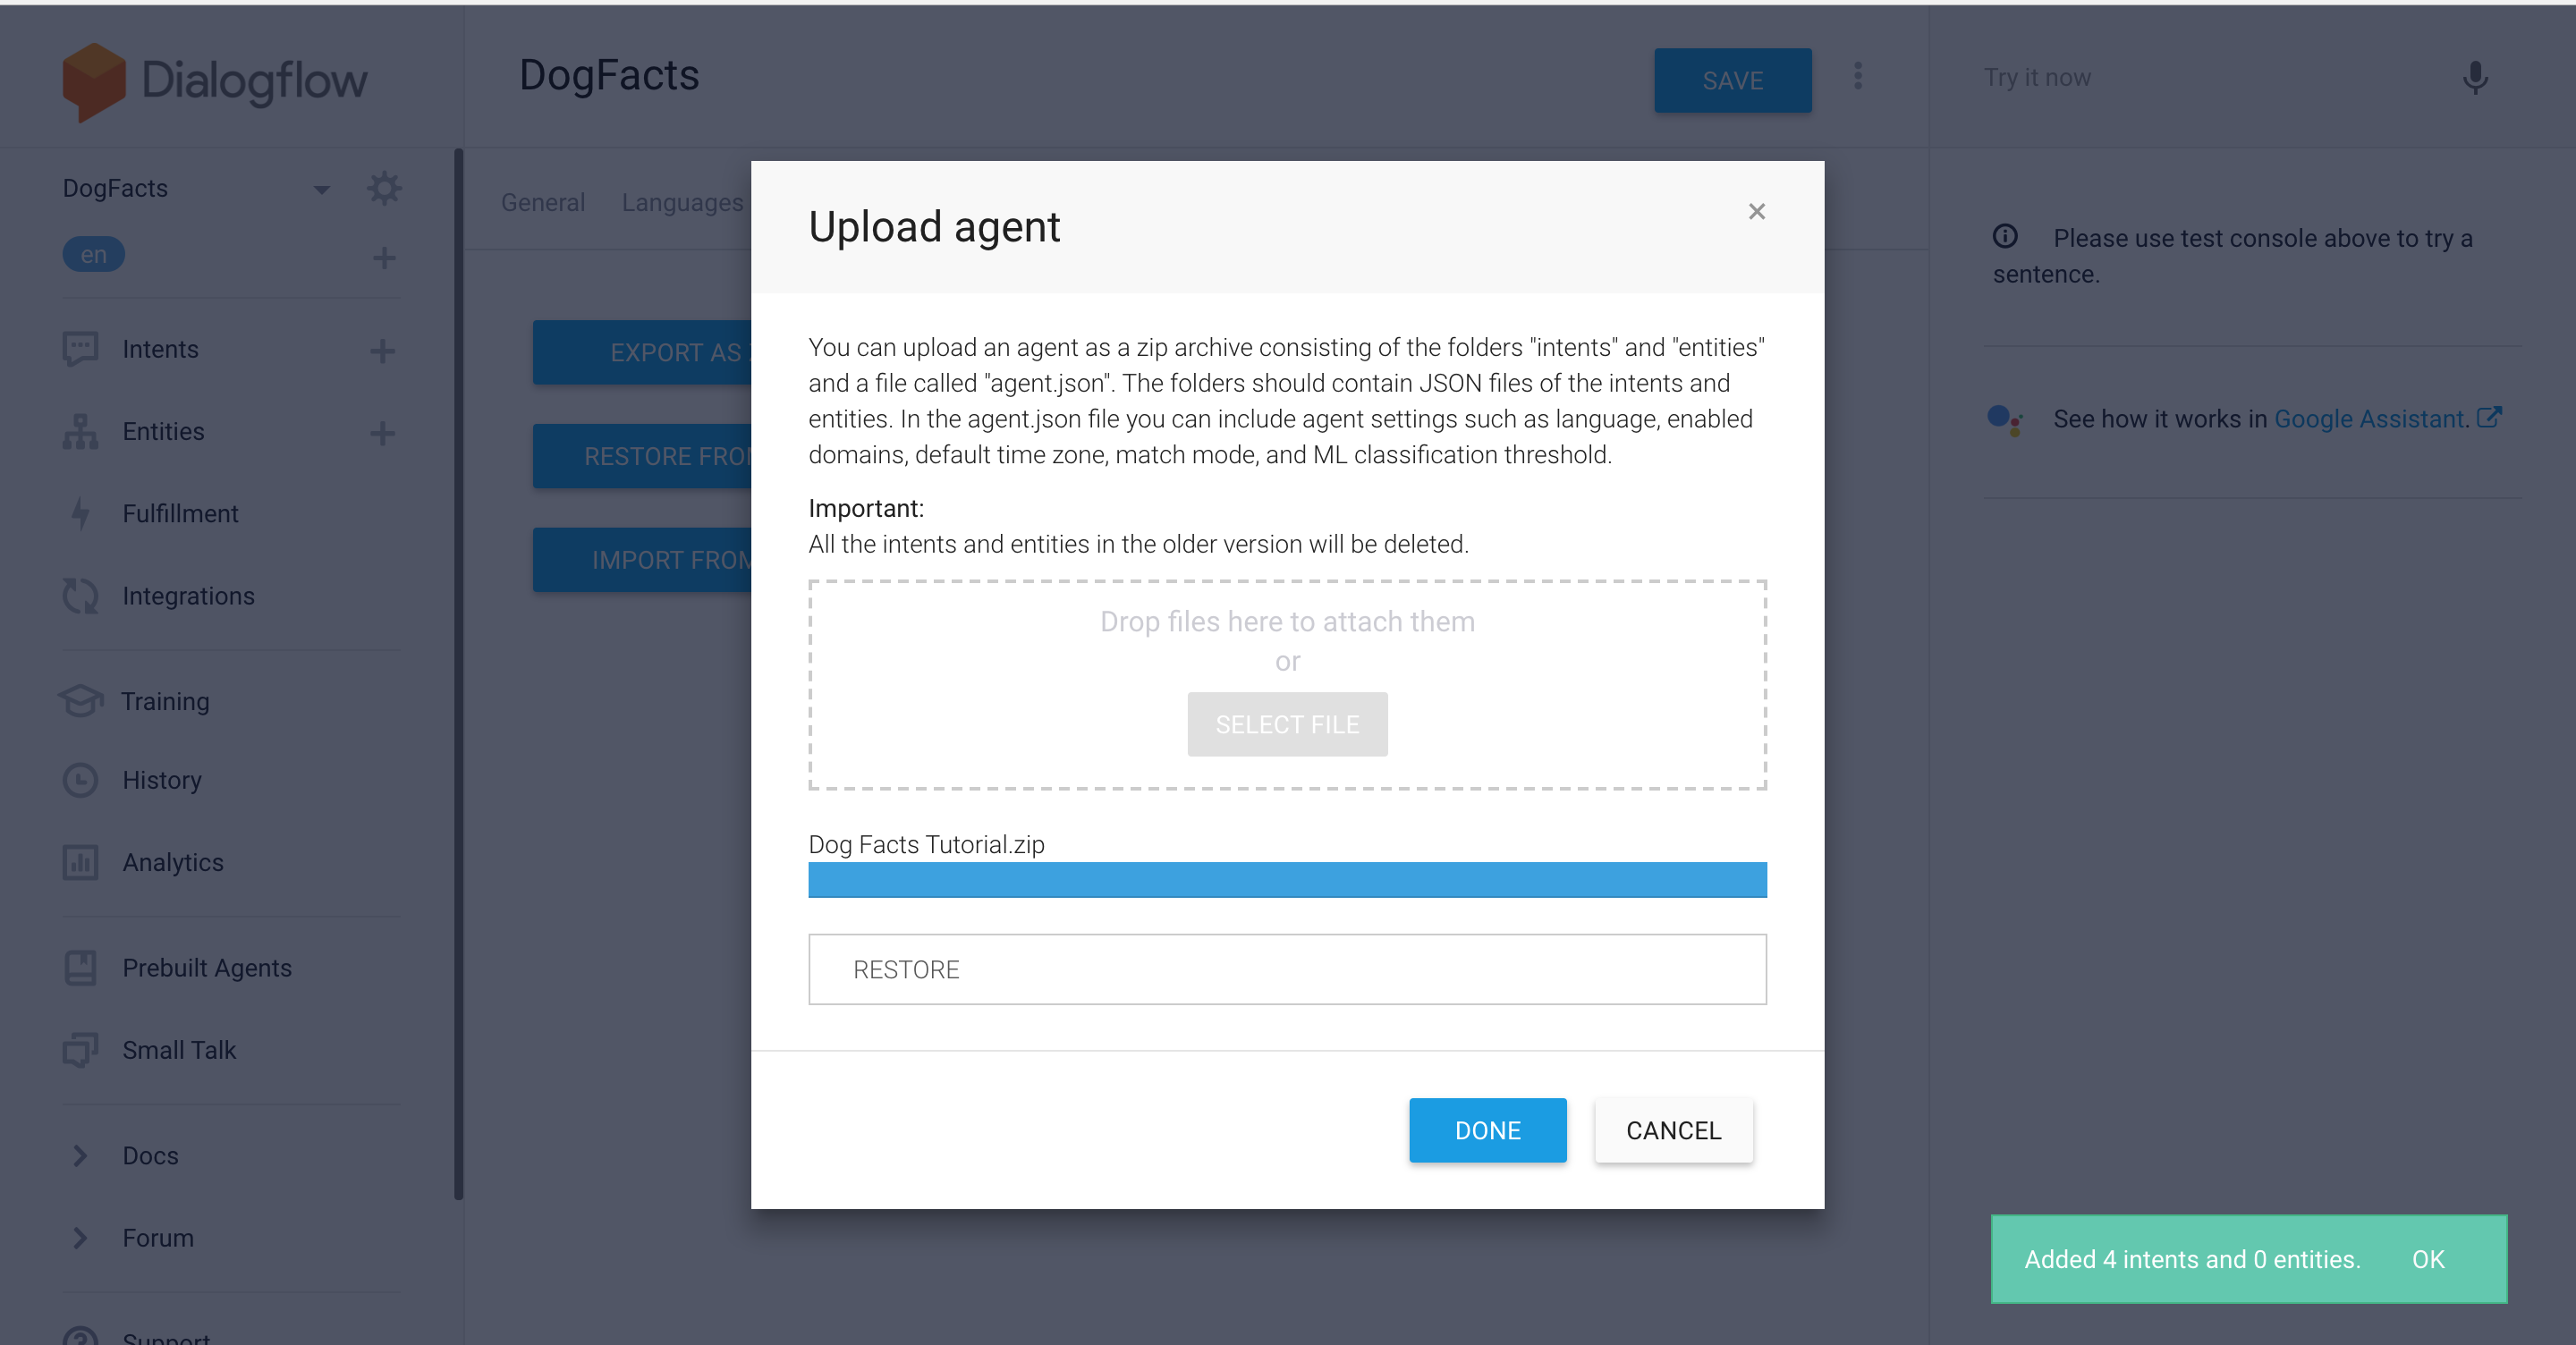
You can now close the popup window. You’ve successfully deployed your scenario to Dialogflow!
Testing Google Action on Dialogflow
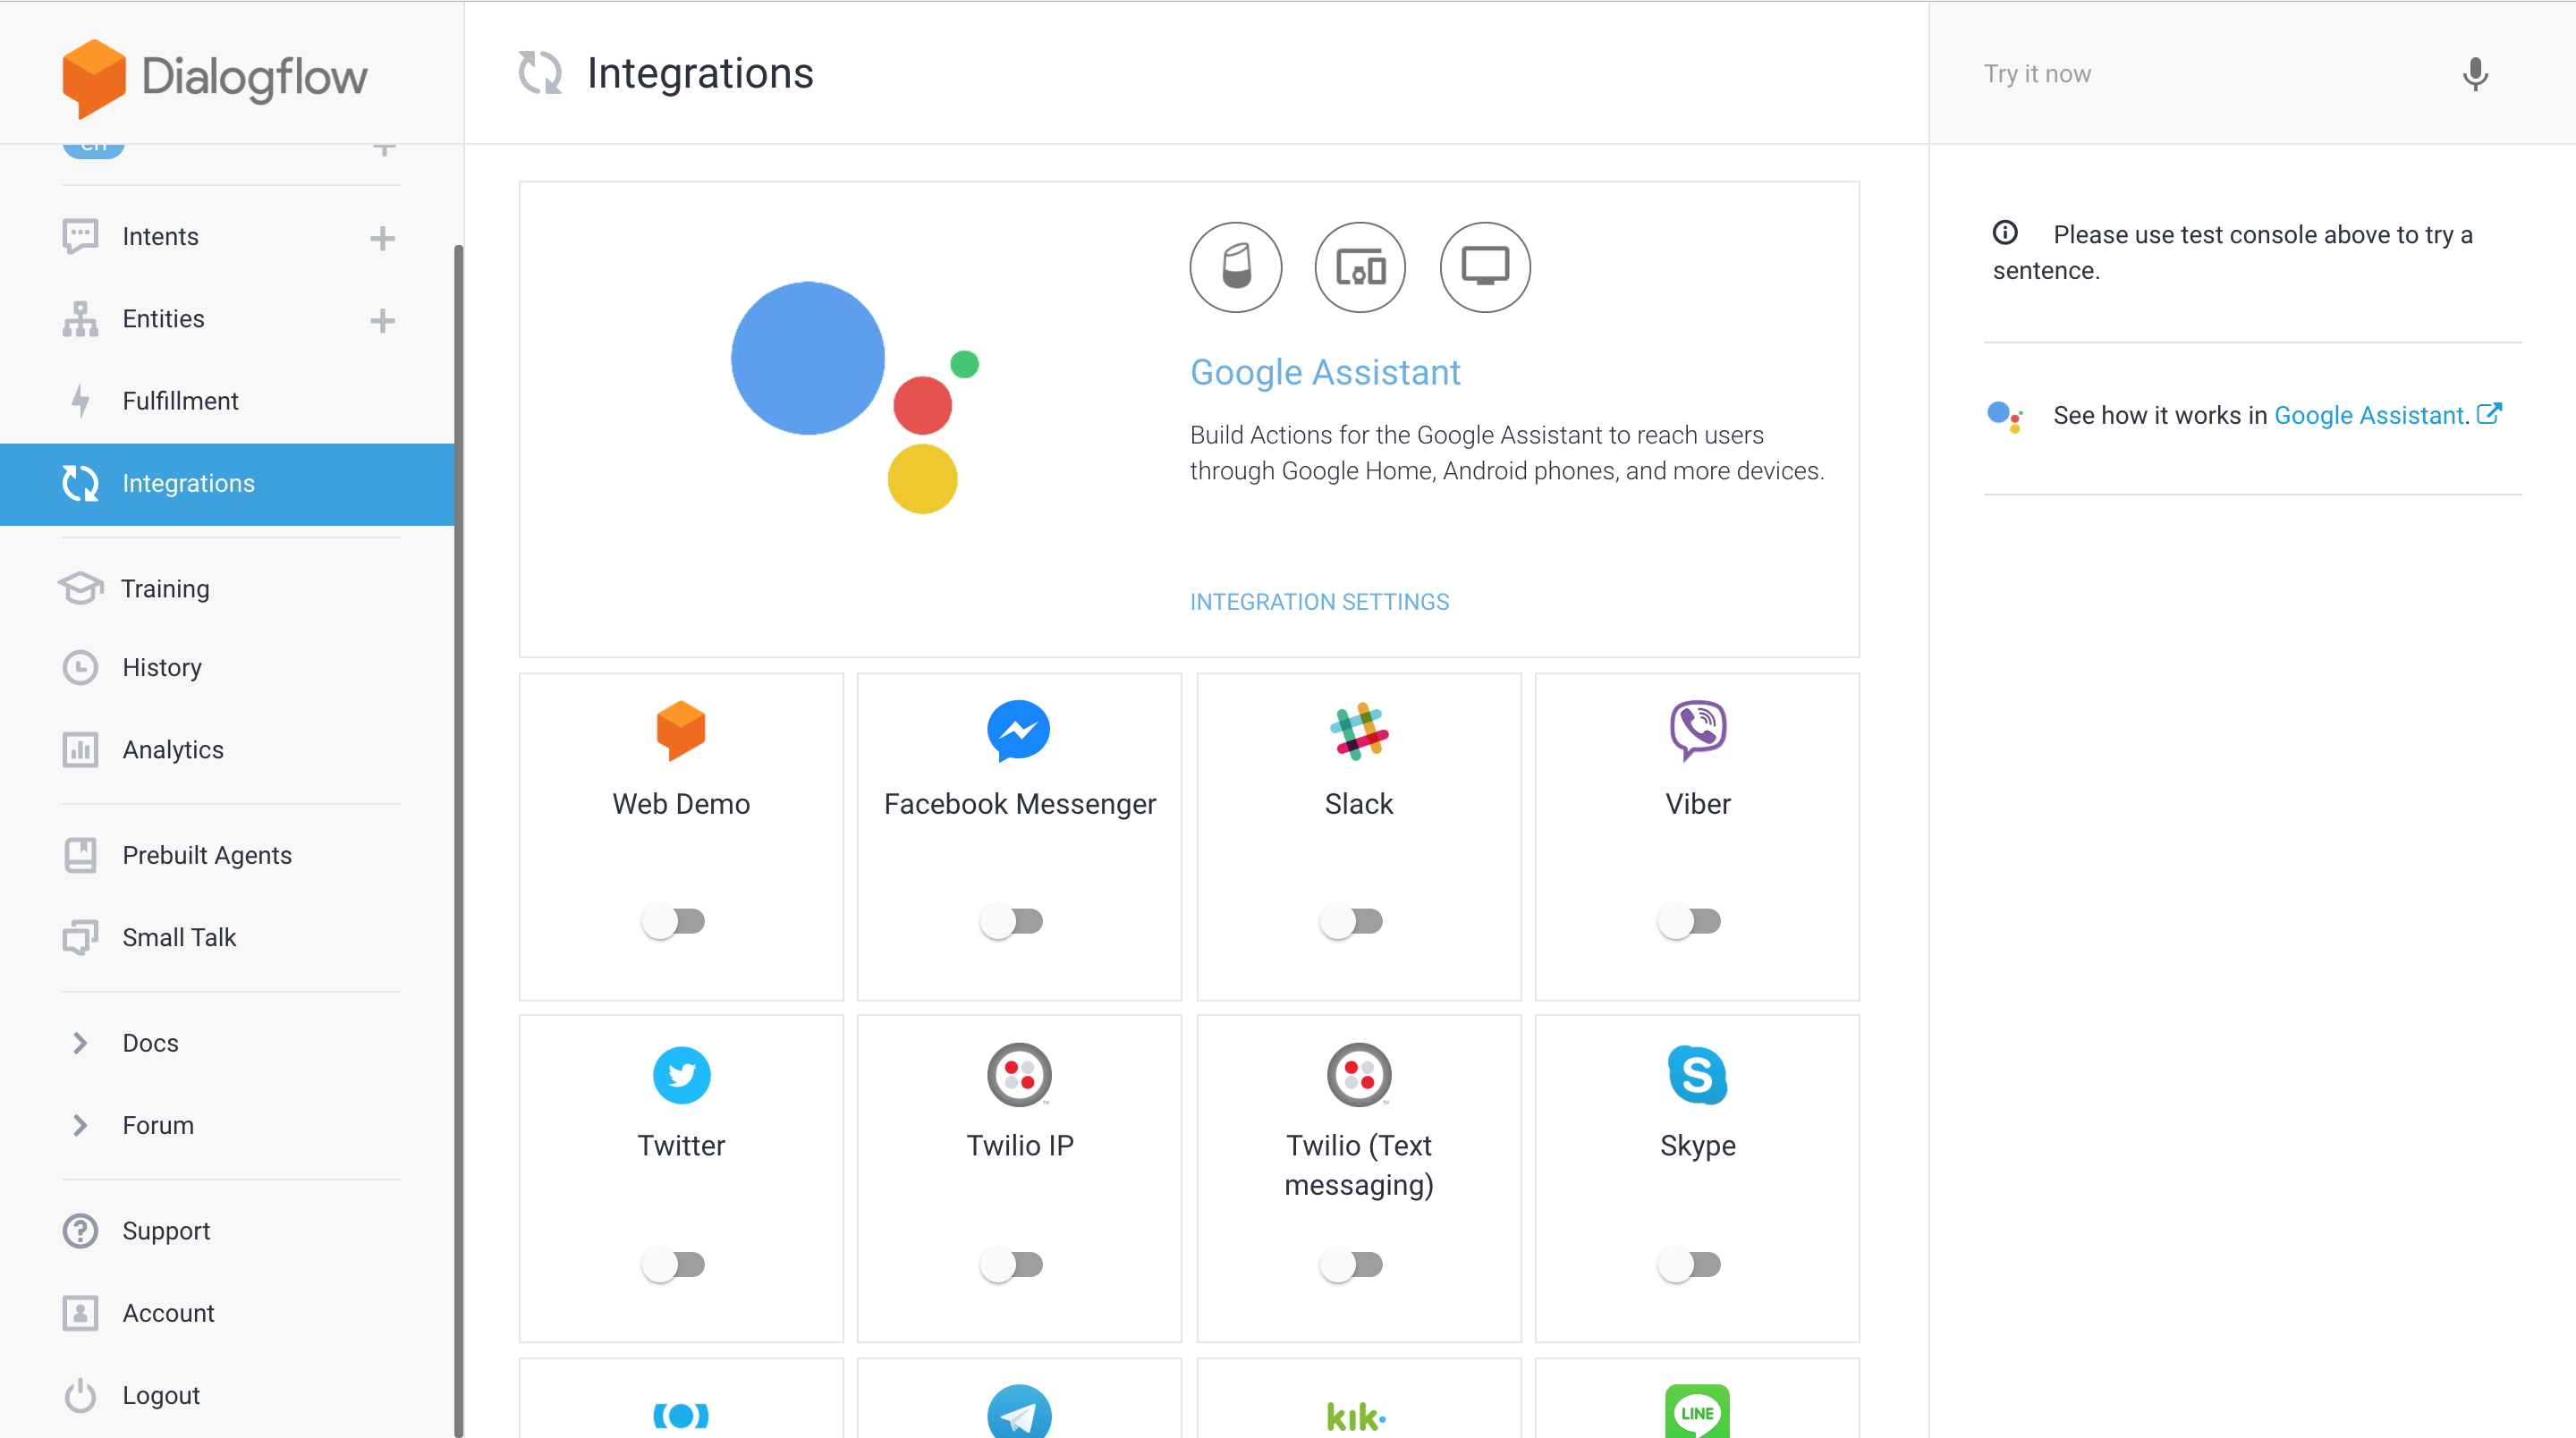
In order to test your freshly created Google Action head to the Integrations section of the menu:
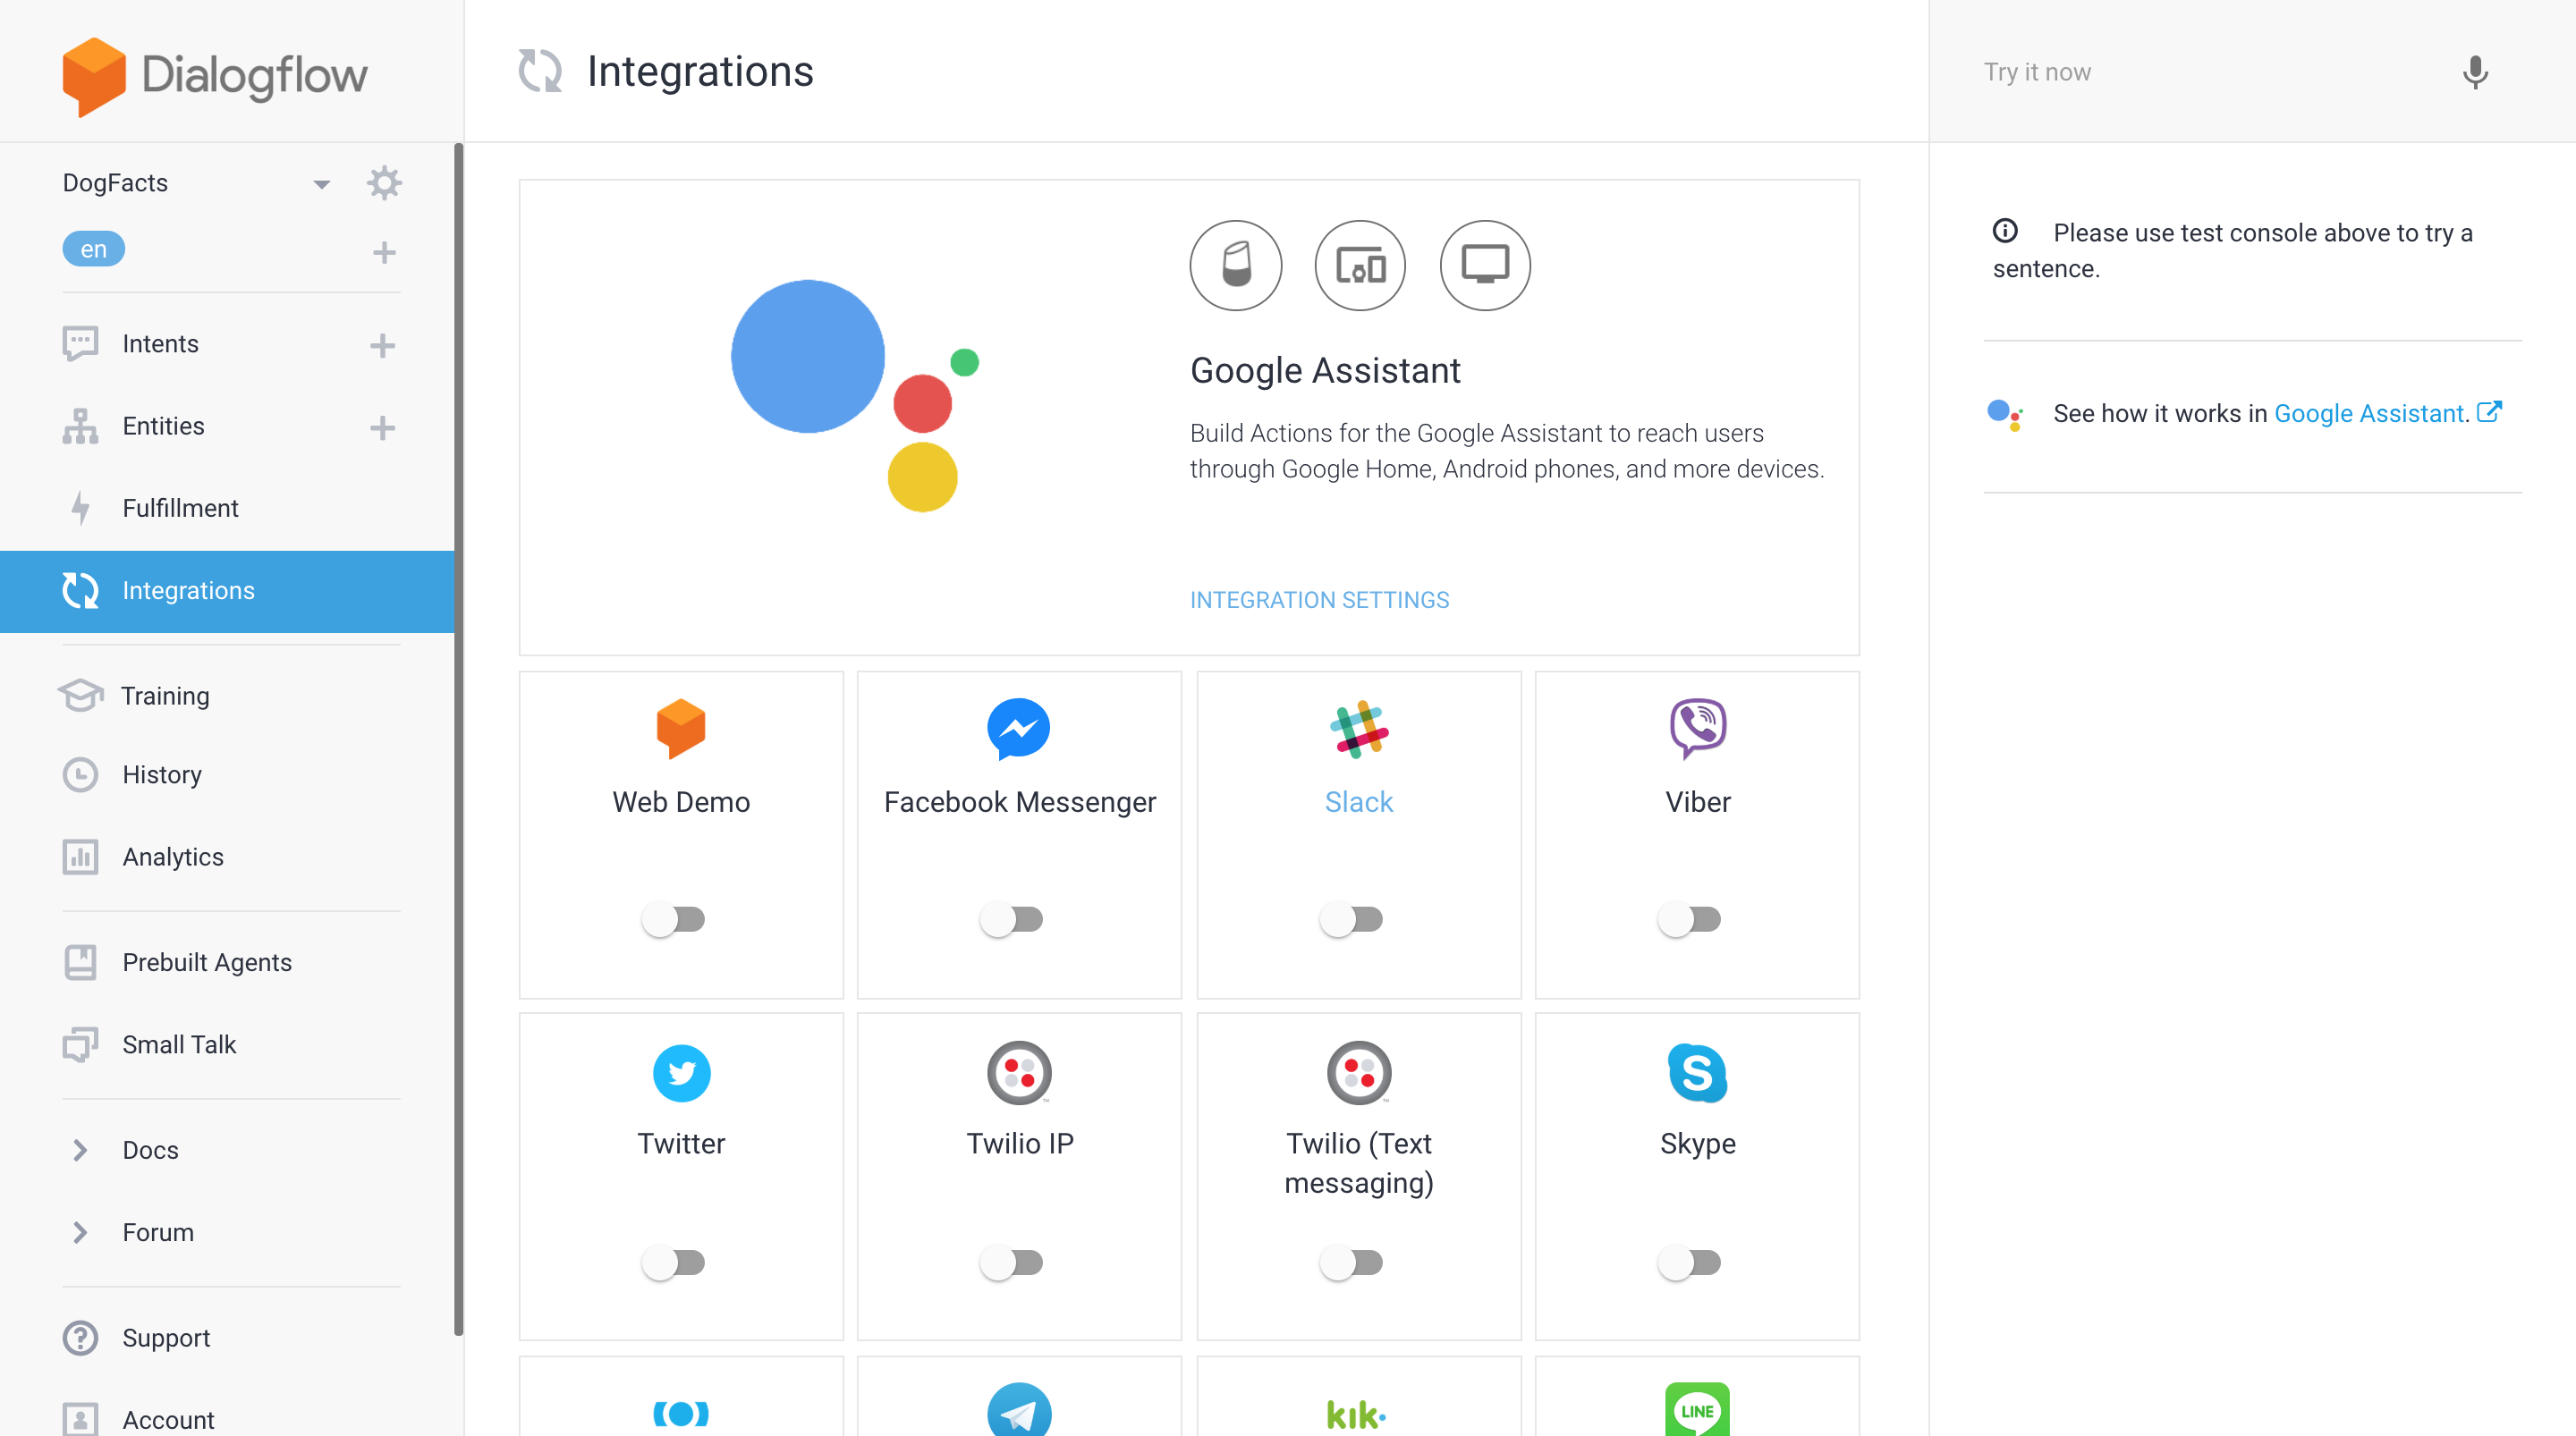
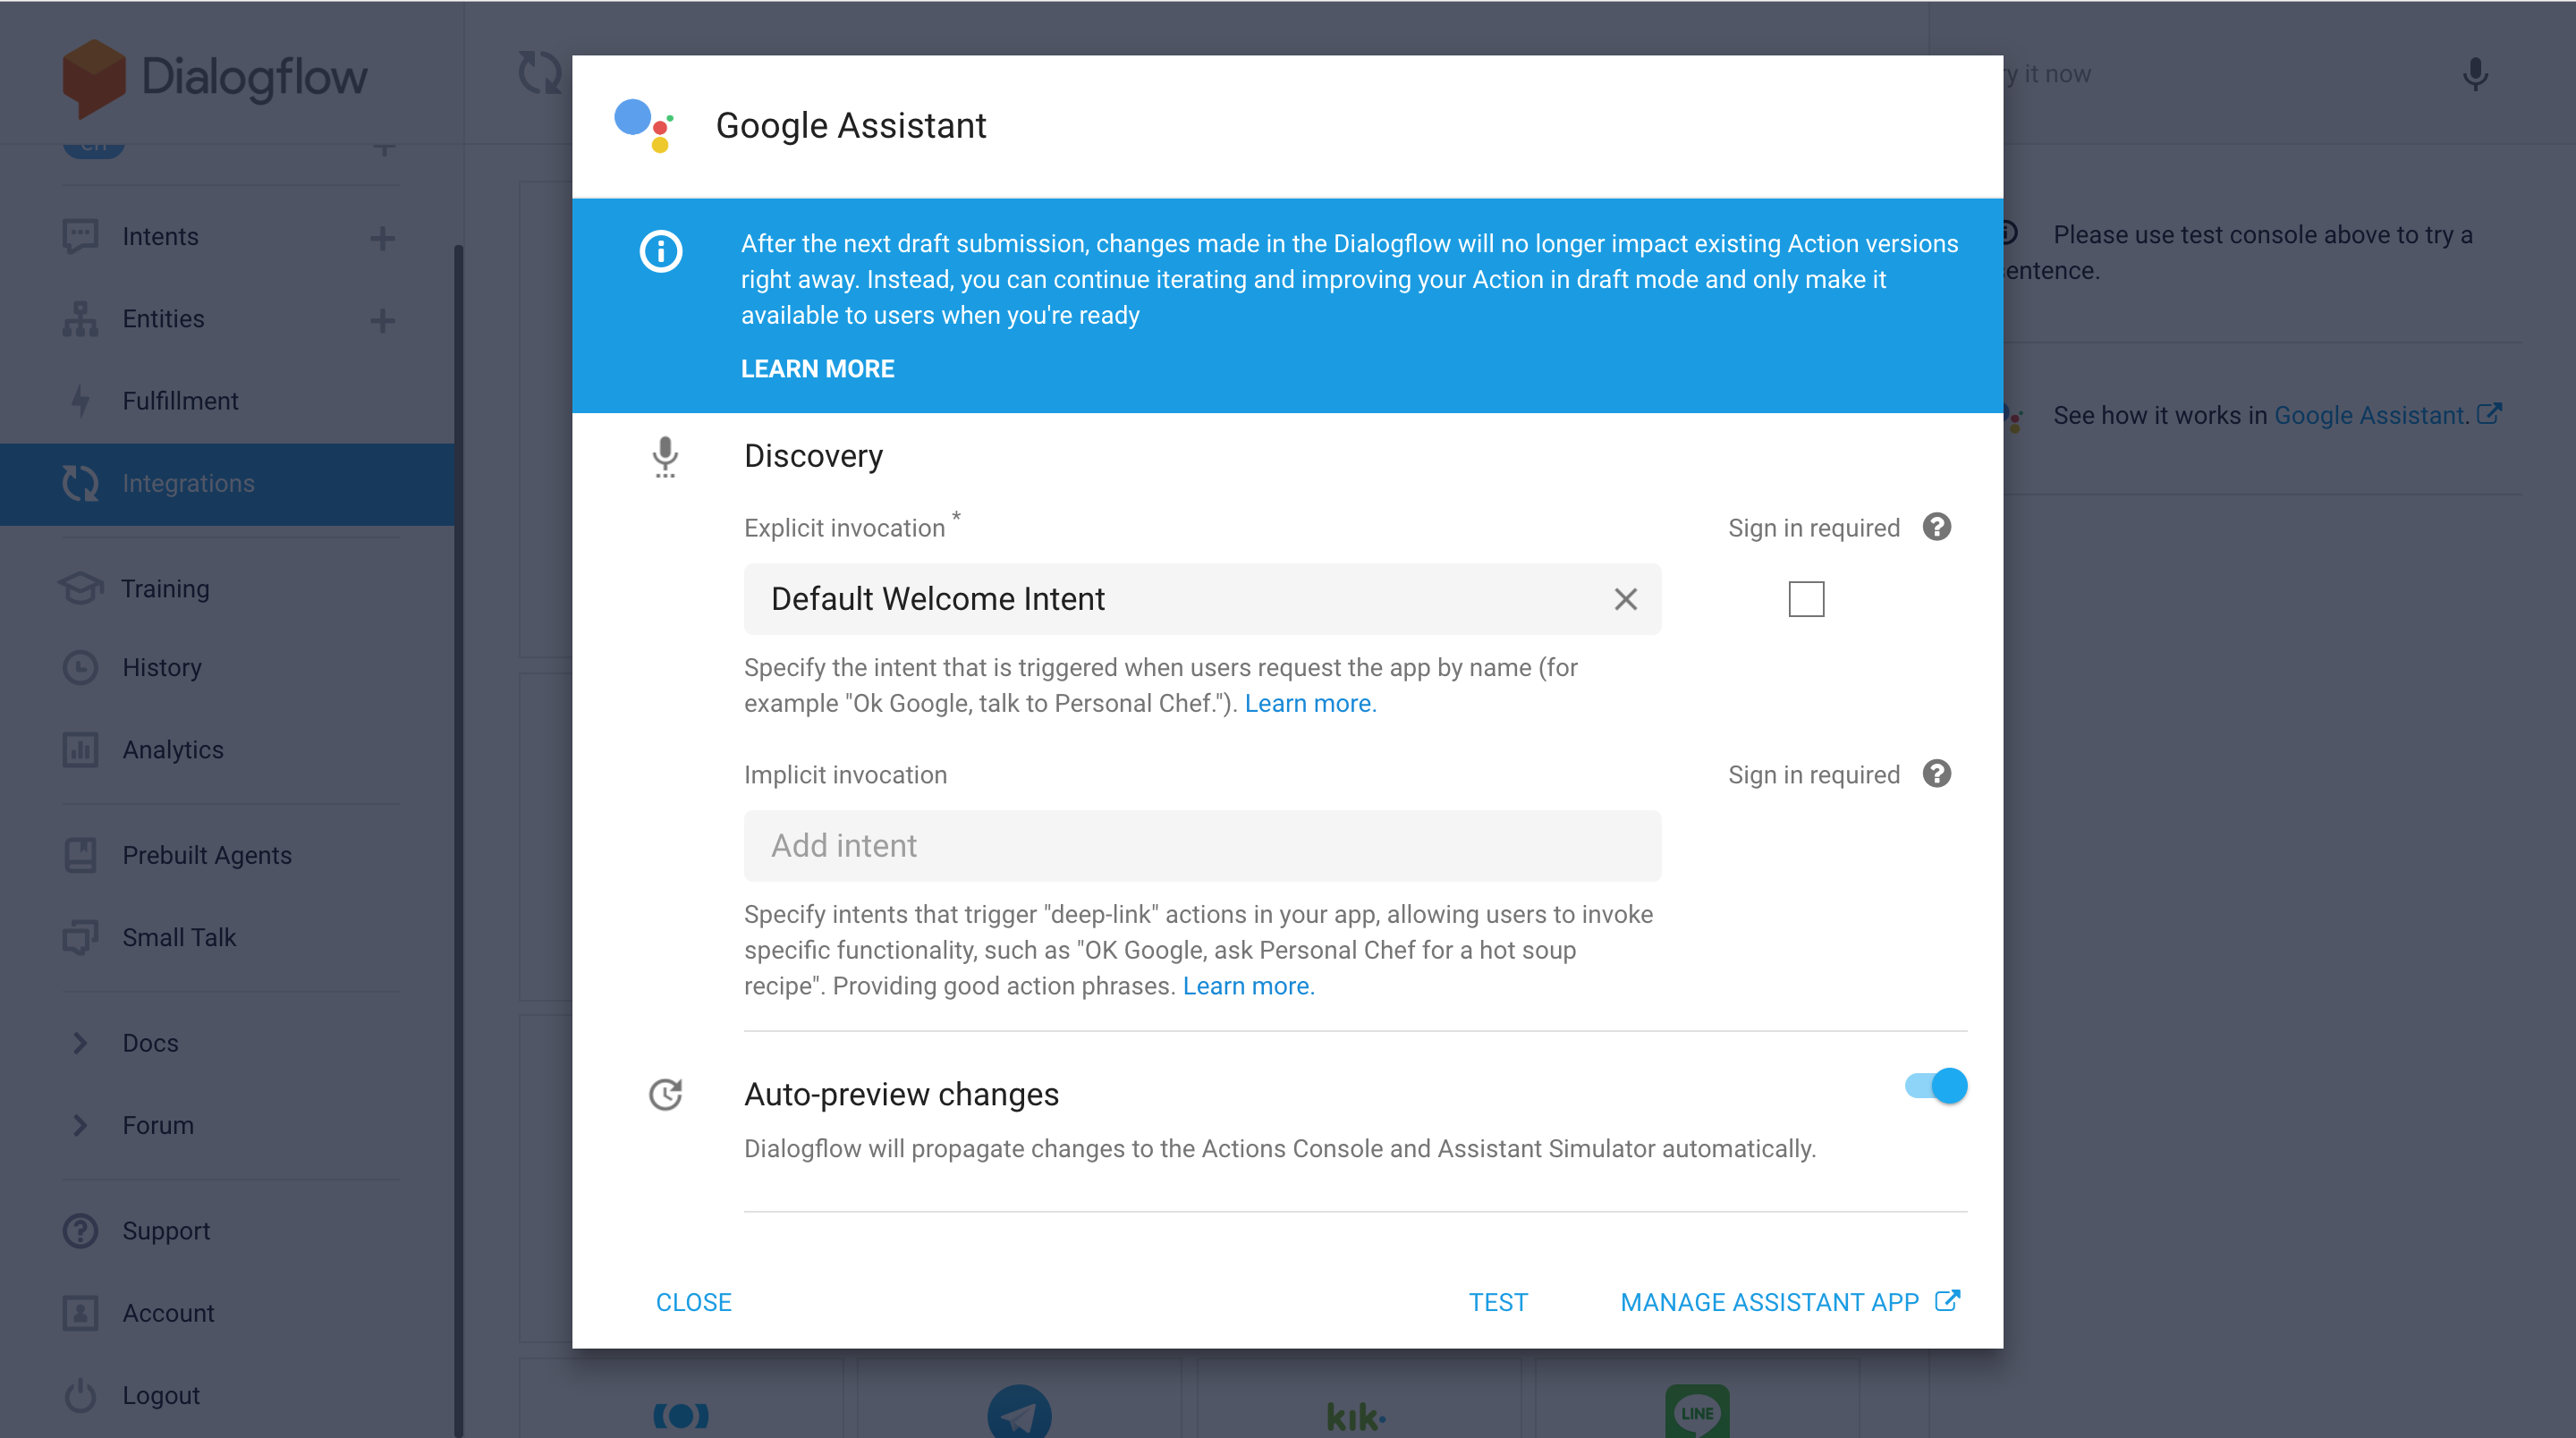
Click on the Integration Settings link and the popup window will appear:
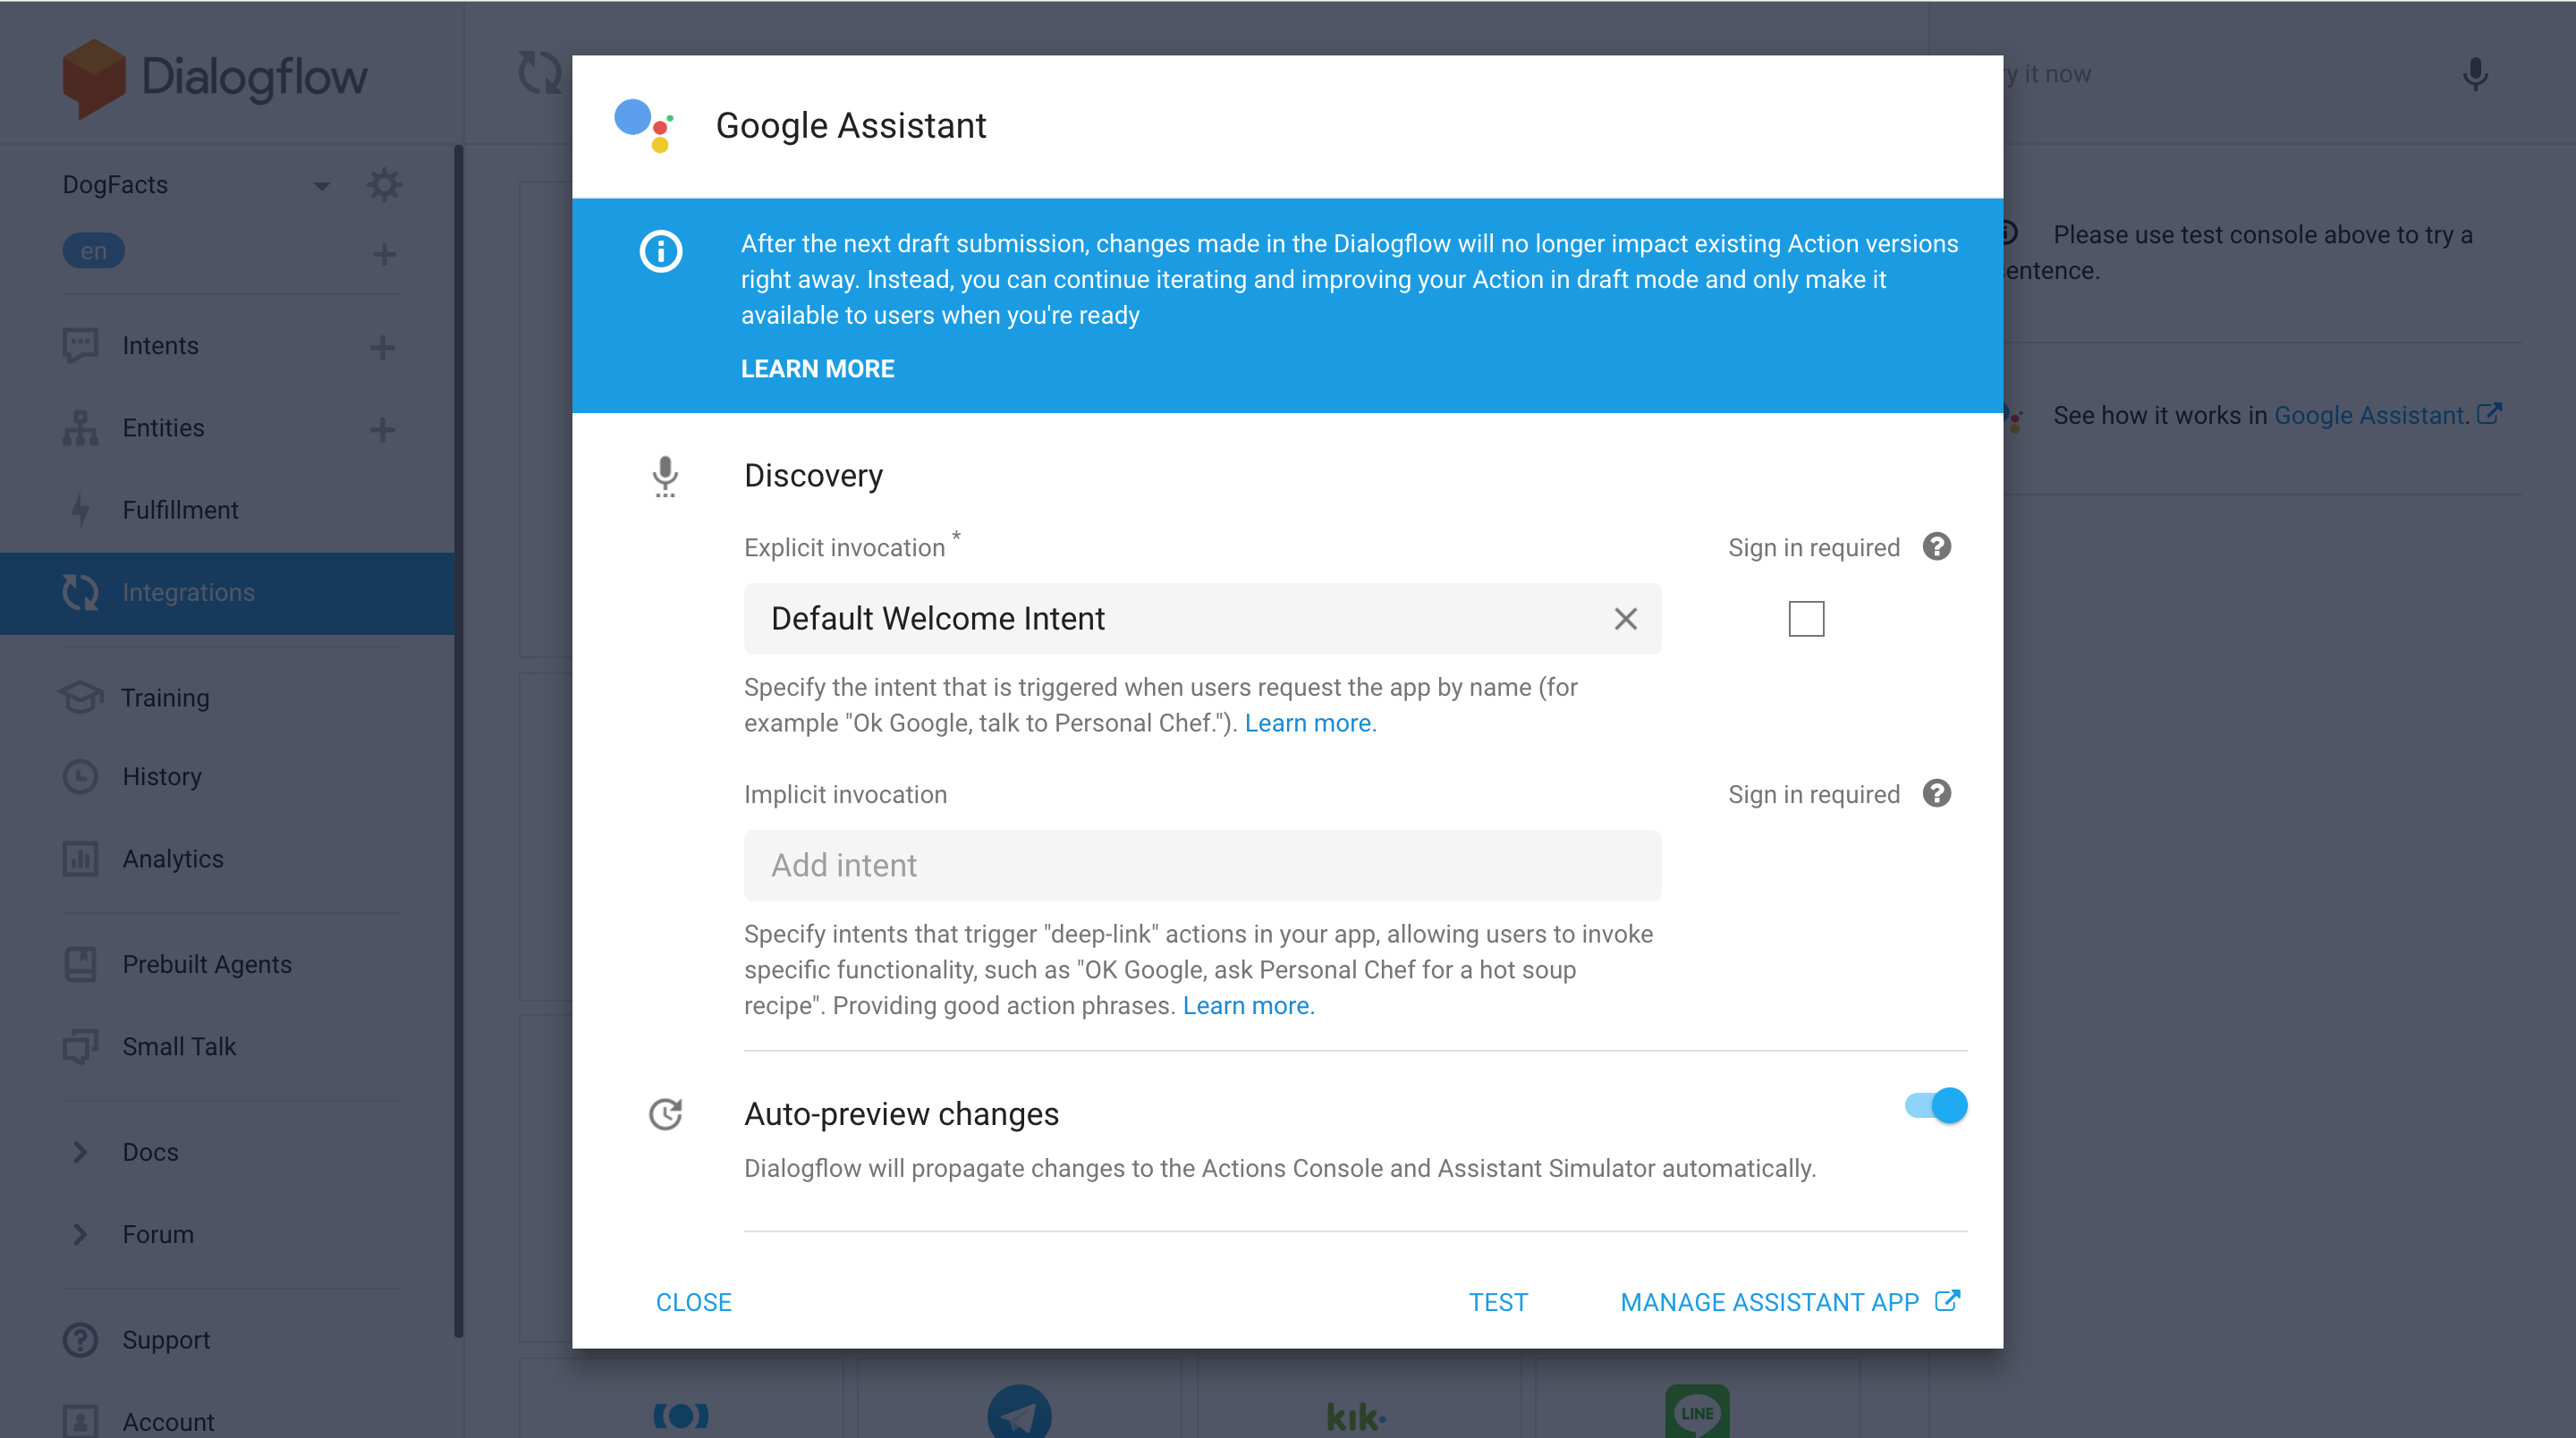
From there click on the TEST button at the bottom of the window. NOTE: If after the click a new browser tab is opened and instantly closed, you would need to close that popup window and click on the Integration Settings link once again. It’s a known Dialogflow bug =(
This is how the Simulator of Google Actions looks like:
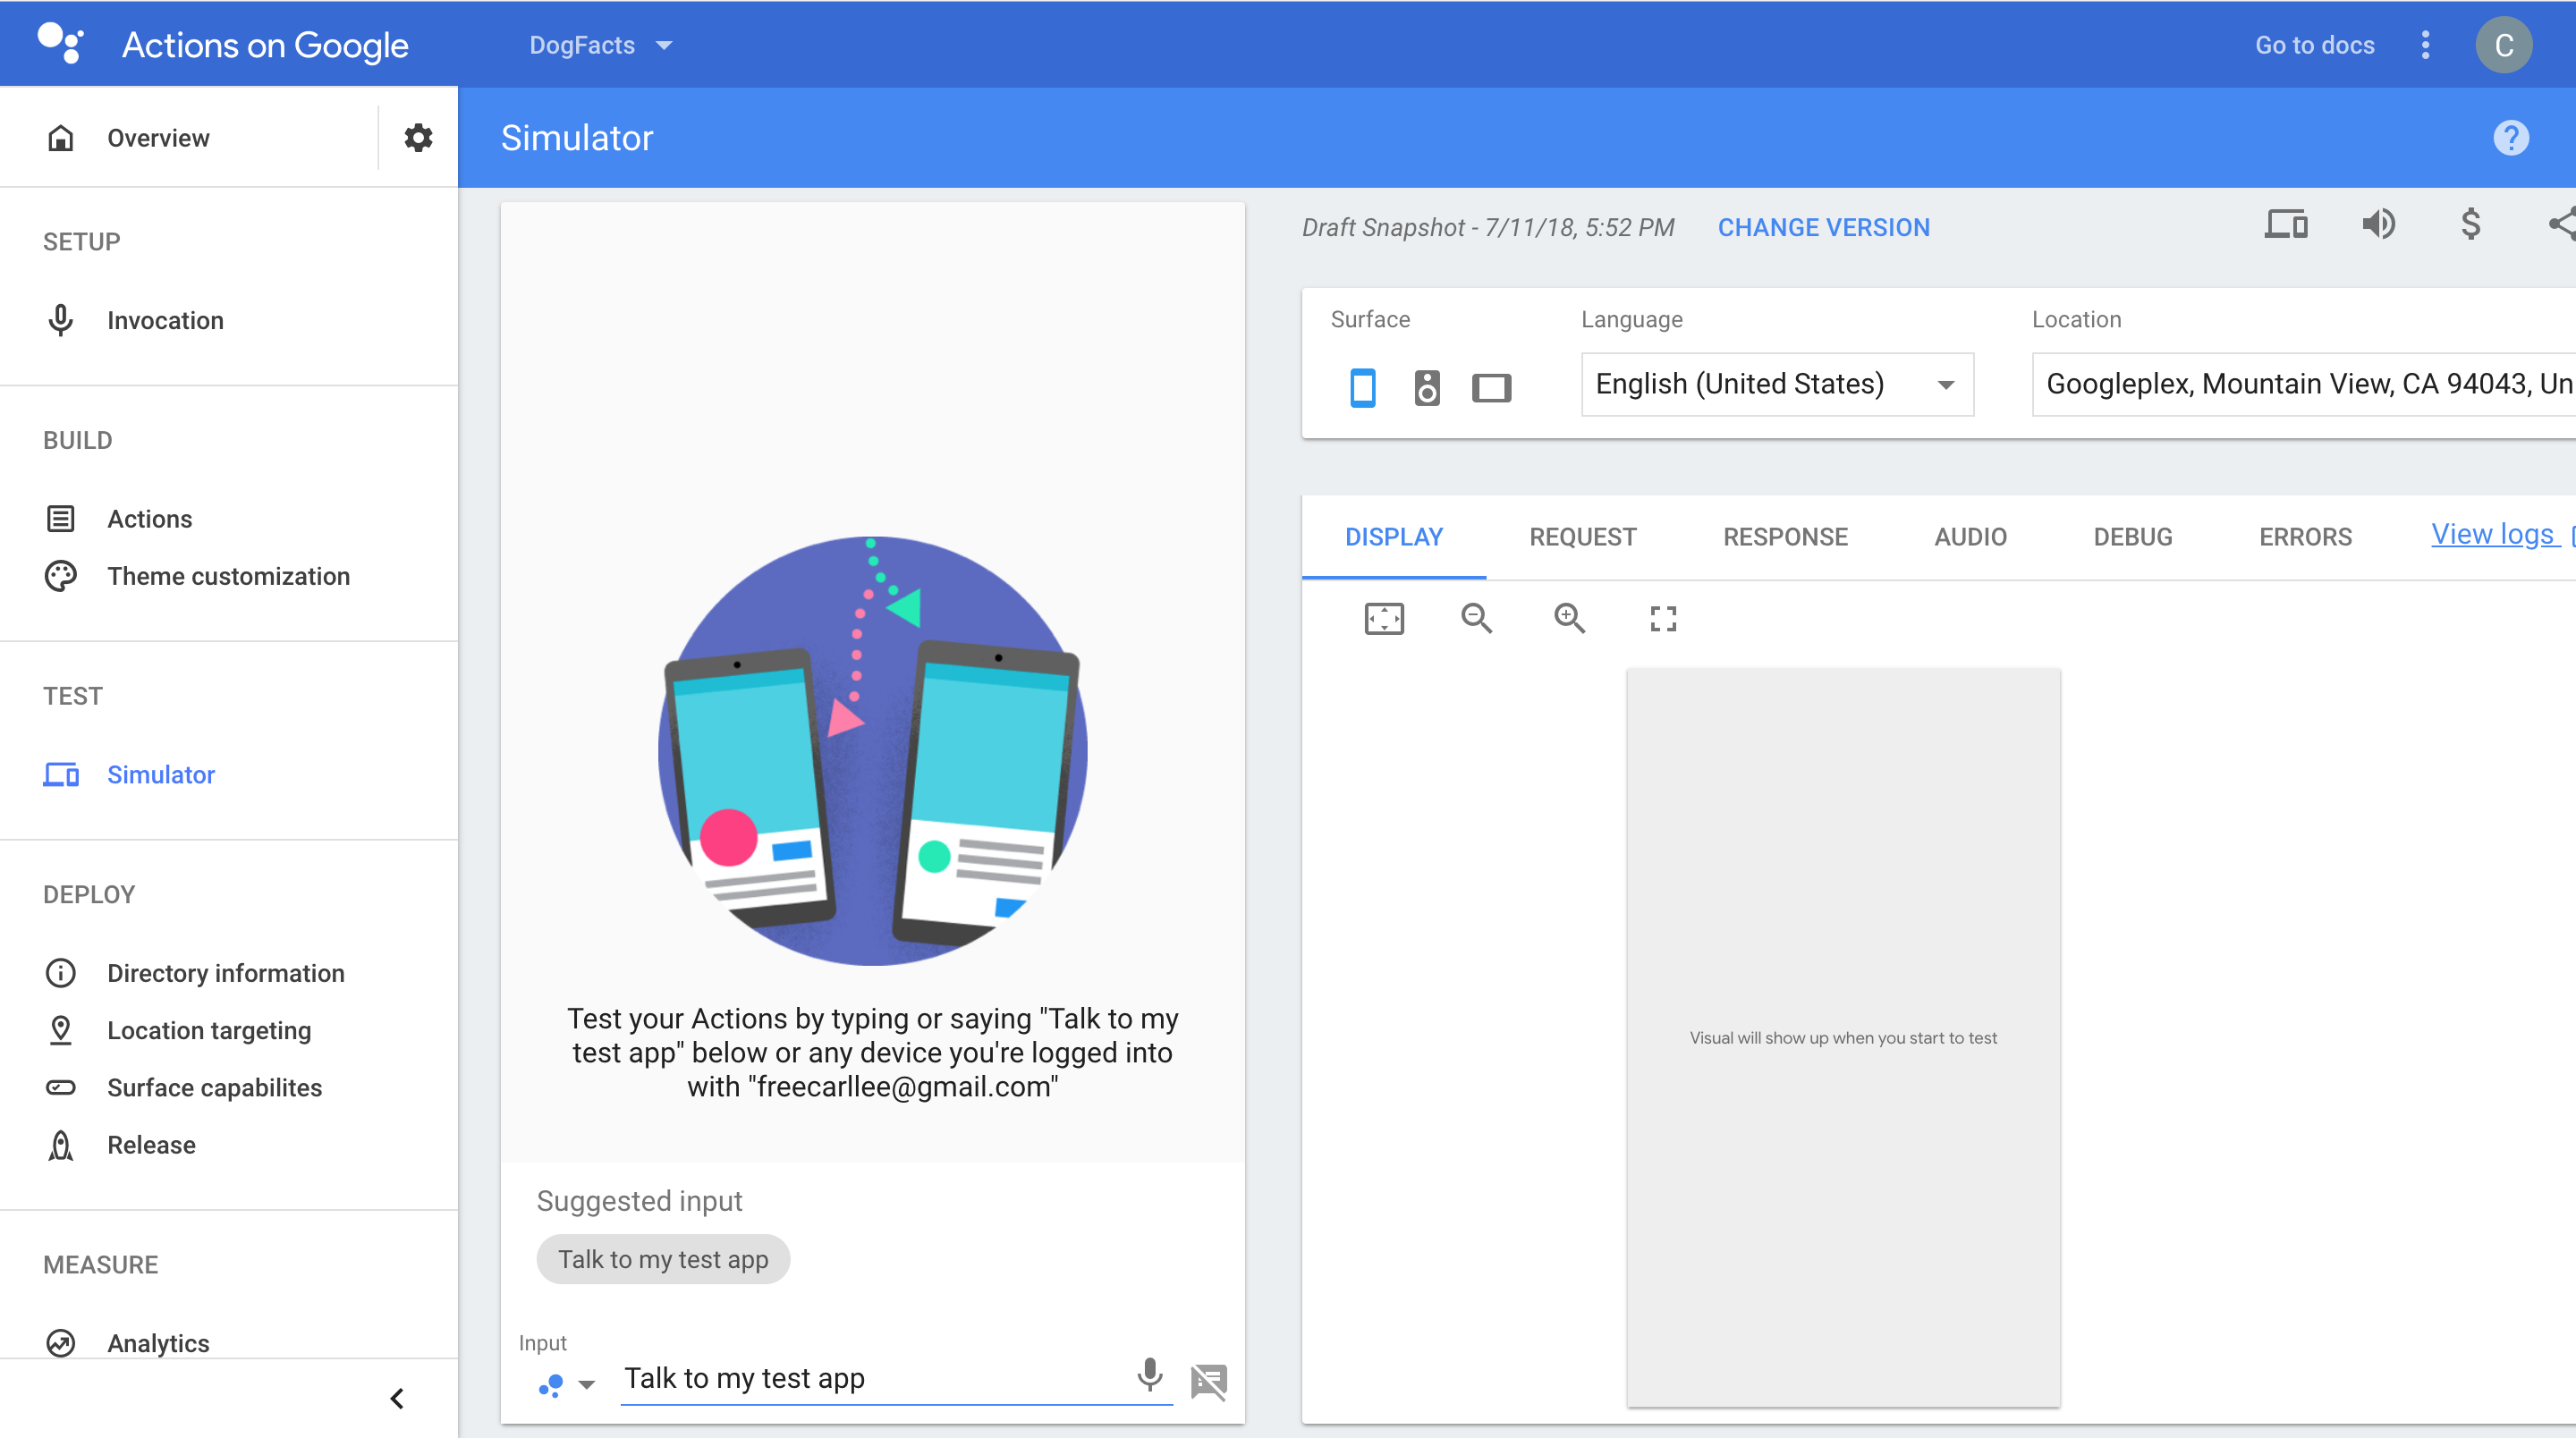
You can just go ahead and click enter in the input field. That will launch the test version of your Google Action:
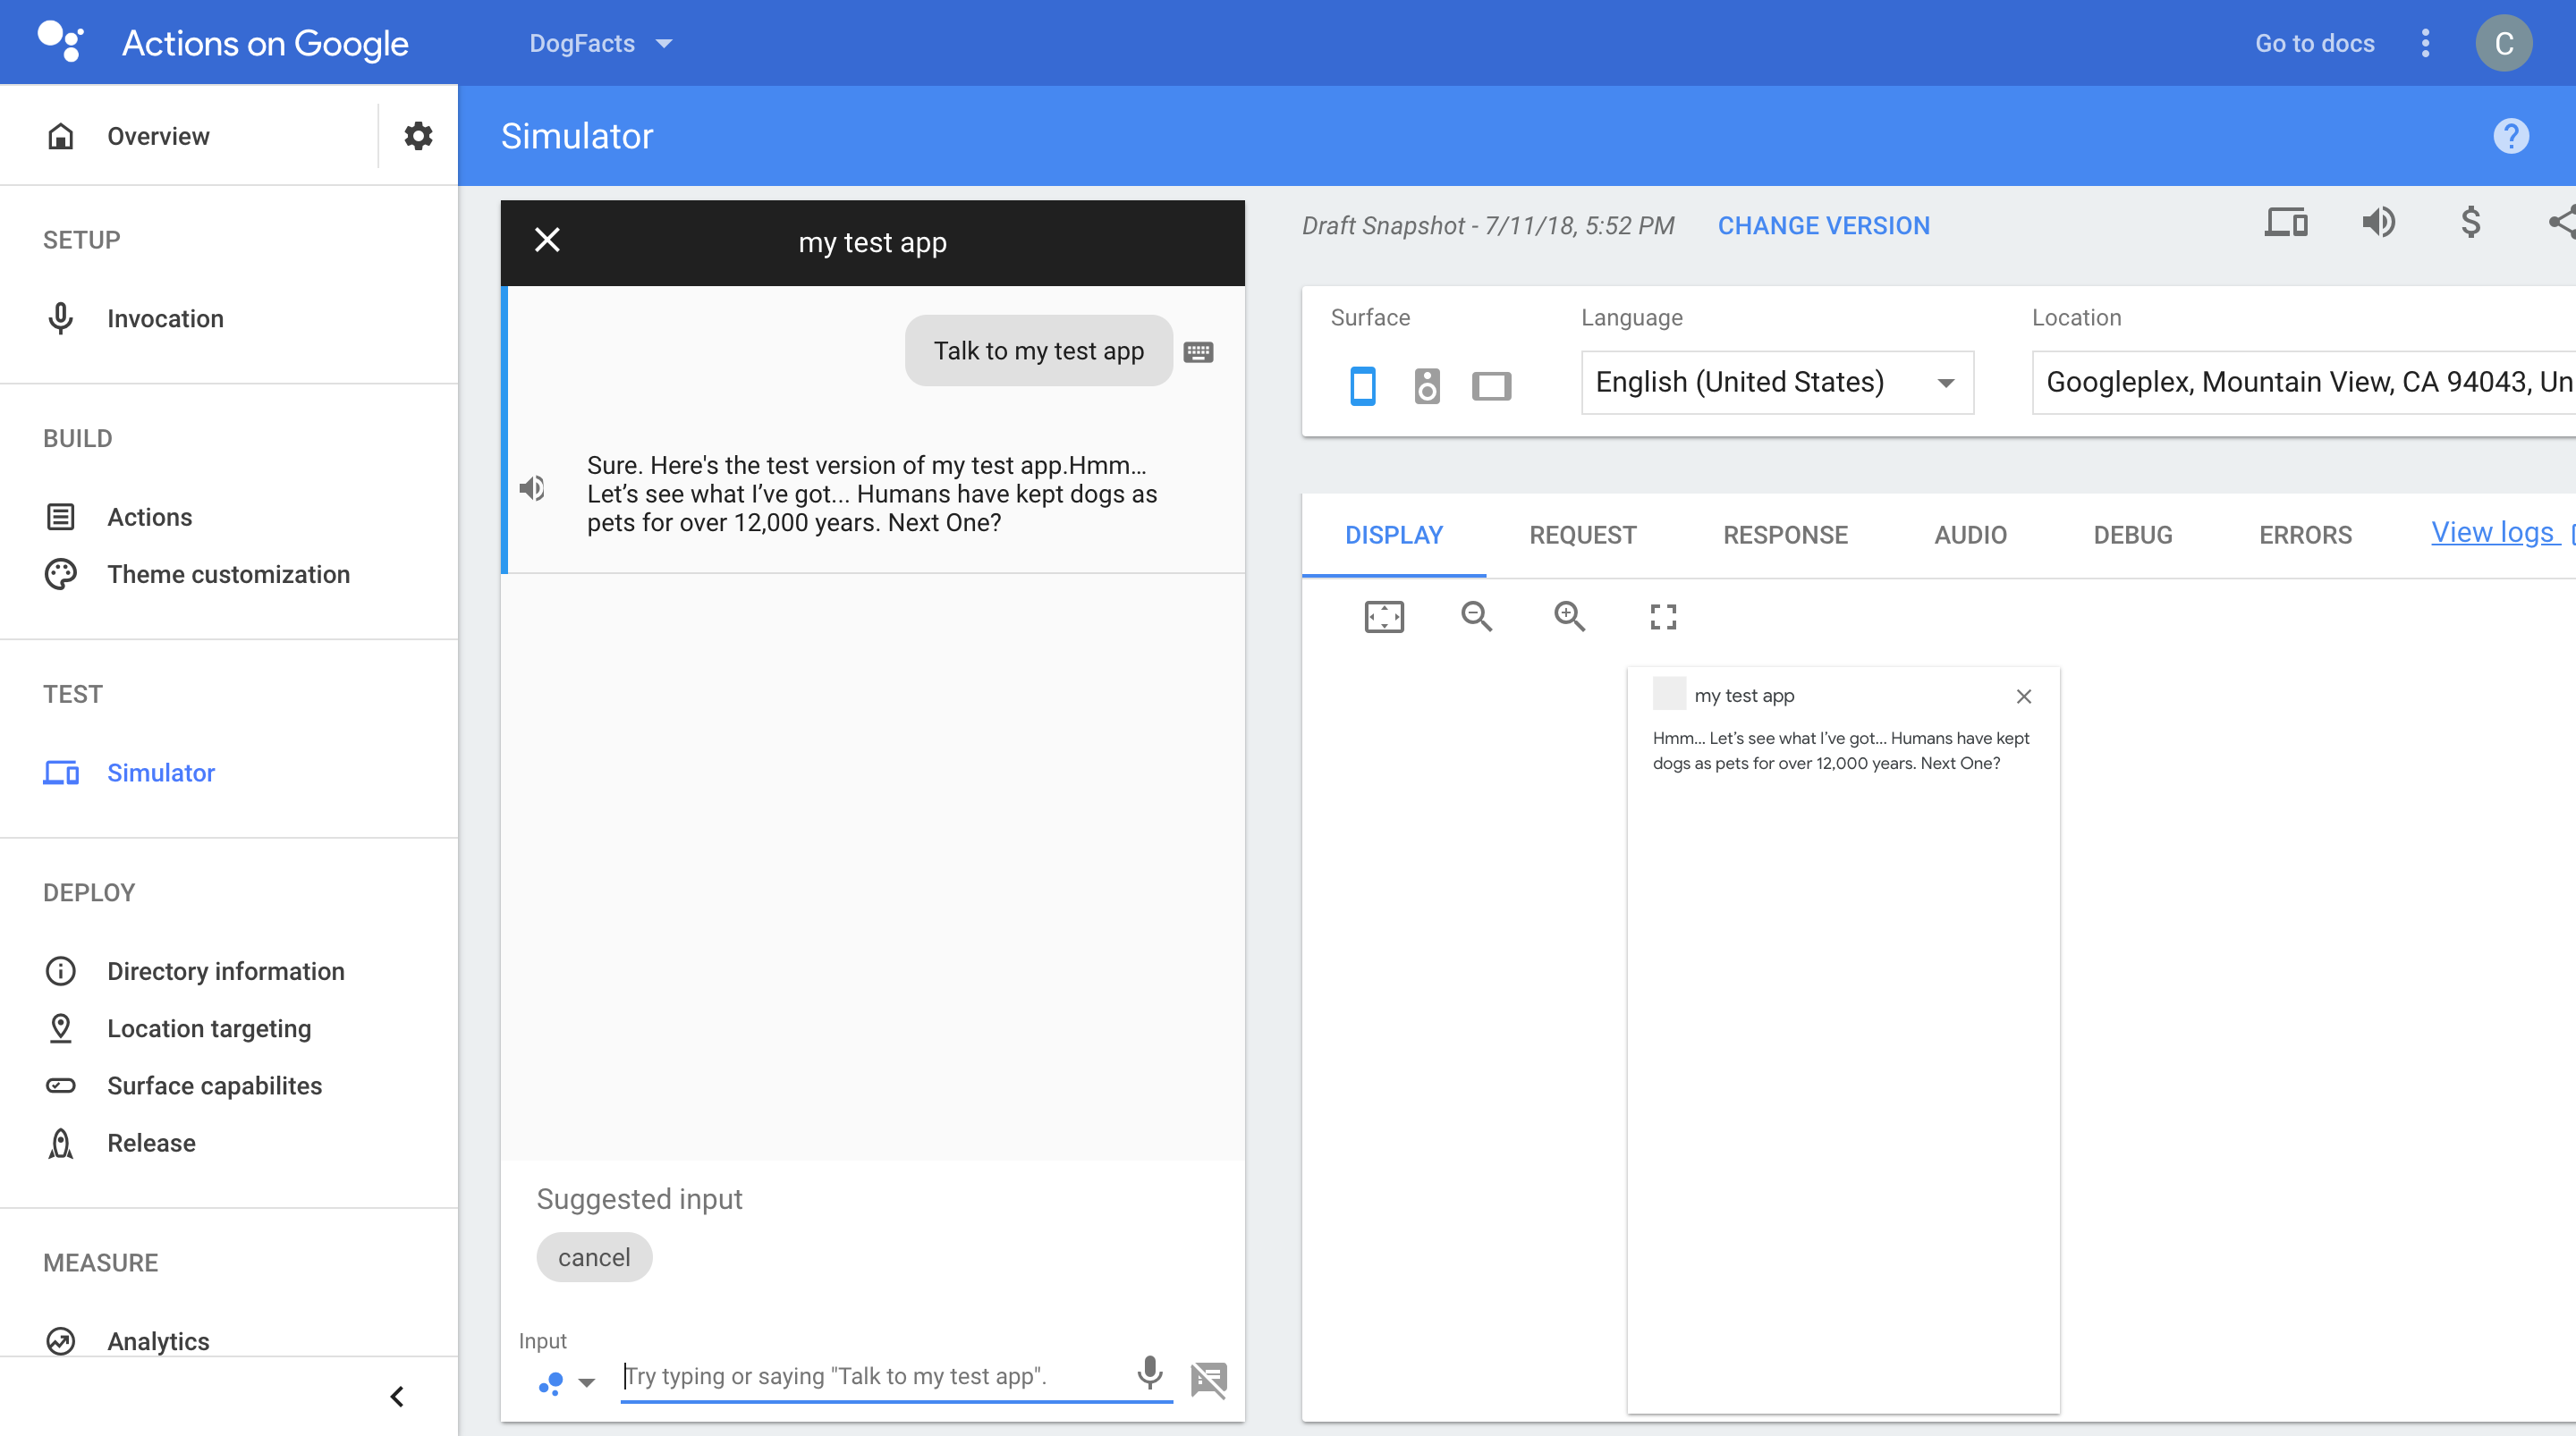
HEY!!! It’s working! Let’s check if it’s really the same scenario we’ve just tested on Amazon Alexa by trying out different answers:
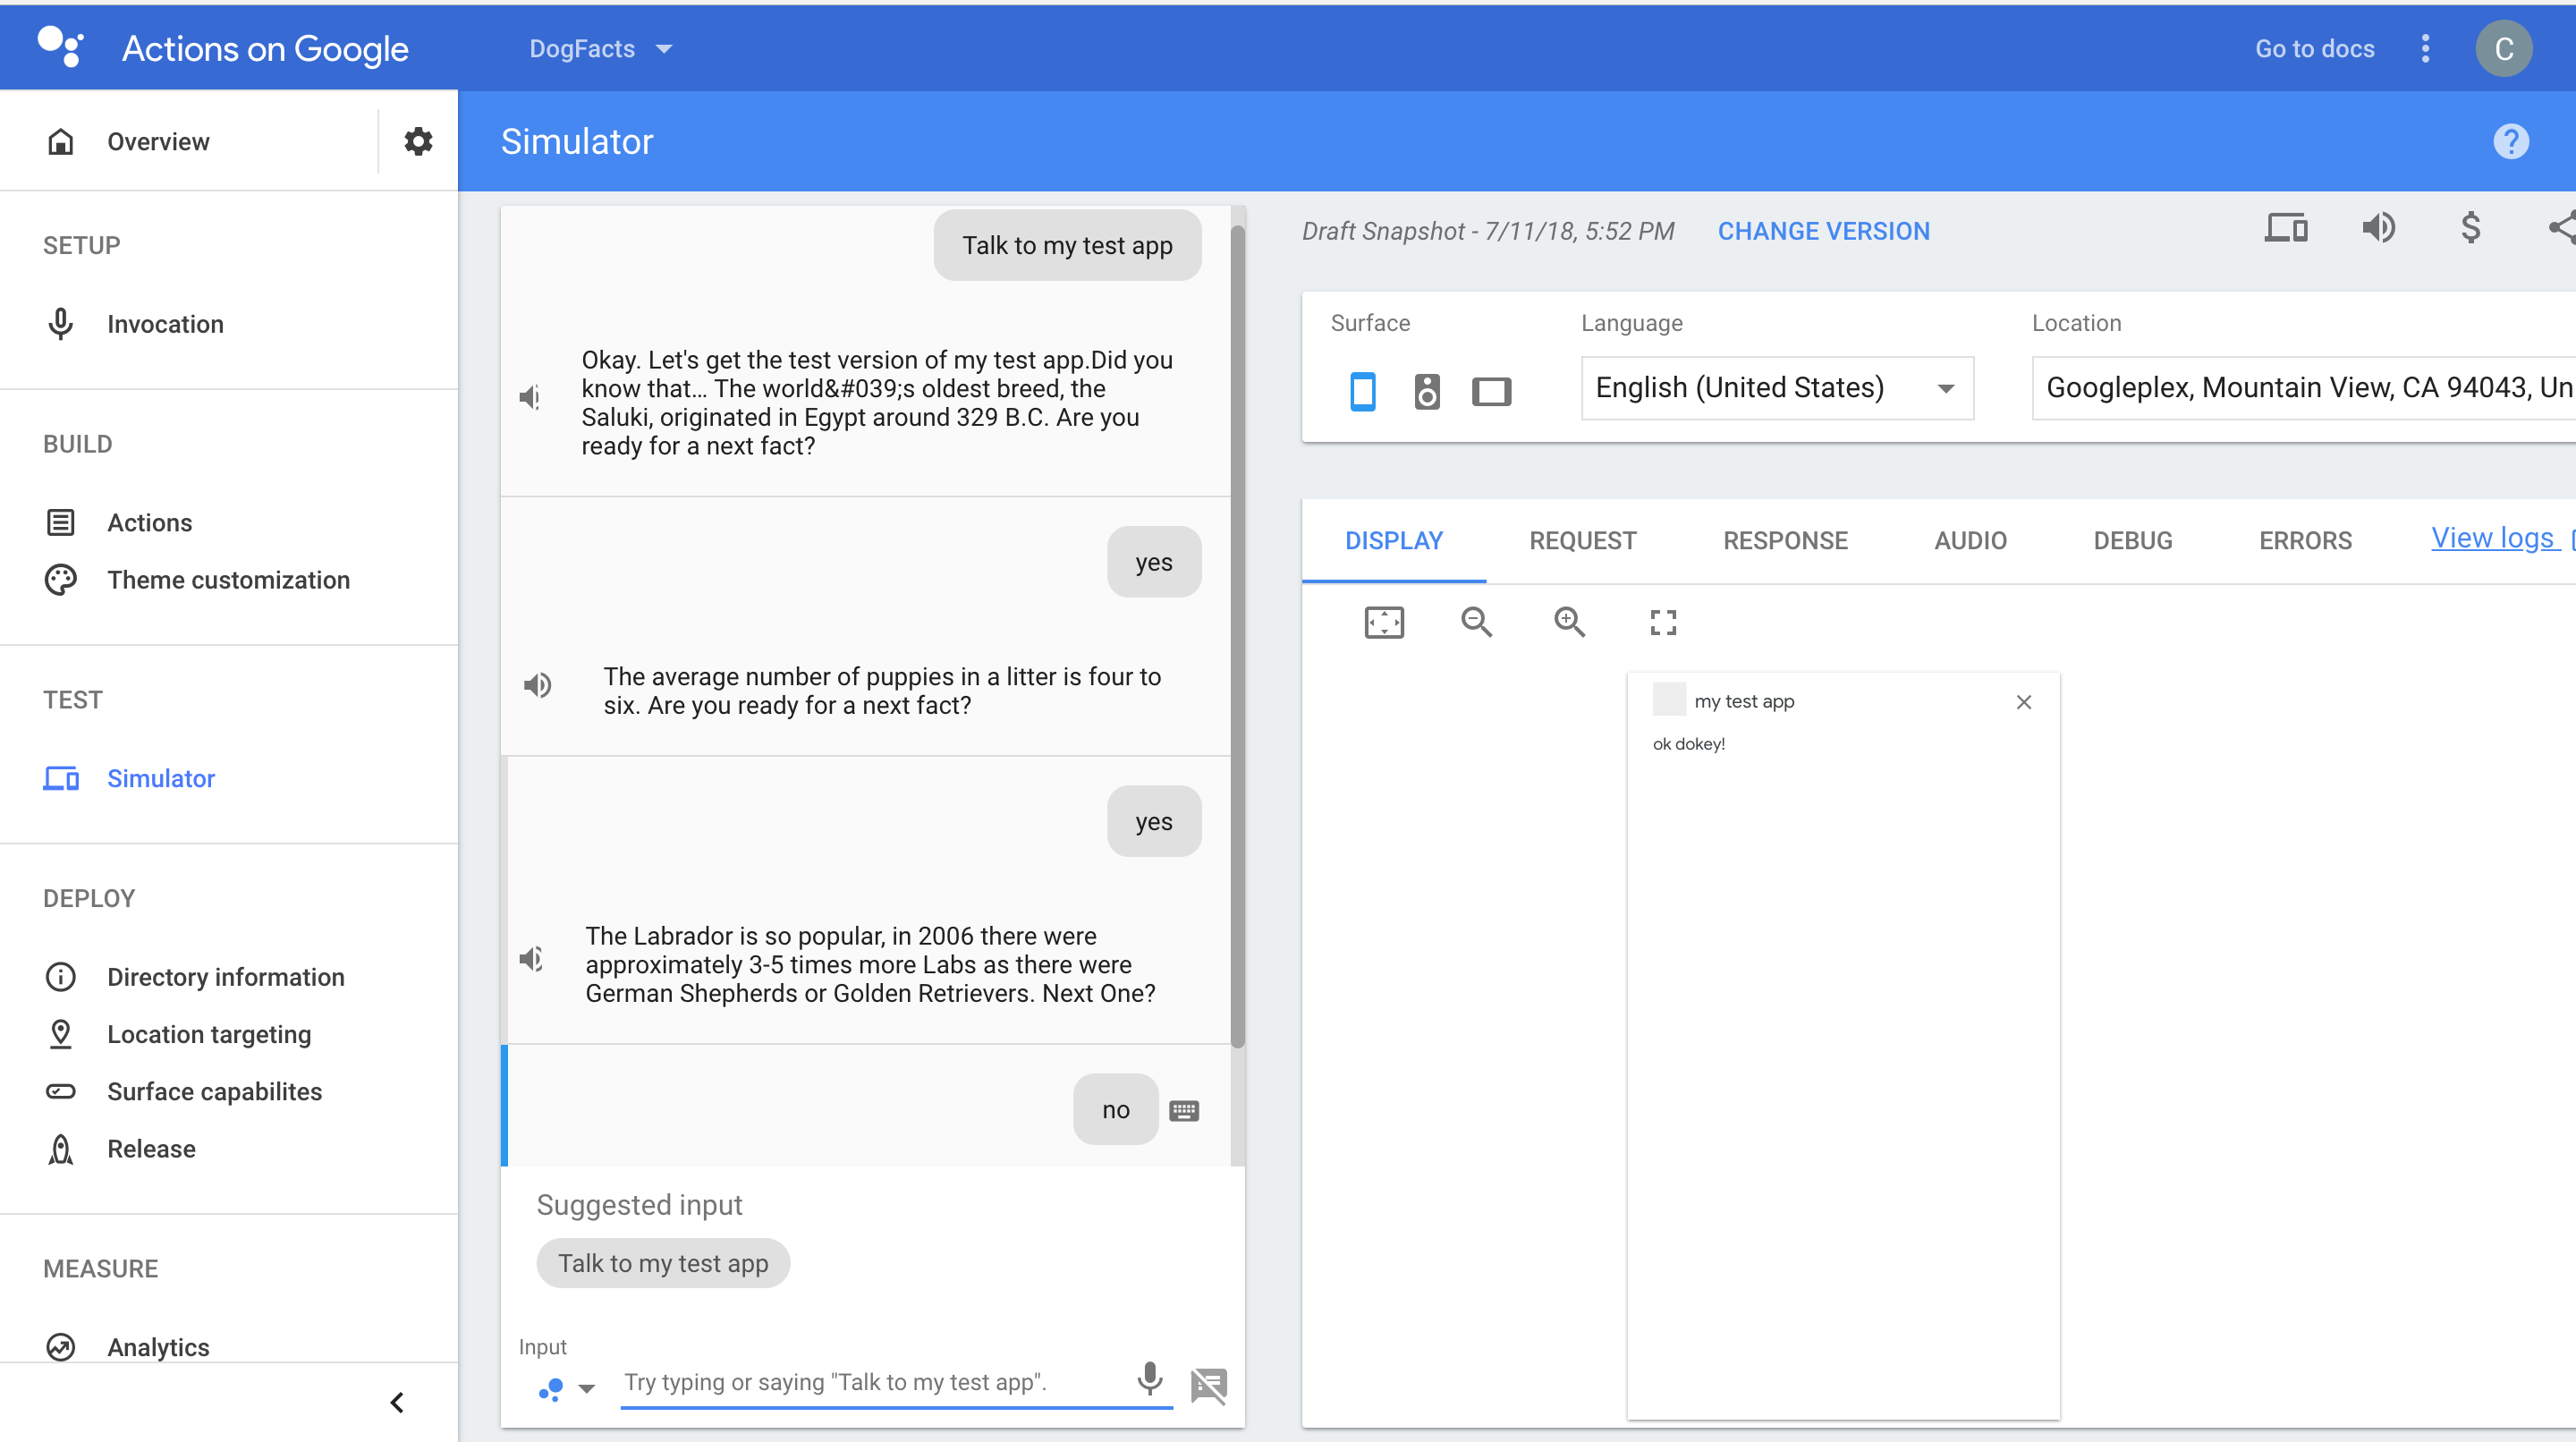
Everything is working! Congratulations, you’ve just created your first Google Action!
Now that was easy, wasn’t it? Are you proud of yourself? Do you want to show it to your friend and colleagues? You will learn how to do that in the next section!
Testing your Alexa Skill on Amazon Echo Device
If the Amazon Developer Account is the same account your Amazon Echo is configured with - your skill will be available on your device directly after the deployment. Just try it out by saying /“Alexa, open Dog Facts Tutorial”/
If you want to test your skill on the other device, or send this skill for testing purposes to your friends and colleagues you need to invite them (or yourself) to be beta-testers.
Before you can invite others to test your skill, you need to complete couple of things in the Amazon Alexa Console. Head to Amazon Developer Sign In and click Edit link in the ACTIONS section next to your Skill name:
From there go to Distribution tab. You would need to upload two icons: a small one 108x108 pixel and a large one 512x512 pixel. For your convince we’ve created those icons for you to use: Small Skill Icon, Large Skill Icon. Just upload it here:
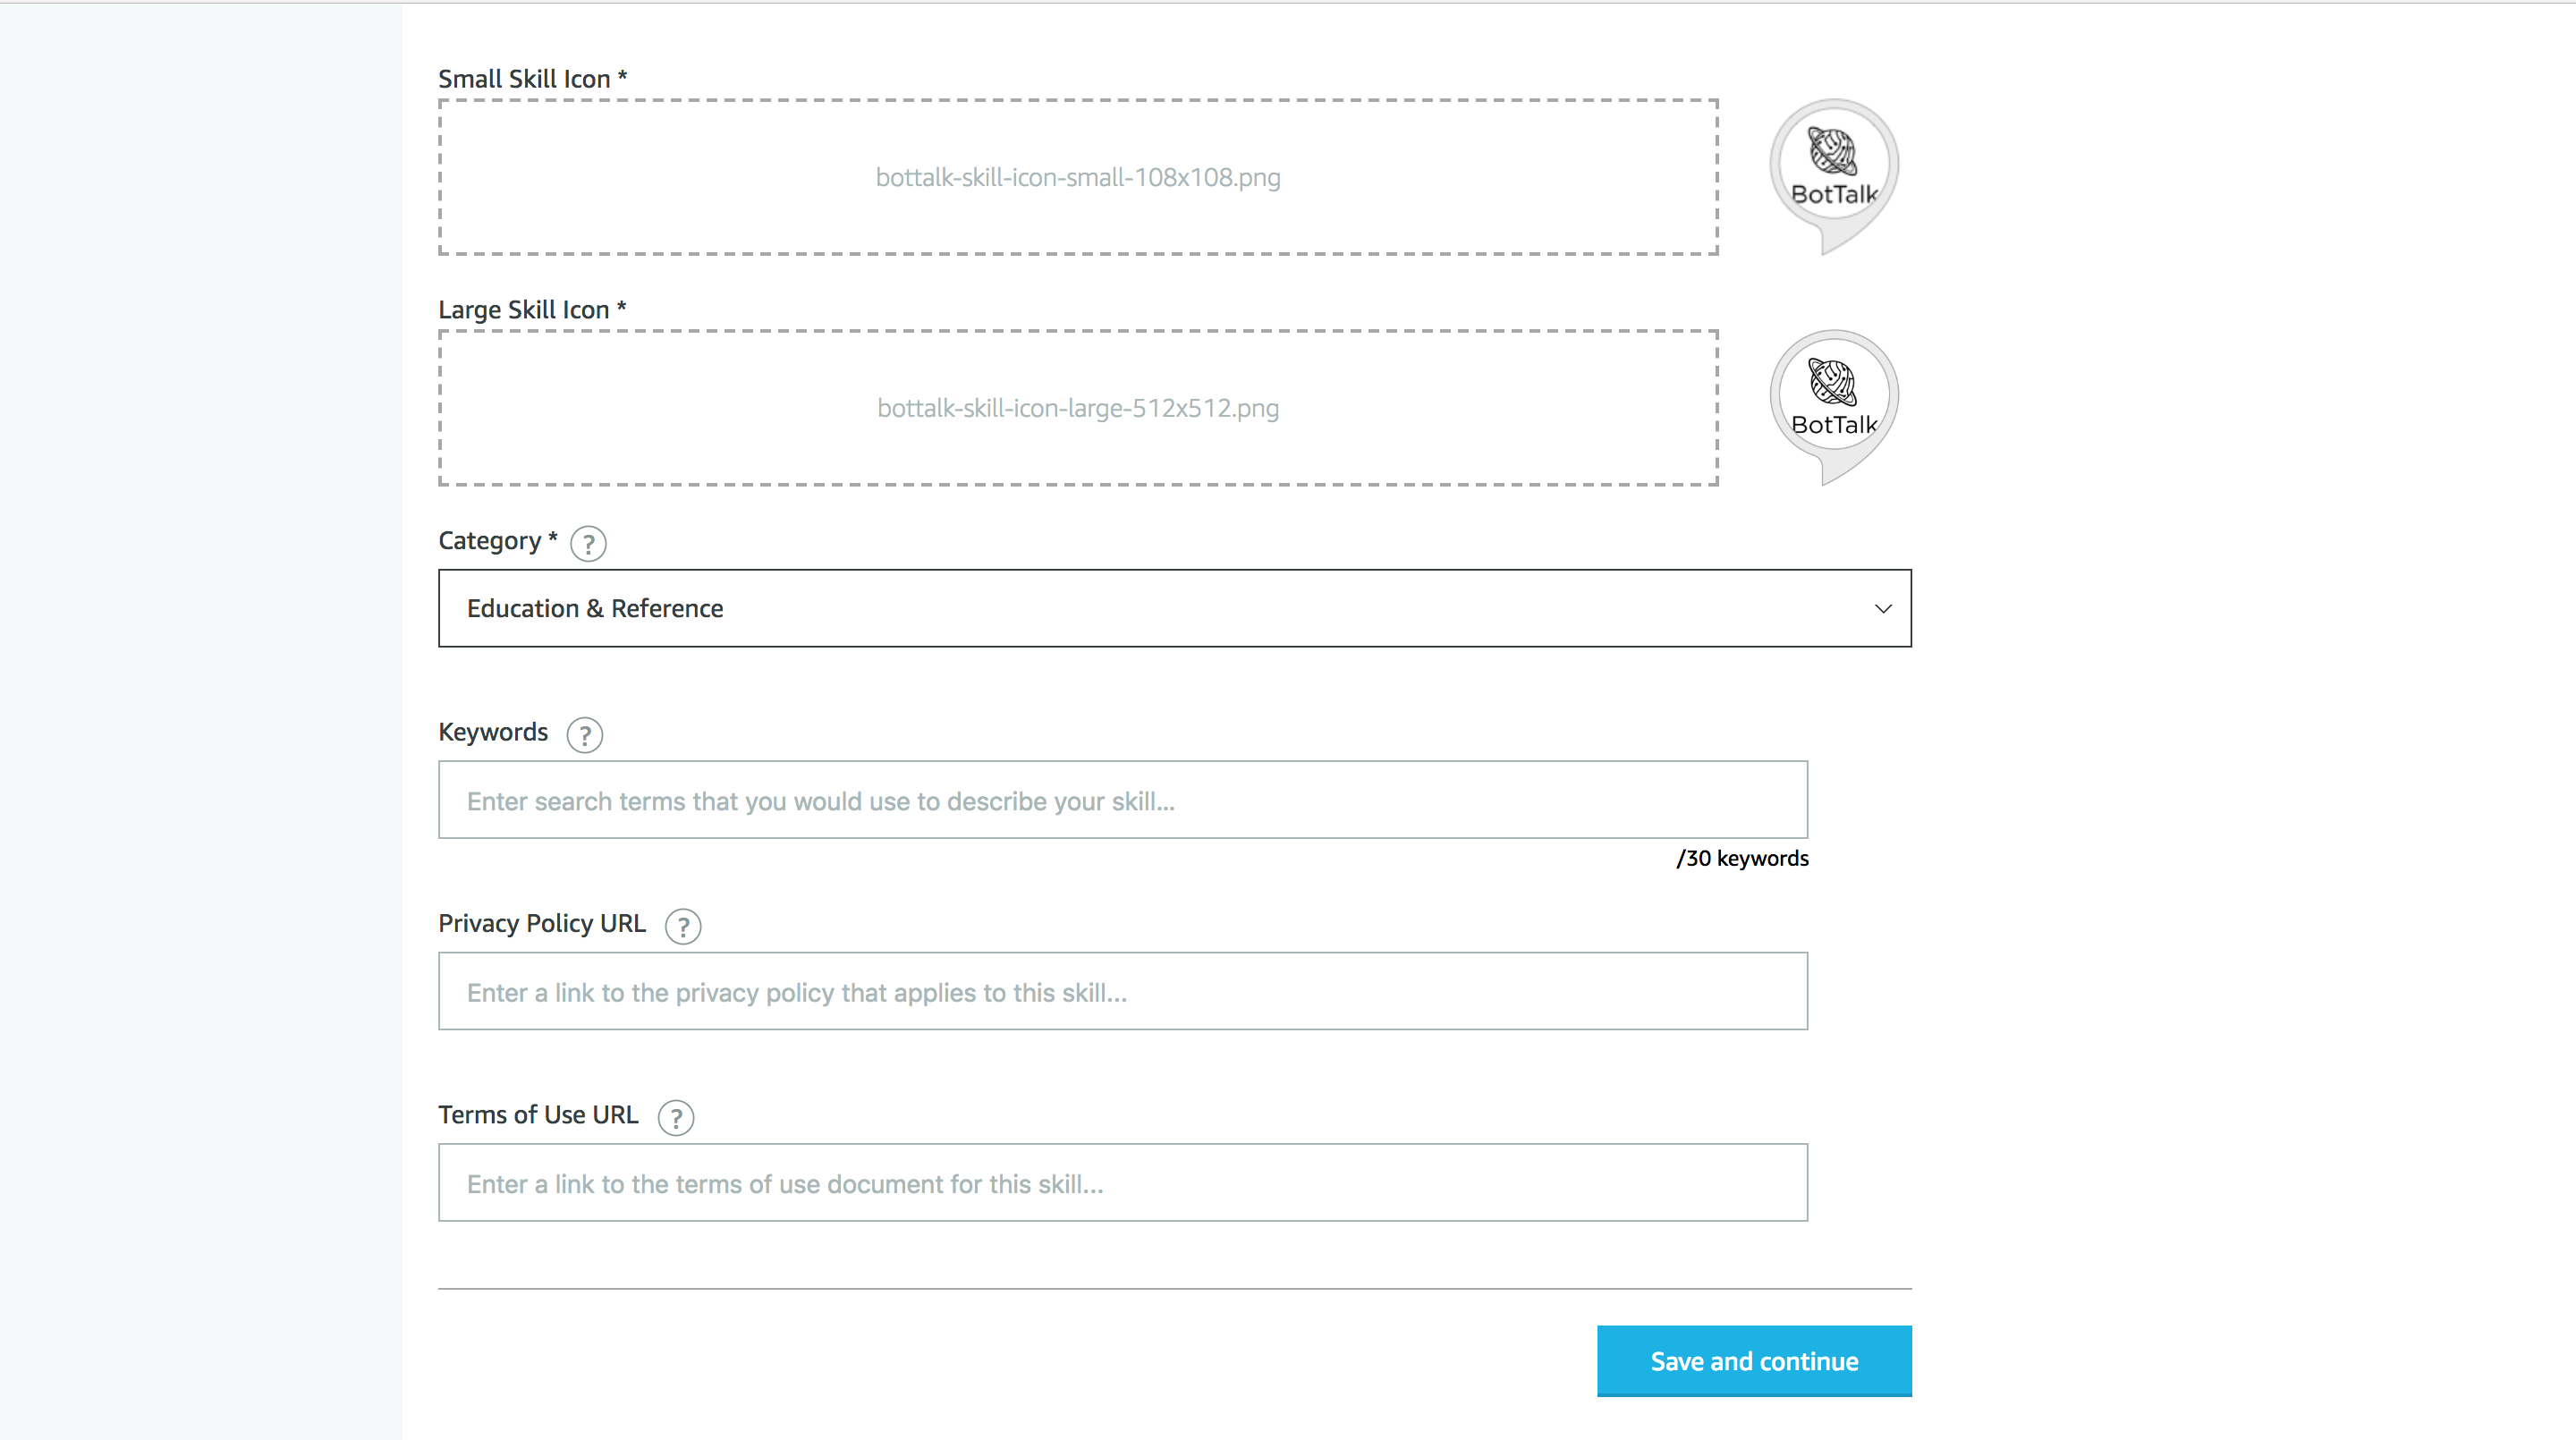
And click on Save and continue button. In the next section choose the following answers:
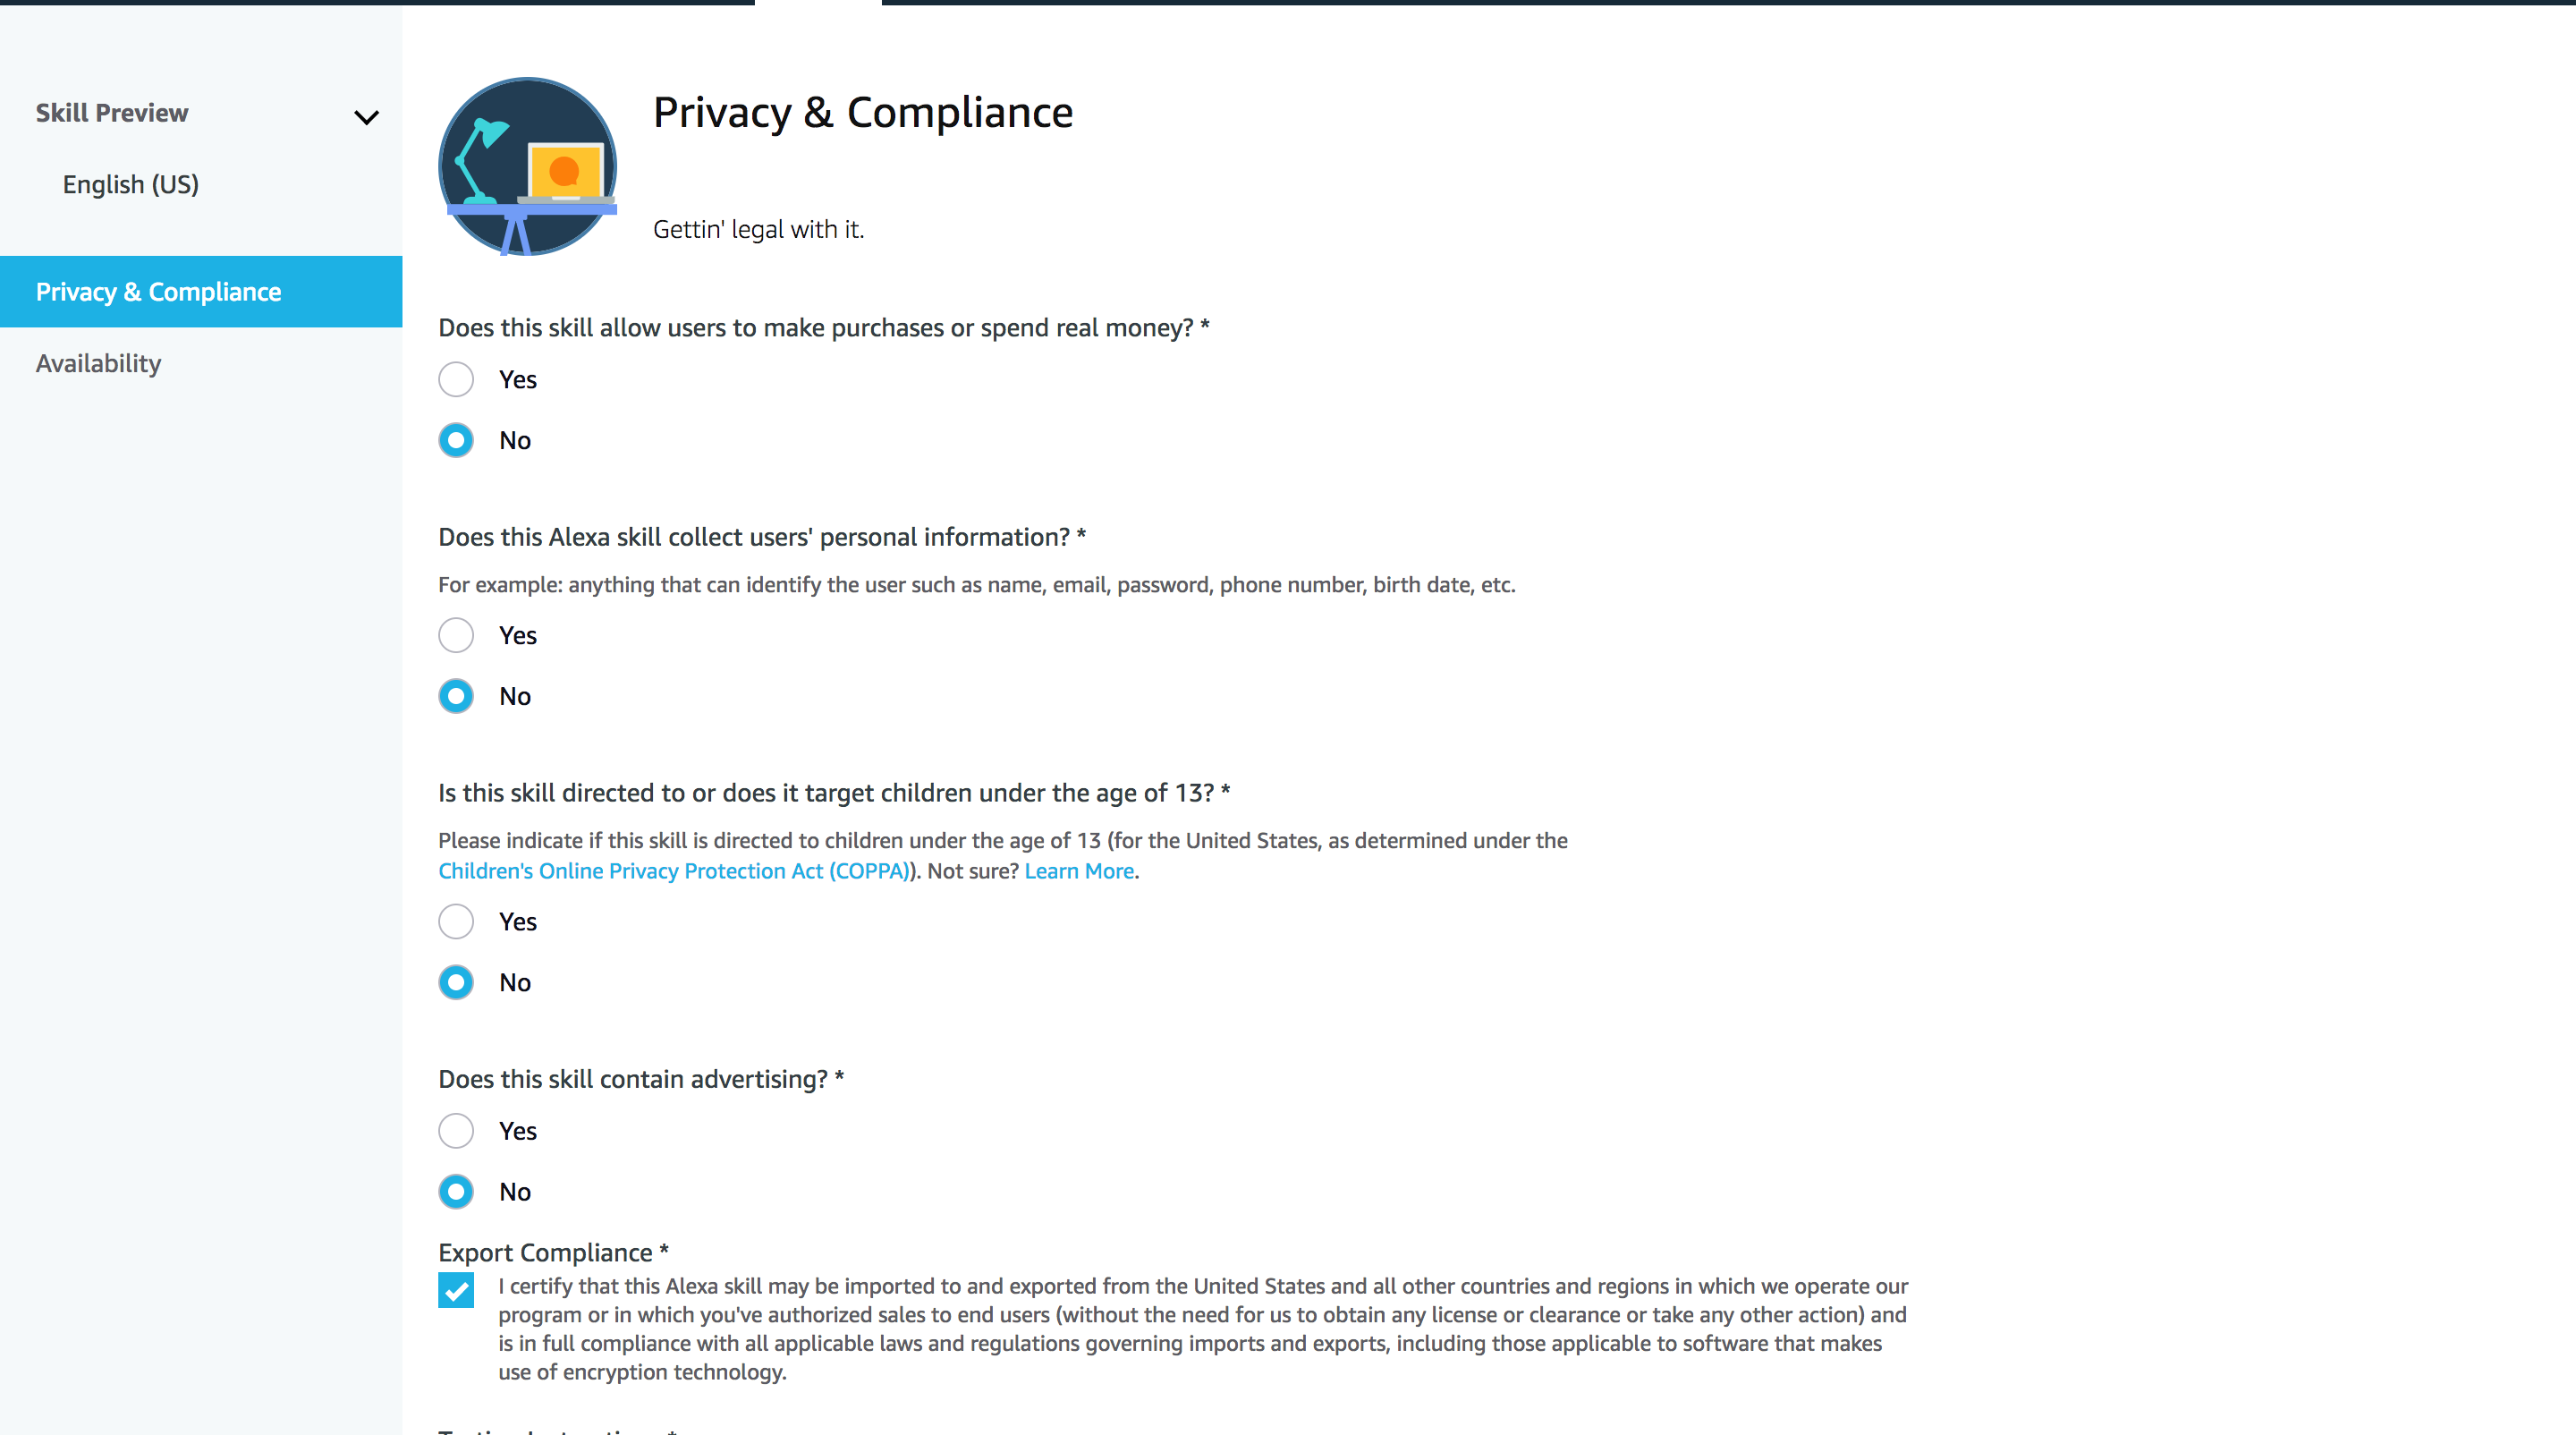
And once again click on Save and continue.
In the Availability section you will have a rectangular section call Beta Test:
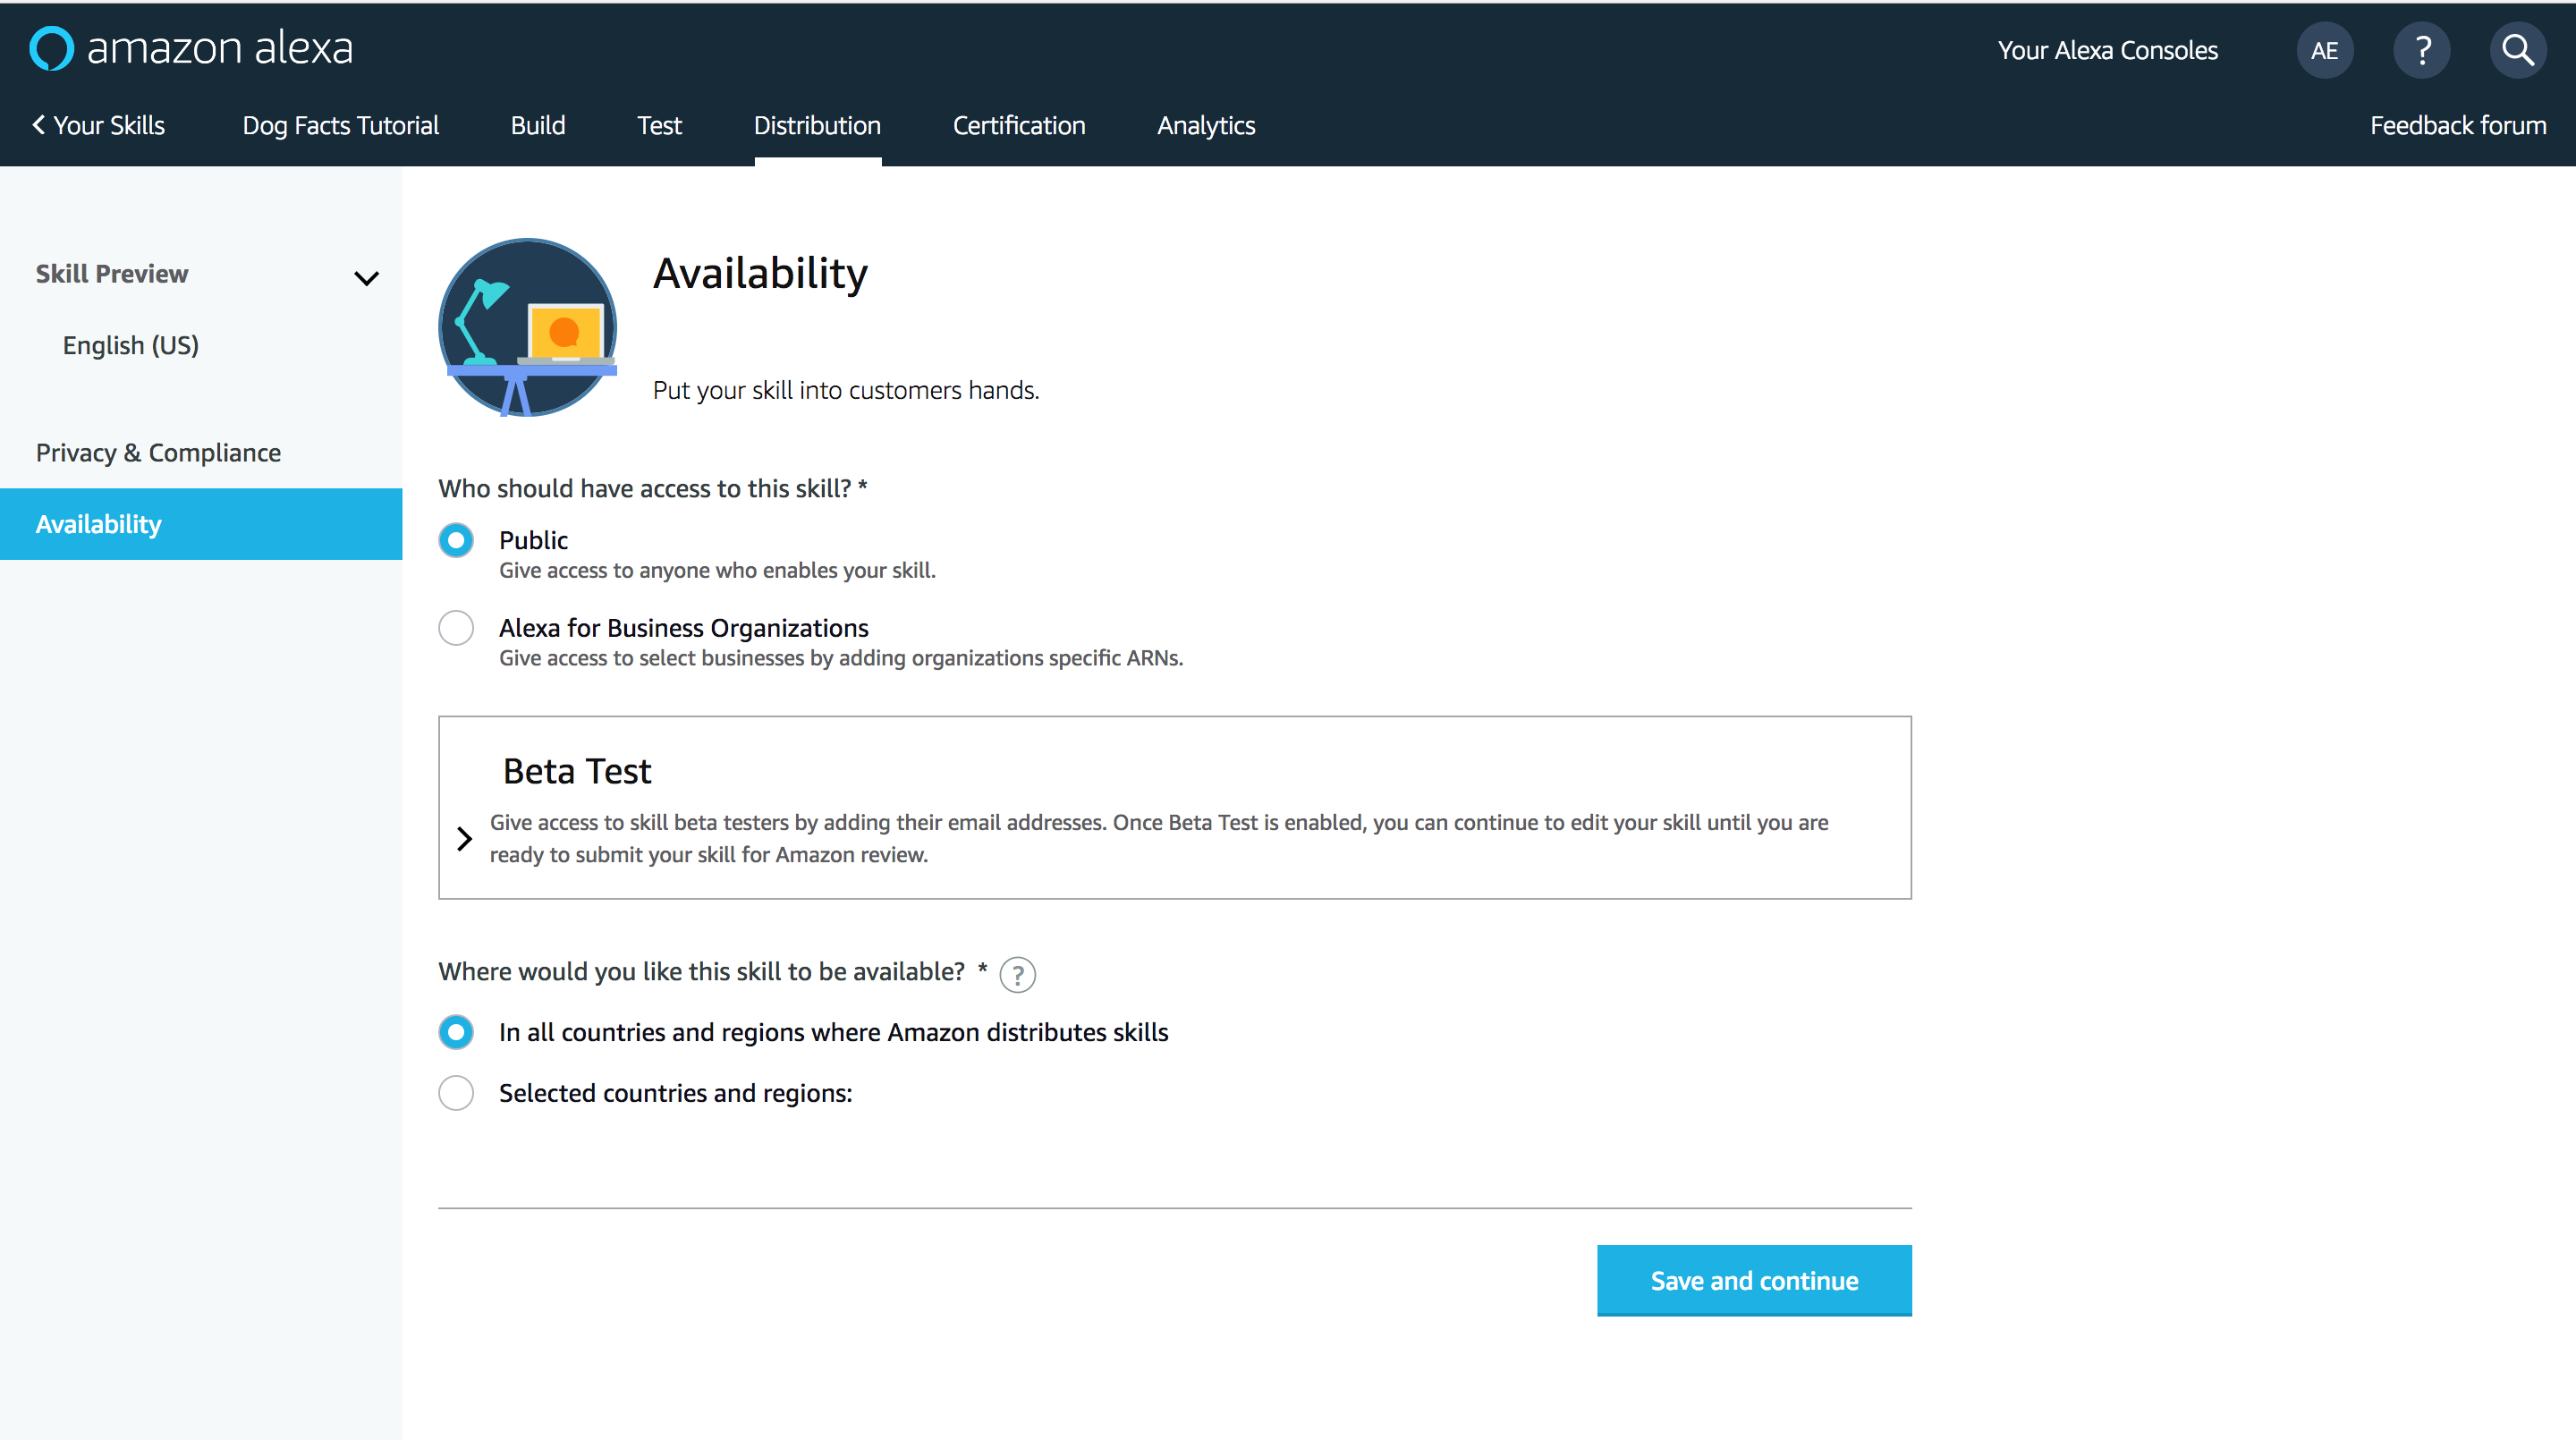
Click on the error to open this section. Enter the tester email addresses in the field:
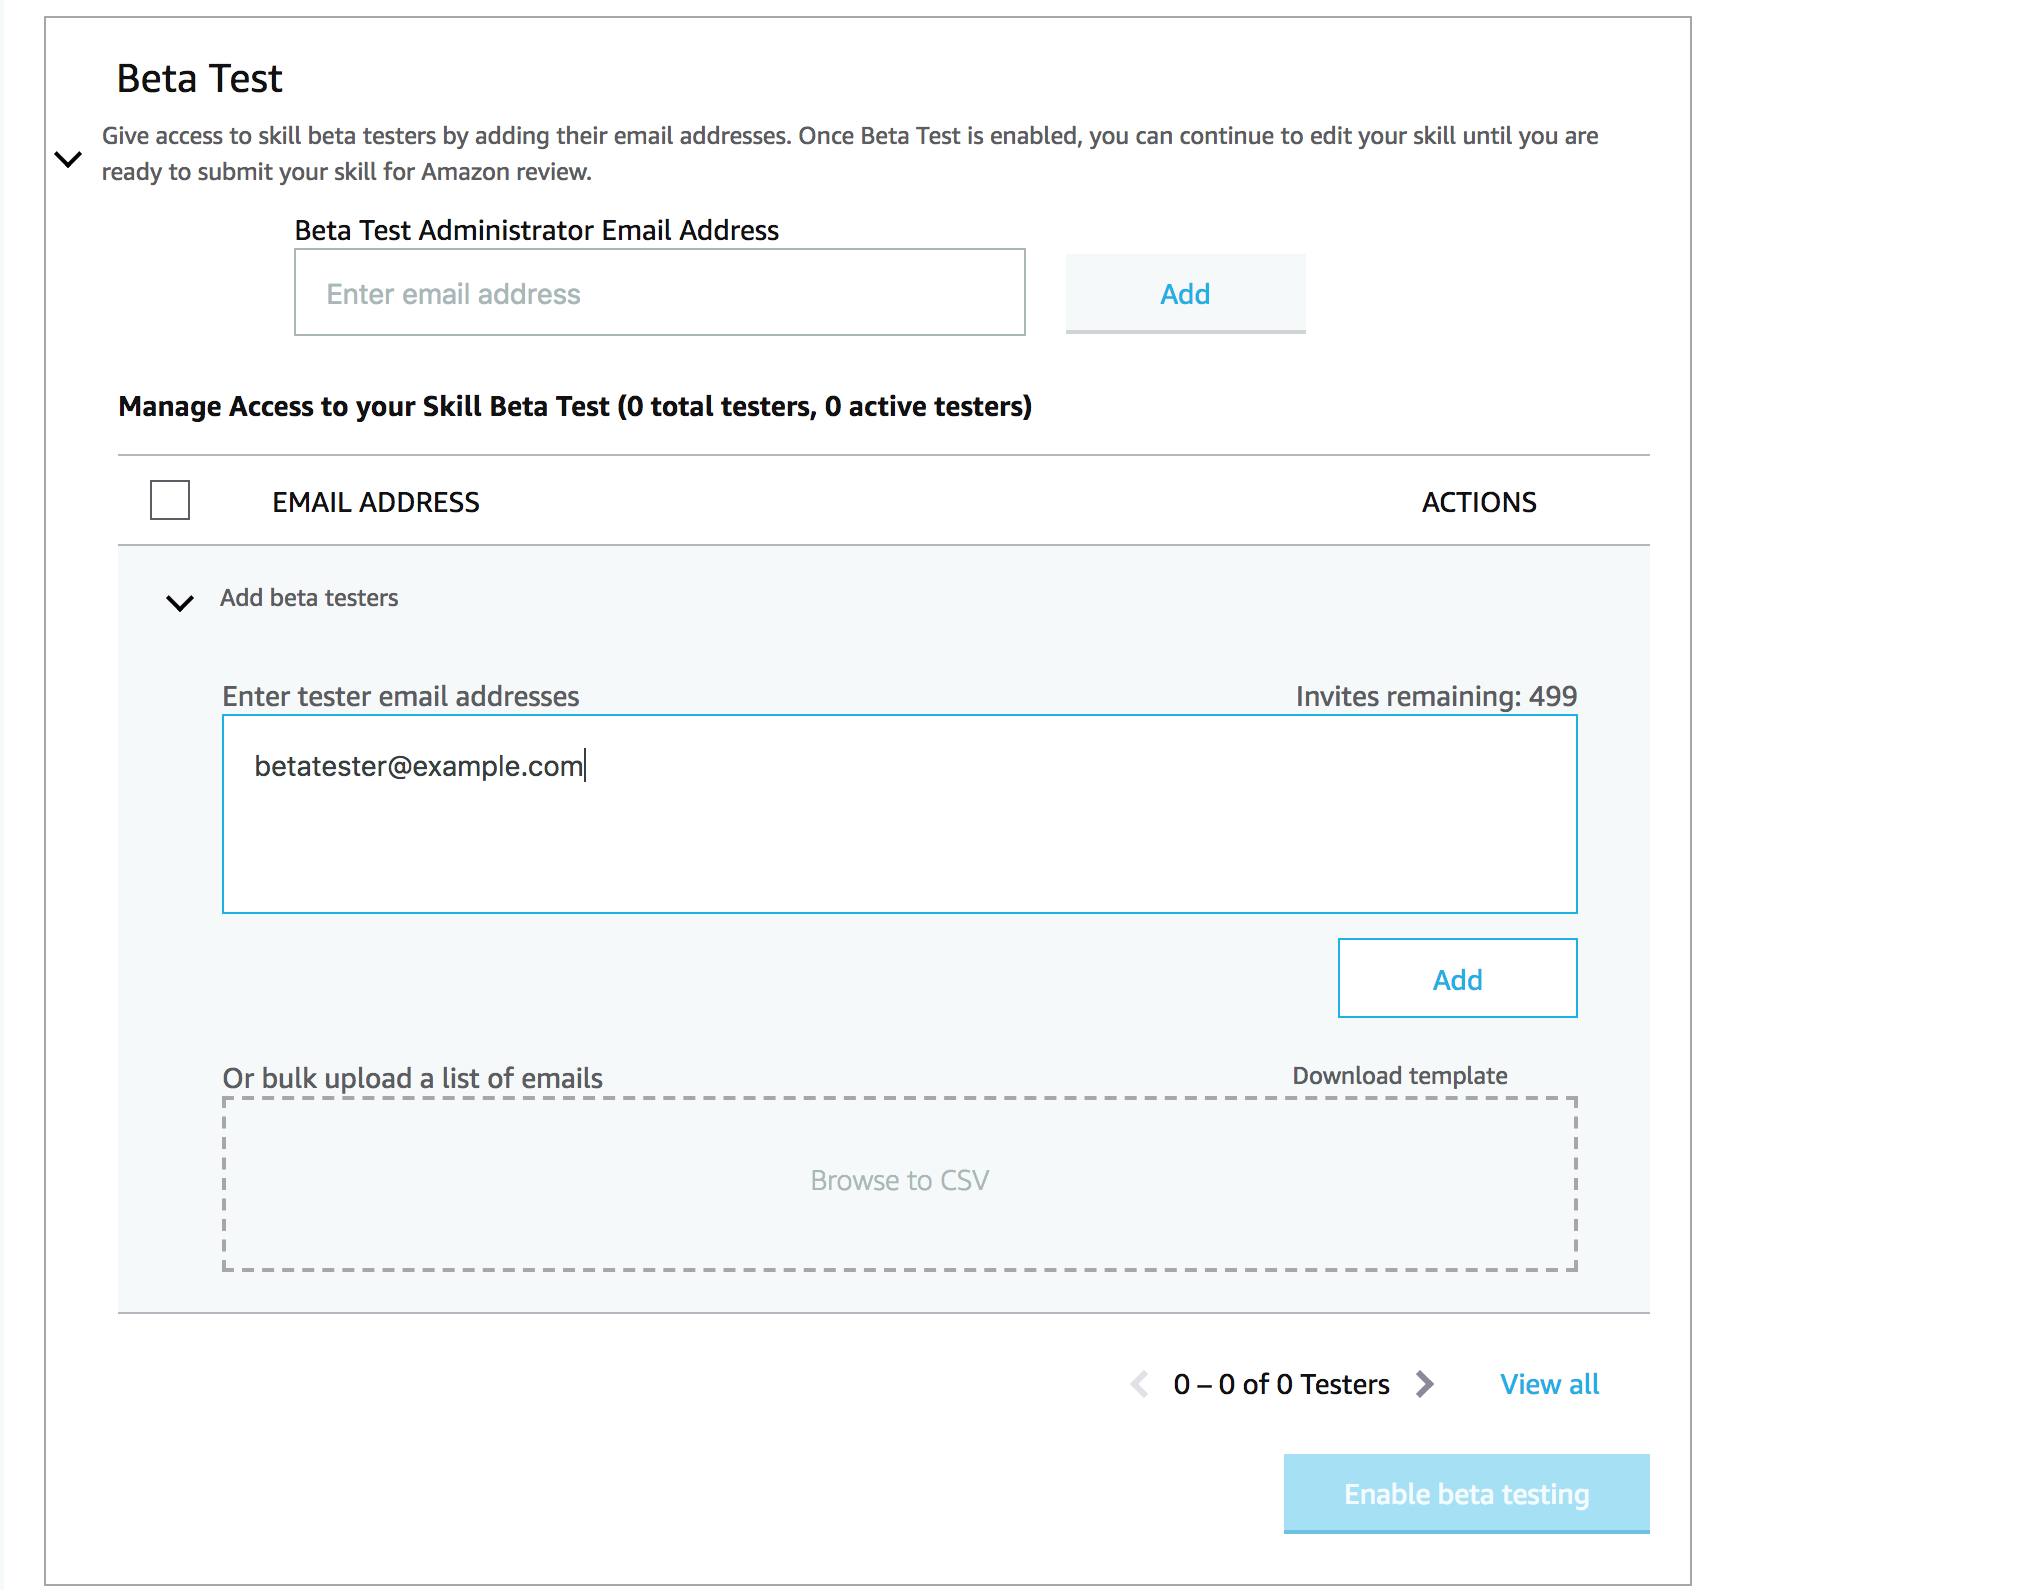
Click on the Add button and then the Enable beta testing button will be highlighted as active:
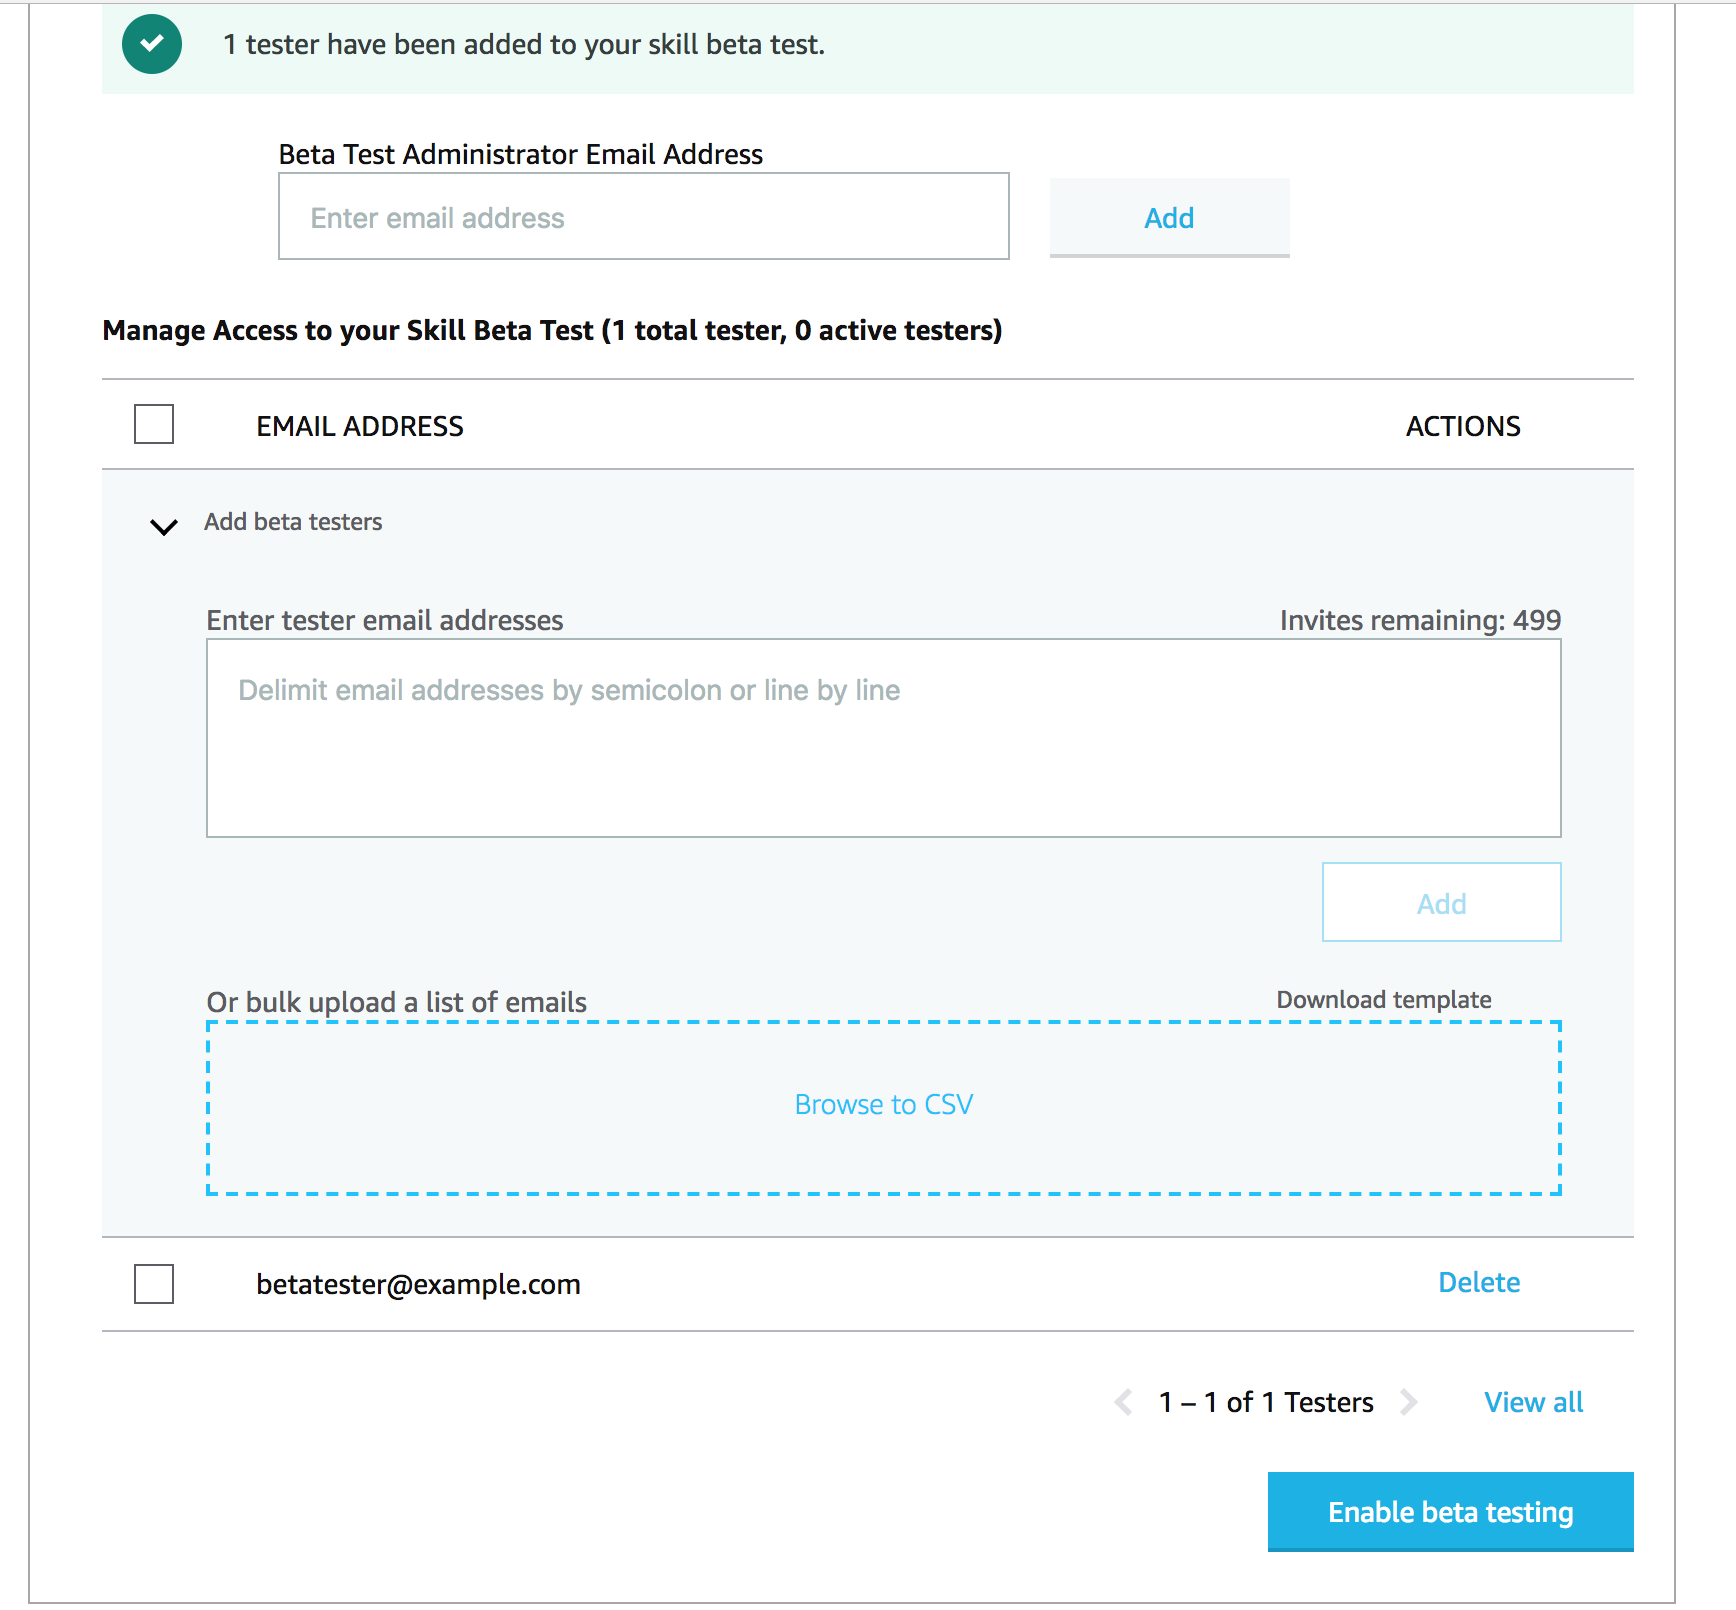
Click on the Enable beta testing button. Now the betat testing has been activated and an invitation has been sent to the tester email address:
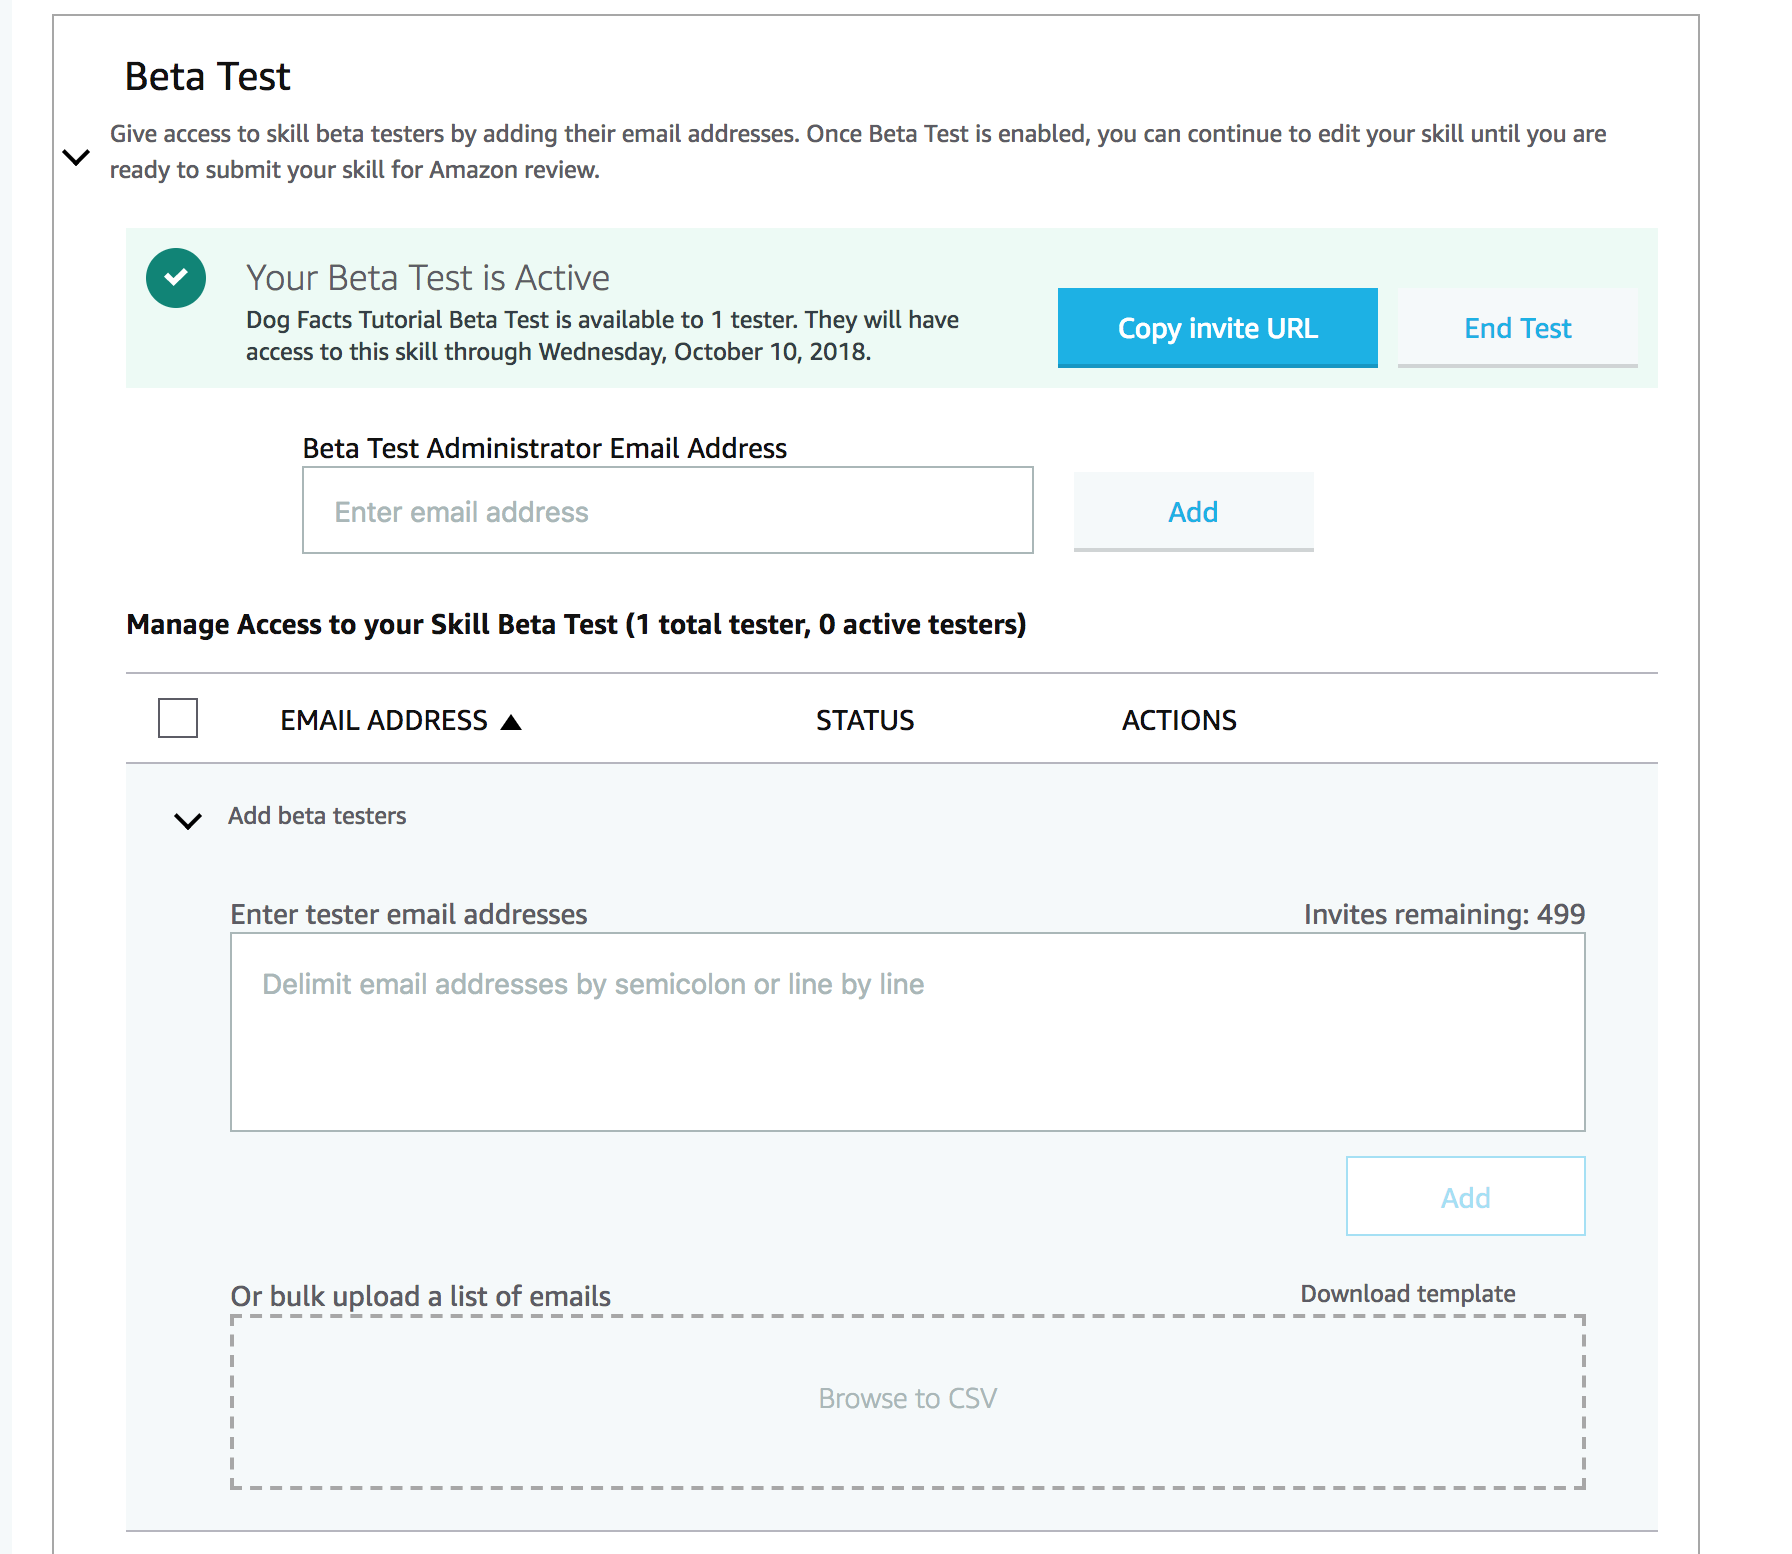
That is it. Your beta testers will receive an email with the instructions on how to enable your Skill on their devices!
Testing your Google Action on Google Home Device / Google Assistant App
It is basically the same process that we’ve just went though with Amazon, but it’s done on Dialogflow.
In order for you to invite beta testers (or yourself) to install the Google Action on their devices you need to log in to Dialogflow Console.
From your dashboard you need to go to Integrations section:
Click on Integration settings. And in the popup window click on the Test button:
The next screen will be shown in the separate tab. Go to the Release section there:
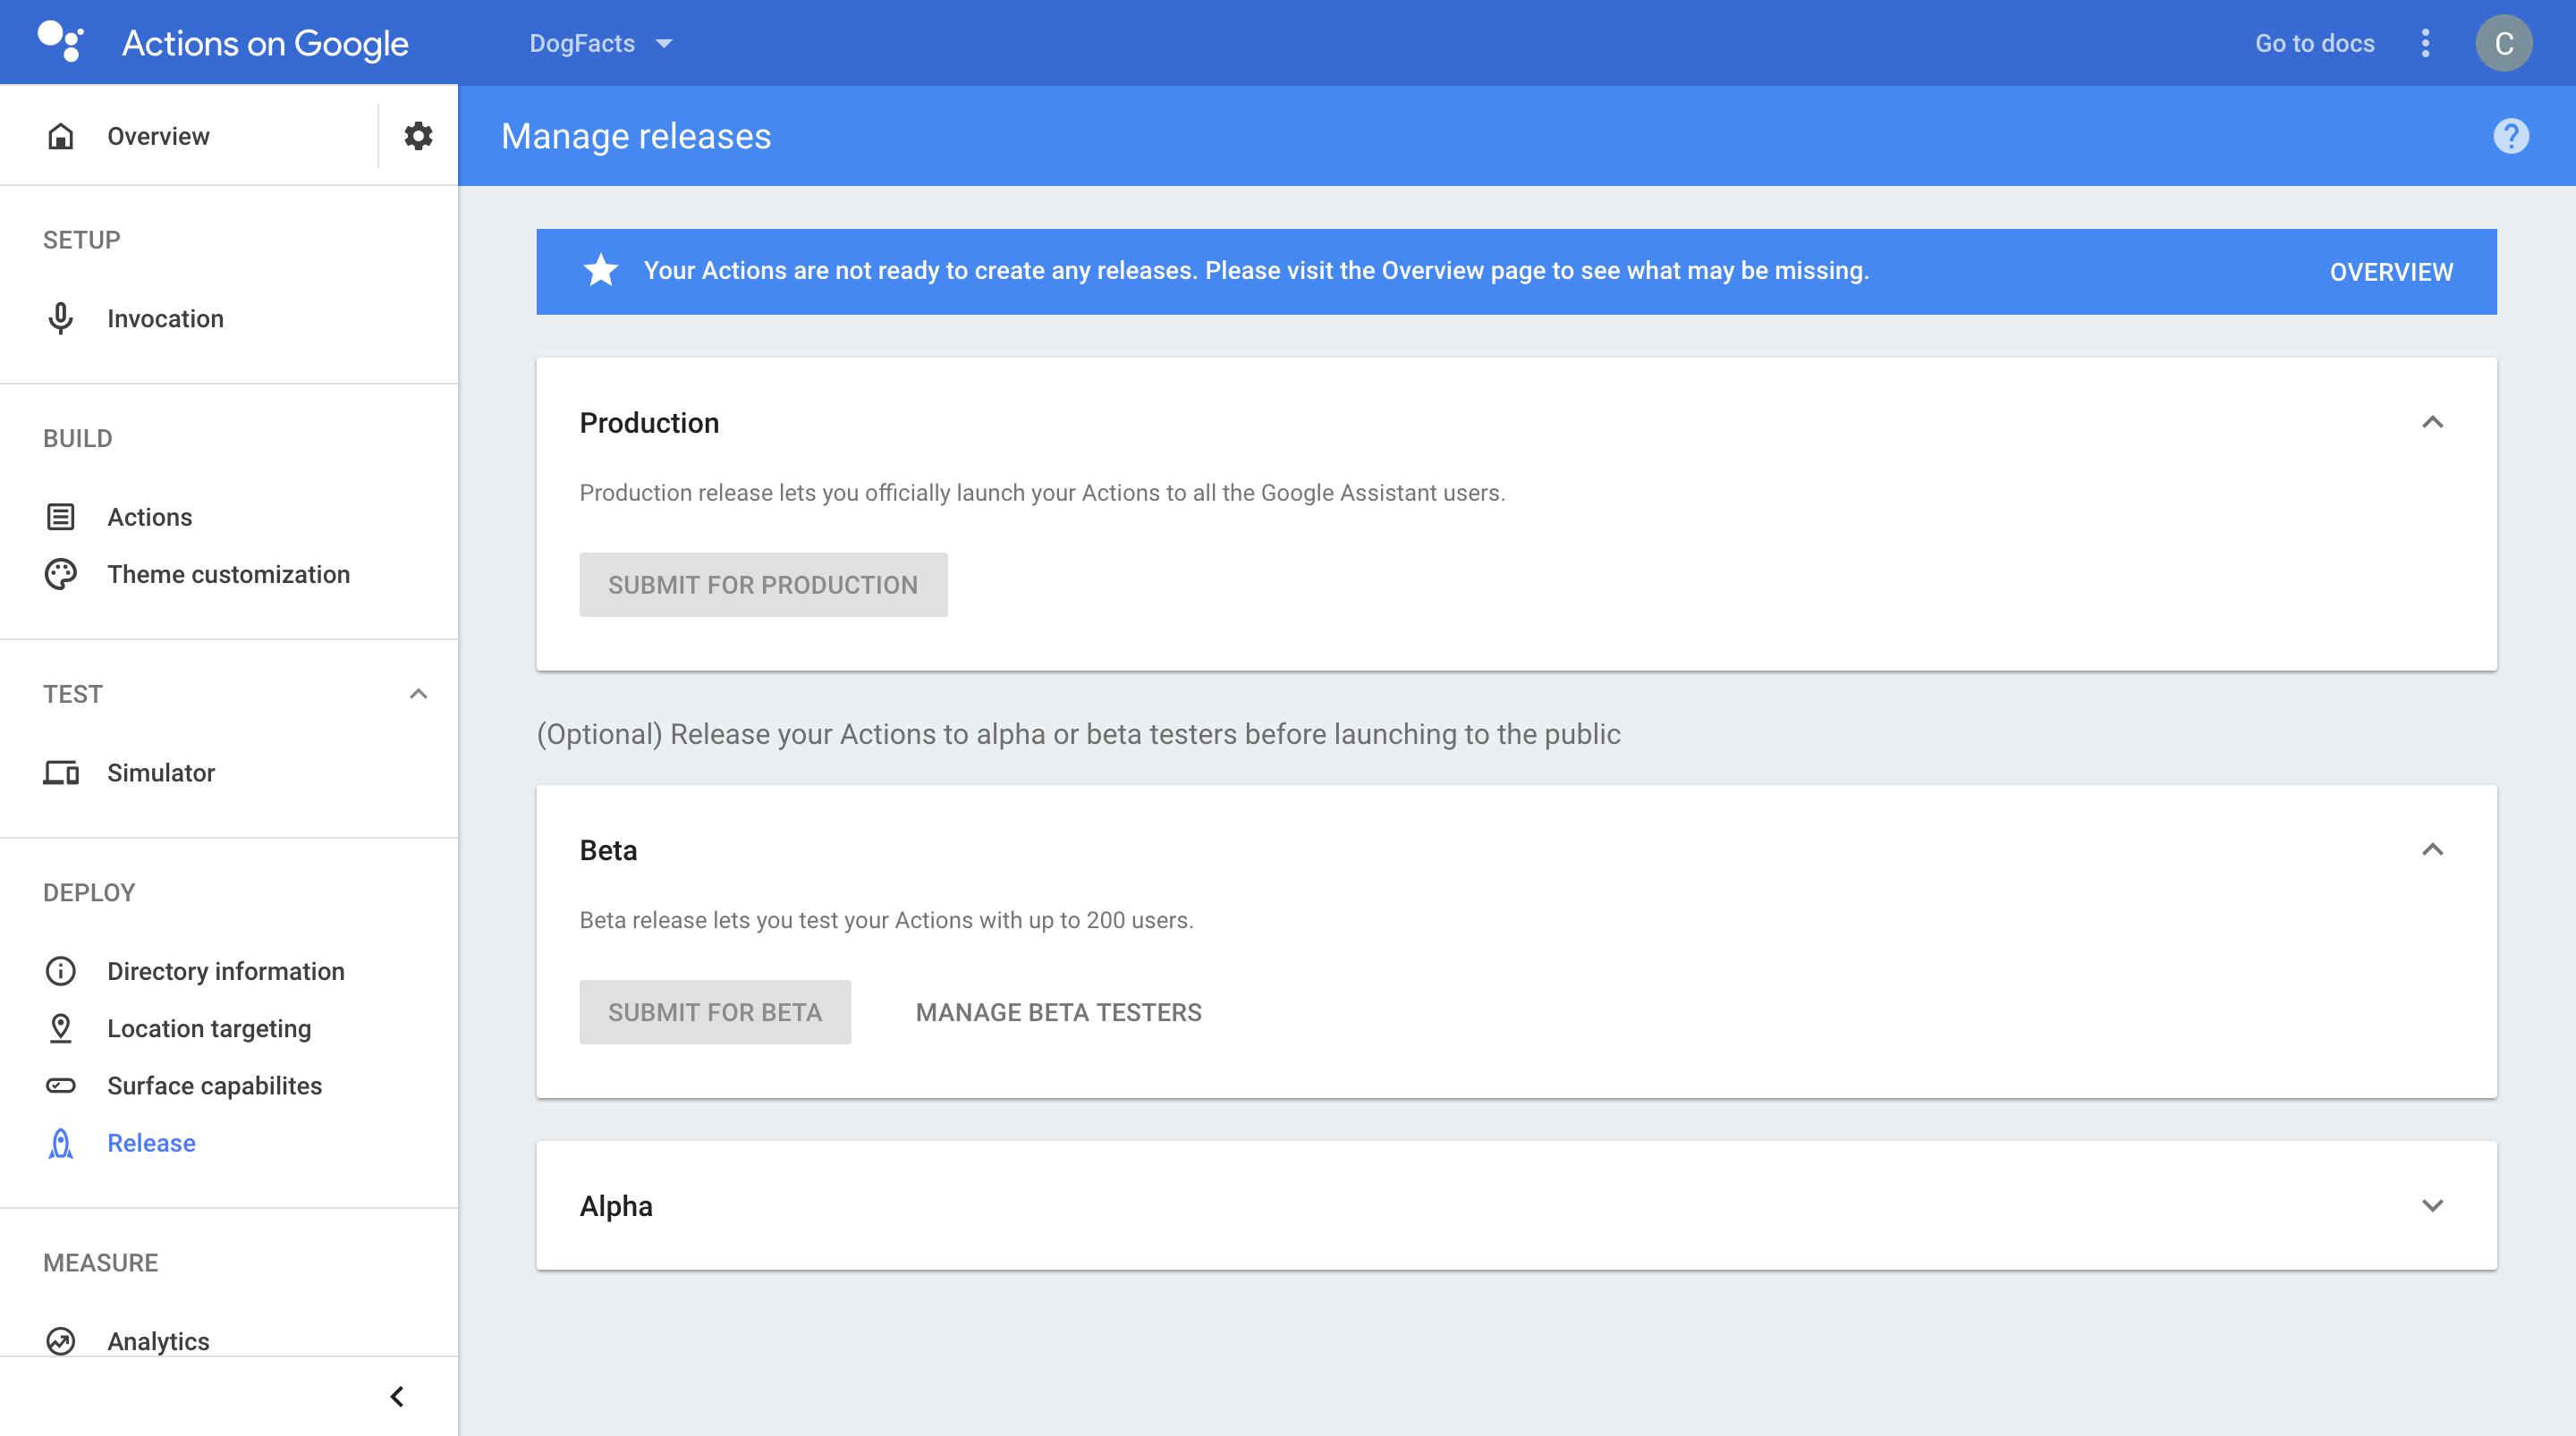
And Click on the arrow next to Beta card. There you can open the following dialog by clicking on the Manage Beta Testers:
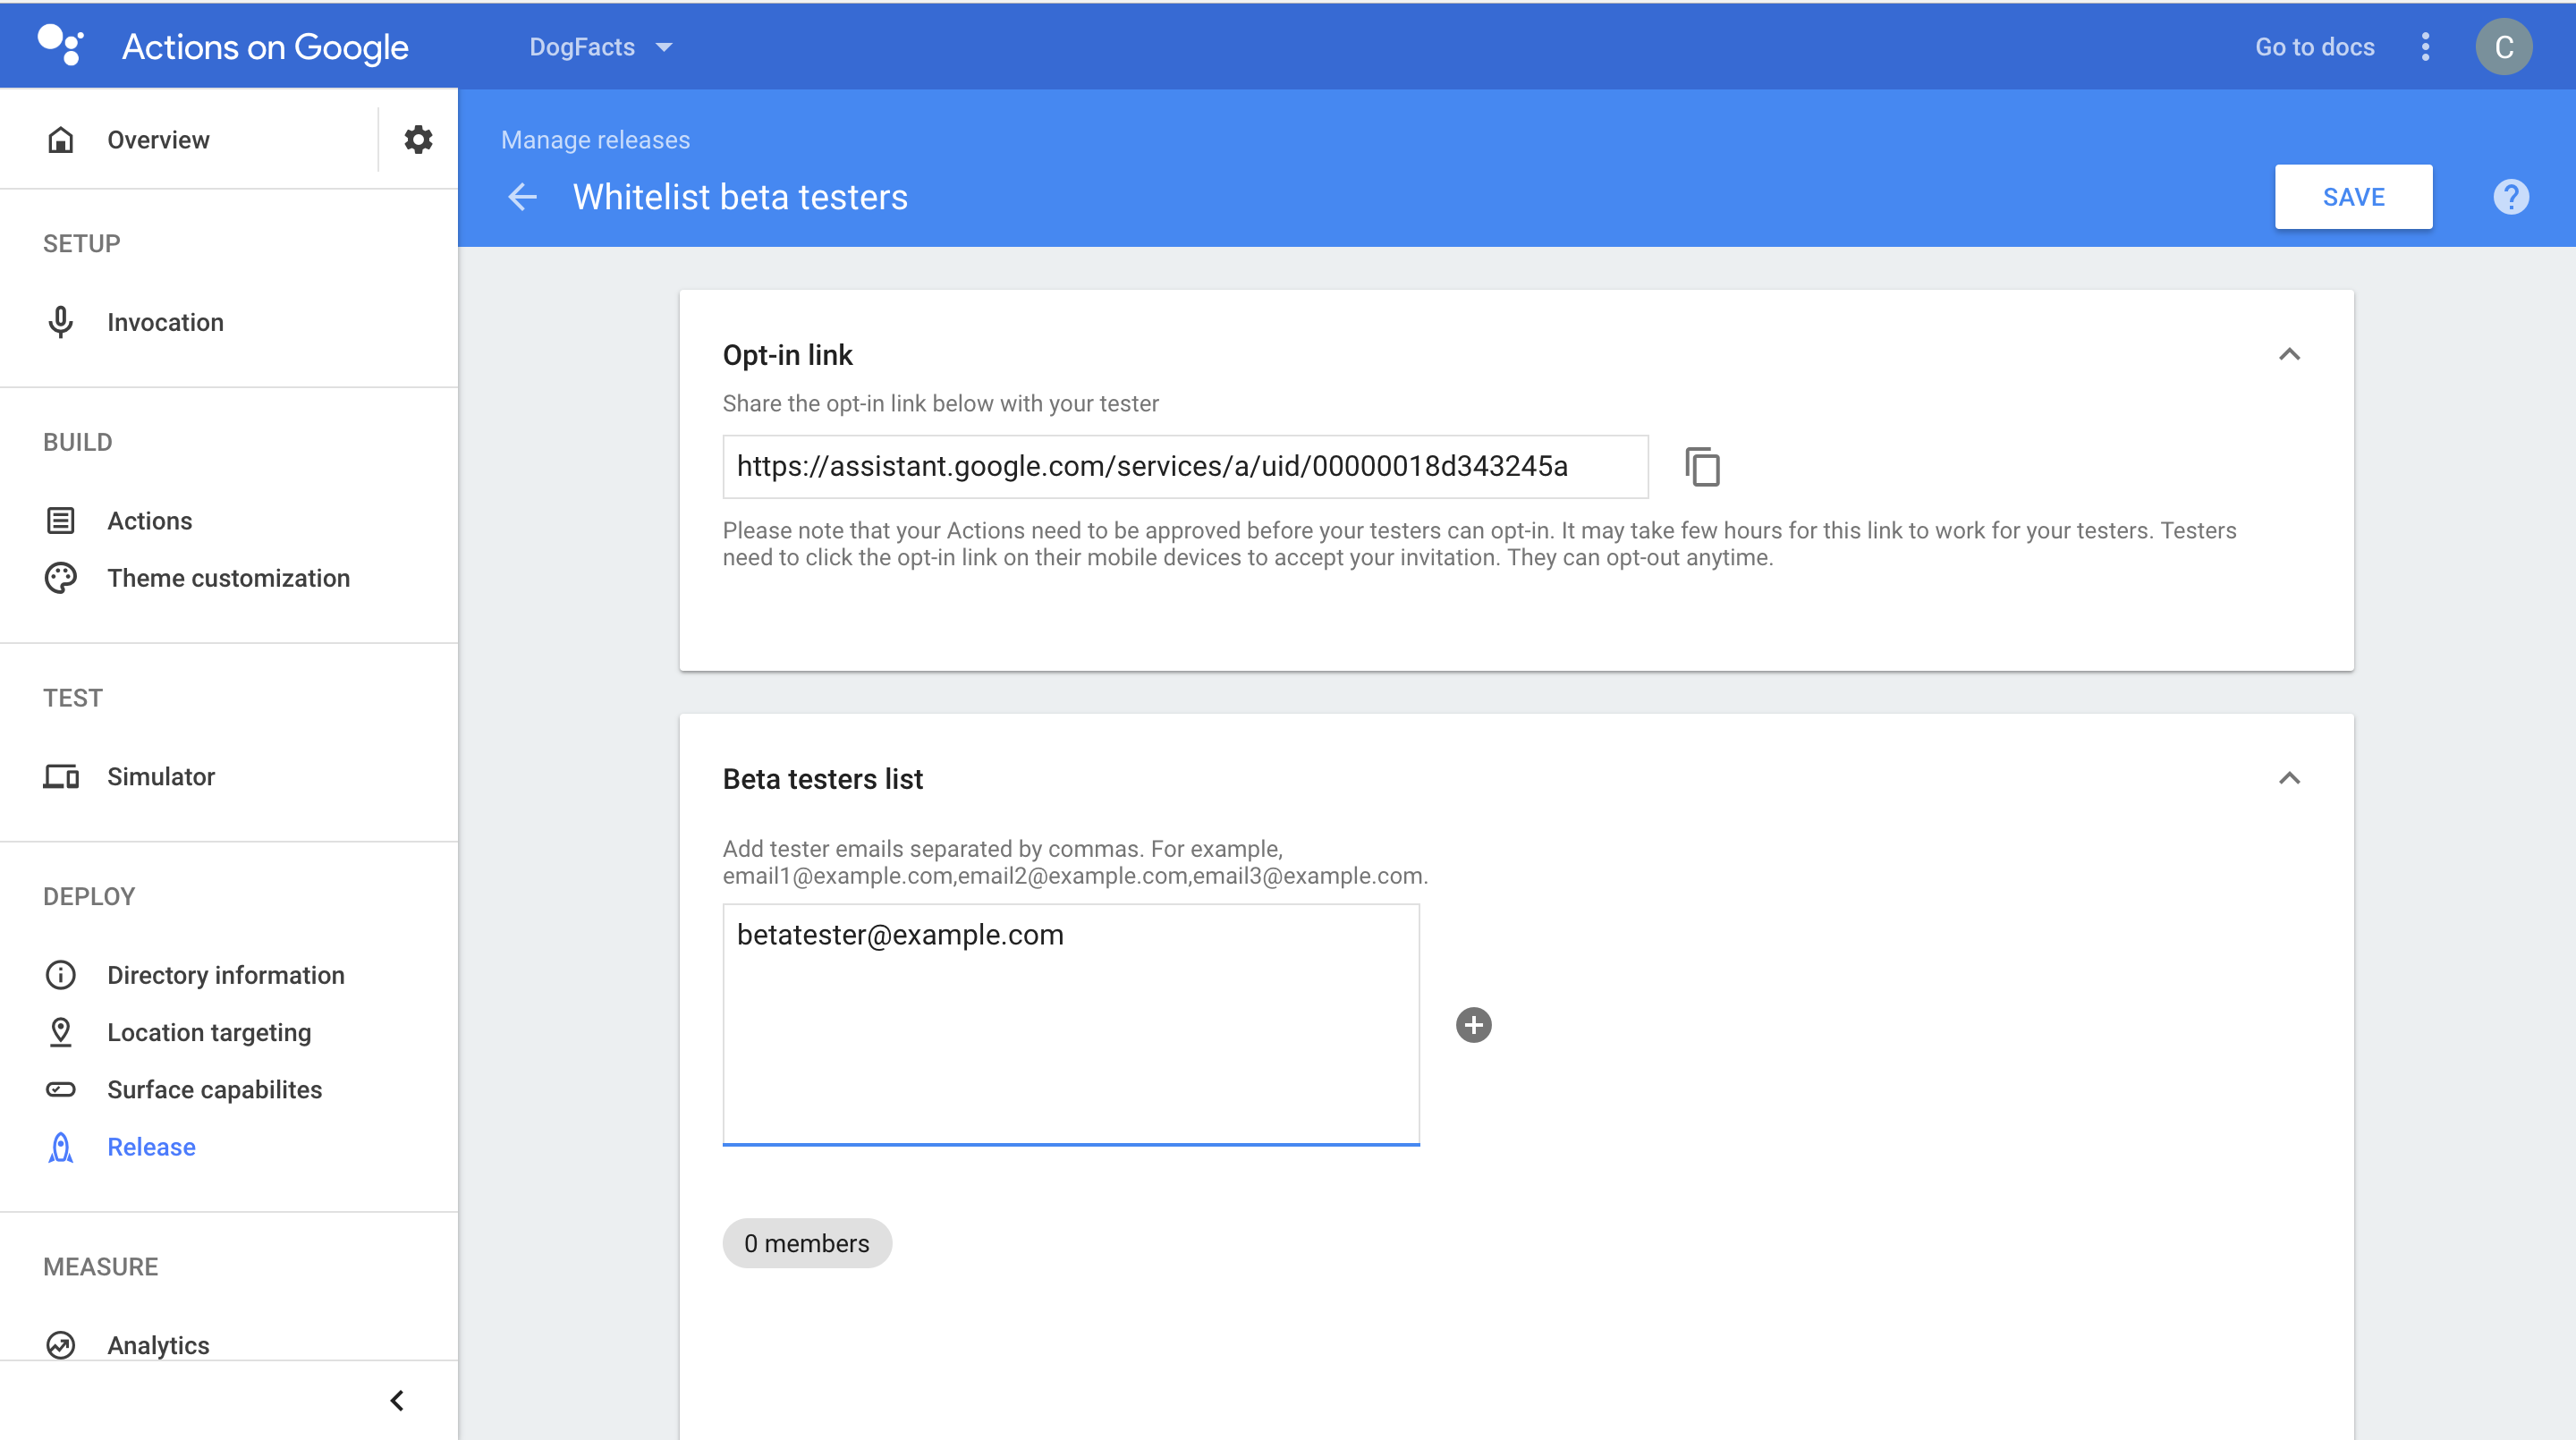
Add email addresses of your testers, click on the plus button and then on the Save button in the top right of the screen.
That’s it! Your users will receive an email from Google with the instructions on how to enable the Action on their devices.
Buring to Build Your Own Alexa Skill / Google Action?
We have just created a scenario on BotTalk and been able to deploy it both as Amazon Alexa Skill and Google Action!
Go ahead and launch your own Alexa Skill / Google Action NOW!
Do you want to learn more?
- Please check out our YouTube Channel for more video tutorials.
- In our Medium Posts you will learn how to create a custom scenario from scratch.
- And on our Slack Channel if you can ask the community for help - or just share the Skill / Action you’ve created!